Printing area and margins – Epson 925 User Manual
Page 21
15
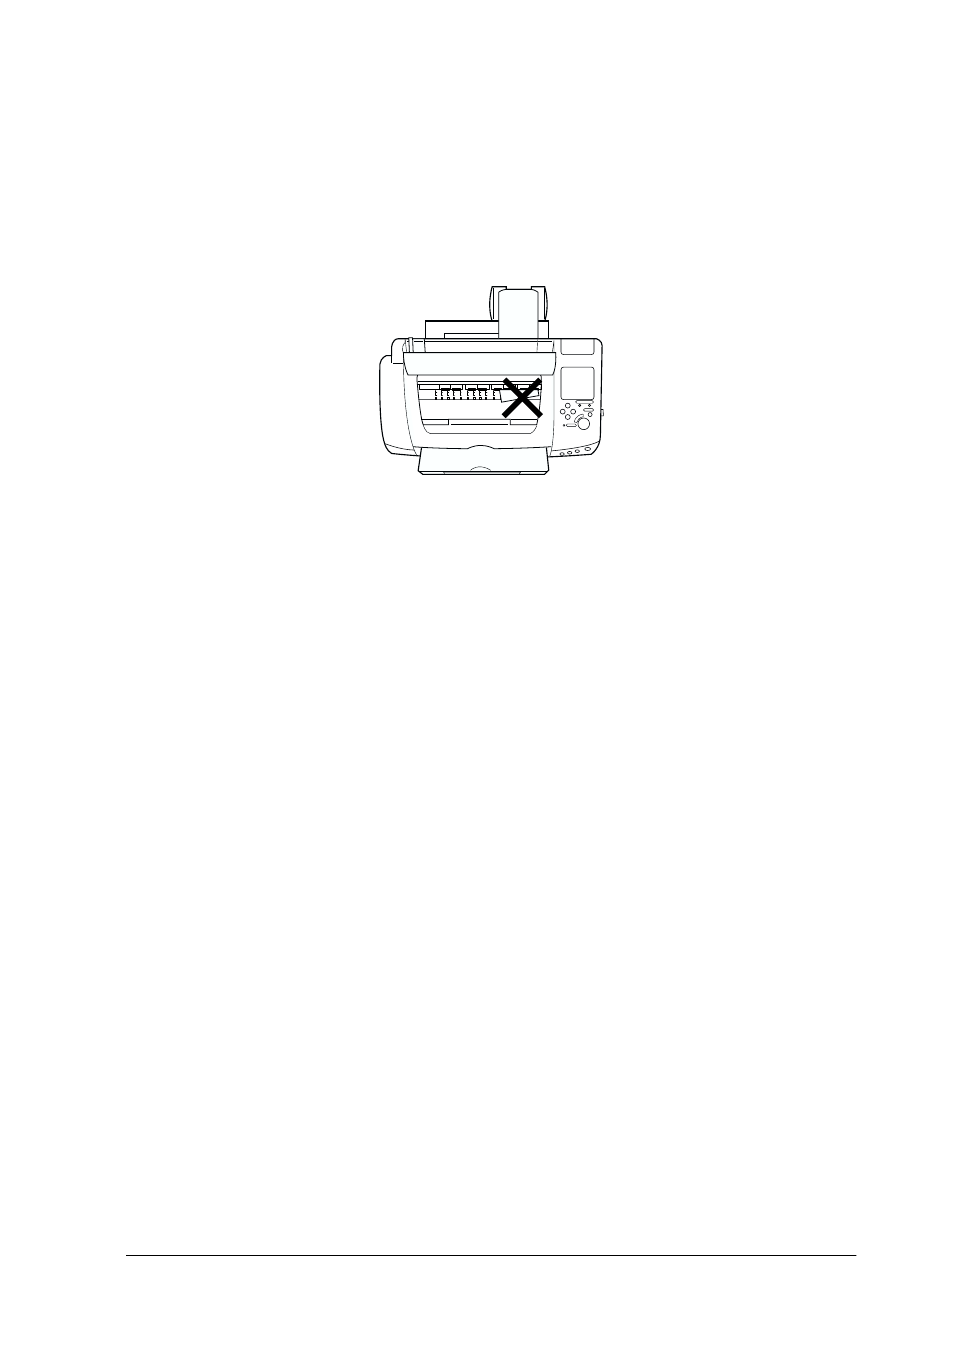
8. Open the printer cover and make sure that the paper is
feeding correctly. If it is not straight, press the
z
roll paper
button for at least three seconds to eject the paper. The error
light comes on. Press the
z
roll paper button to clear the error,
then feed the paper again.
The roll paper is now loaded.
Note:
❏ Always check the ink levels before printing on roll paper as replacing
ink cartridges while the roll paper is loaded can smear the paper.
❏ We recommend replacing the roll paper with a new roll when there
is 20 cm remaining. Otherwise, print quality may be compromised
on the remaining portion.
❏ Do not select A4 or 100
×
150 mm sheet paper for the Paper Size
setting when roll paper is loaded in the sheet feeder. Doing so causes
unnecessary paper to be fed after each print job. If you have already
started printing, press the Cancel button. Wait until the printer
stops printing and feeding paper. Cut off the paper at the back of the
printer, then turn off the printer. The remaining paper is ejected.
Printing area and margins
Follow the steps below to change the margins between pages of
printed data.
1. Select Roll Paper as the Paper Size on the control panel, top.