Connecting to a computer, Connecting to the computer port – Epson 1710c User Manual
Page 34
34
Connecting to Computers and Other Equipment
Connecting to a Computer
You can connect the projector to any computer that has a standard
video output (monitor) port, including desktop models, PC notebook
and notebook computers, MacBooks, PowerBooks and iBooks, and
hand-held devices. To connect to the blue
Computer/
Component Video
port (standard VGA cable connection), see the
instructions below. After connecting to the computer, you may also
want to do one of the following:
■
Connect a USB cable so you can use the remote control as a
mouse; see page 35
■
Connect an audio cable to play computer audio; see page 40
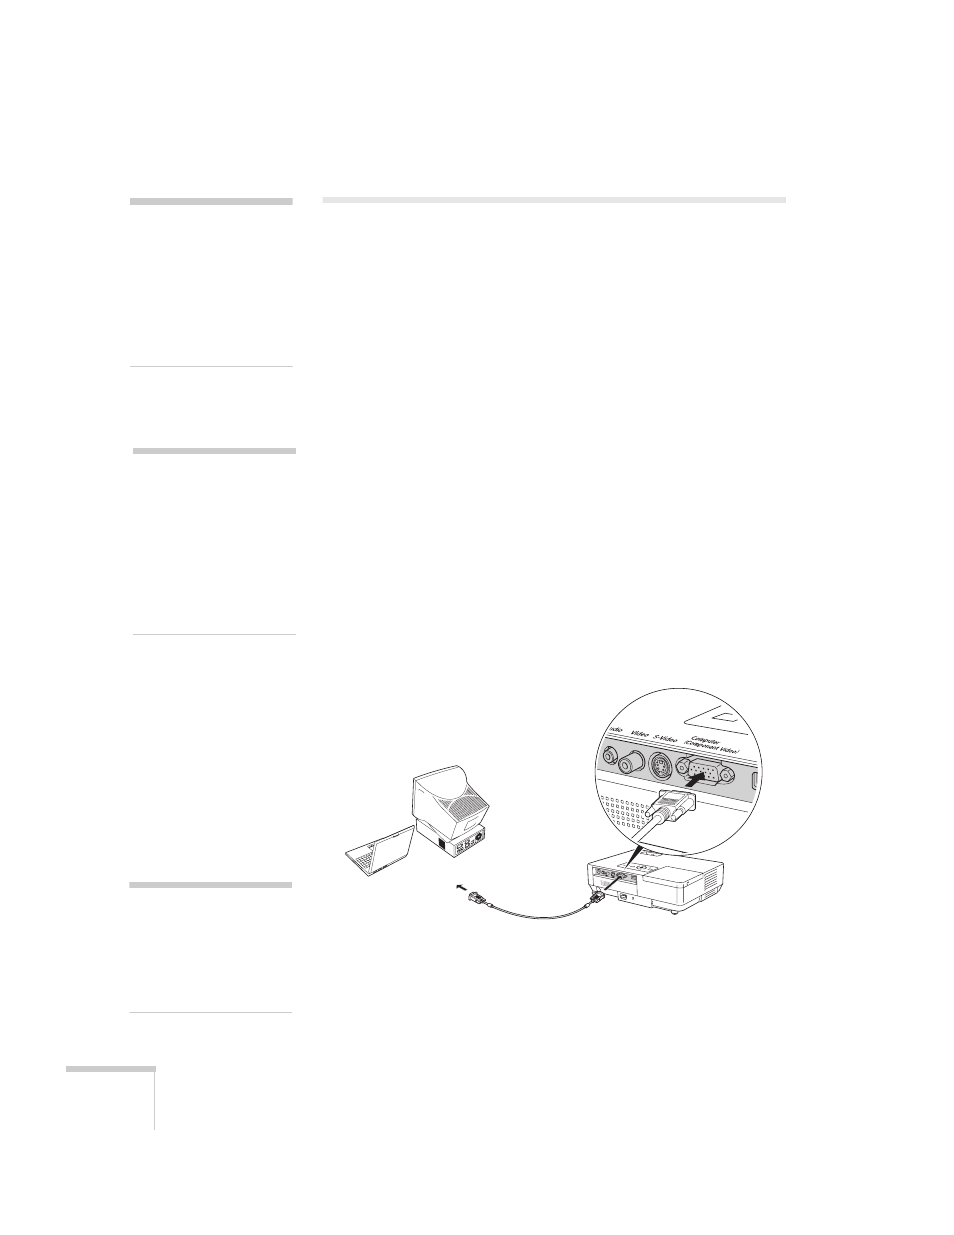
Connecting to the Computer Port
You can connect to the blue
Computer/Component Video
port
using the VGA computer cable that came with the projector (the
monitor port on your computer must be a mini D-sub 15-pin port).
1. If you’re using the VGA computer cable, connect one end to the
projector’s blue
Computer/Component Video
port, and the
other end to your computer’s monitor port. Then go to step 3.
2. You can connect an optional stereo mini-jack audio cable to play
sound through the projector (see page 40), or connect a USB
cable to use the remote control as a mouse (see page 35).
note
If you connect a Windows-
based computer to the
projector, you may see a
New Hardware Wizard
saying your computer has
found a plug-and-play
monitor; if so, click
Cancel
.
note
For newer notebooks with
DVI connectors, see your
computer’s documentation
to see how to use a DVI to
VGA adapter (often
included with the computer)
to connect to the VGA
computer port.
caution
Don’t try to force a
connector to fit a port with a
different shape or number of
pins. You may damage the
port or connector.