Maintenance and service – Enviro EG28-120 User Manual
Page 9
9
Maintenance and Service
C
LEANING
P
LATED
S
URFACES
:
It is important to note that fingerprints and other marks can leave a permanent stain on plated finishes.
To avoid this, give the face a quick wipe with denatured alcohol on a soft cloth BEFORE lighting the
fireplace. Never clean the face when it is not cool. Do not use other cleaners as they may leave a
residue, which can become permanently etched into the surface.
B
LOWER
R
EMOVAL
:
The burner may need to be removed for a few reasons, including cleaning under the burner, converting
the unit to a different gas type, or to replace the burner altogether. Proceed only when the unit has
completely cooled down.
1. Remove the door as shown in the M
AINTENANCE
AND
S
ERVICE
- O
PENING
T
HE
D
OOR
.
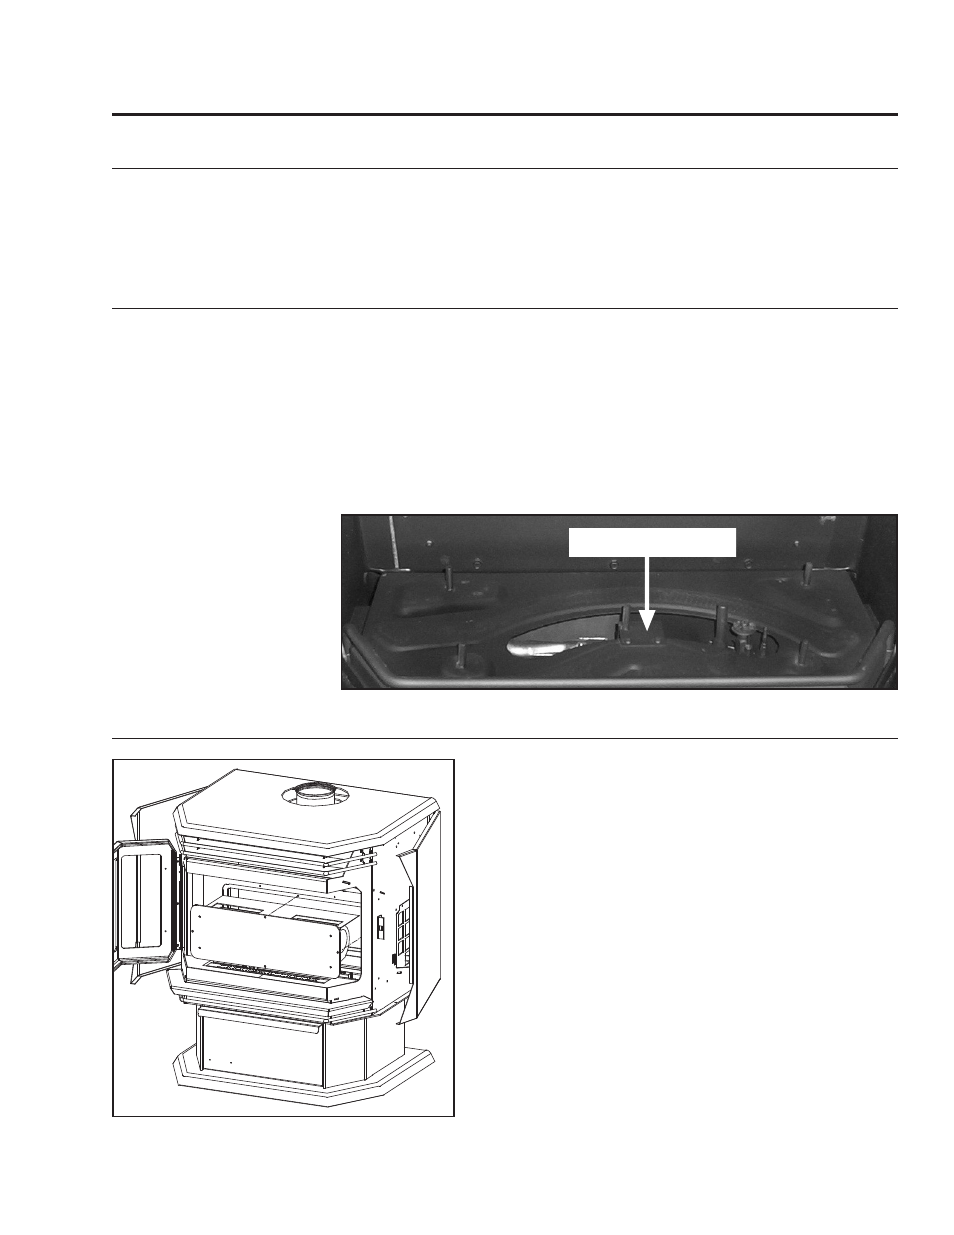
2. Remove the two (2) T-20 screws that fasten the lower half of the burner bracket to the burner tray,
located inside the large hole in the burner (see Figure 7). Do not remove the screws that fasten the
upper half of the burner bracket to the burner.
3. Slide the burner to the left then lift the burner assembly up then out.
B
LOWER
R
EMOVAL
:
Figure 8: Blower (Fan) Removal.
To re-install the burner
follow steps 1-3 in reverse.
When placing the burner
back in the unit ensure that
the venturi box under the
burner is lined up.
1. Turn the unit off, allow it to cool down completely,
and remove the door as shown in the M
AINTENANCE
AND
S
ERVICE
- O
PENING
T
HE
D
OOR
..
2. Remove the log set carefully.
3. Remove the burner tray assembly, see M
AINTENANCE
AND
S
ERVICE
- B
URNER
R
EMOVAL
.
4. Remove the four (4)
5
/
16
” bolts that hold the blower
mounting plate to the back firewall. Use a light
lubricating oil on screws before removal.
5. Carefully pull the blower assembly into the firebox
(see Figure 8) disconnect the blower leads from the
harness and remove blower.
6. To re-install, check mounting plate gasket if damaged
replace with new one and reverse steps 1 through 4.
Refer to “S
ECONDARY
I
NSTALLATION
- L
OG
S
ET
AND
E
MBERS
I
NSTALLATION
”.
Figure 7: Blower (Fan) Removal.