Network, General settings, Network 5.1.5. general settings – Philips BDL1005X 55" Class Full HD IPS LED Video Wall Display (2x2 Videowall Bundle) User Manual
Page 36
55BDL1005X
26
(5). Check tiling tool status on in OSD
Picture
Sound
Tiling
Network
General settings
Advanced
Help
Status
On
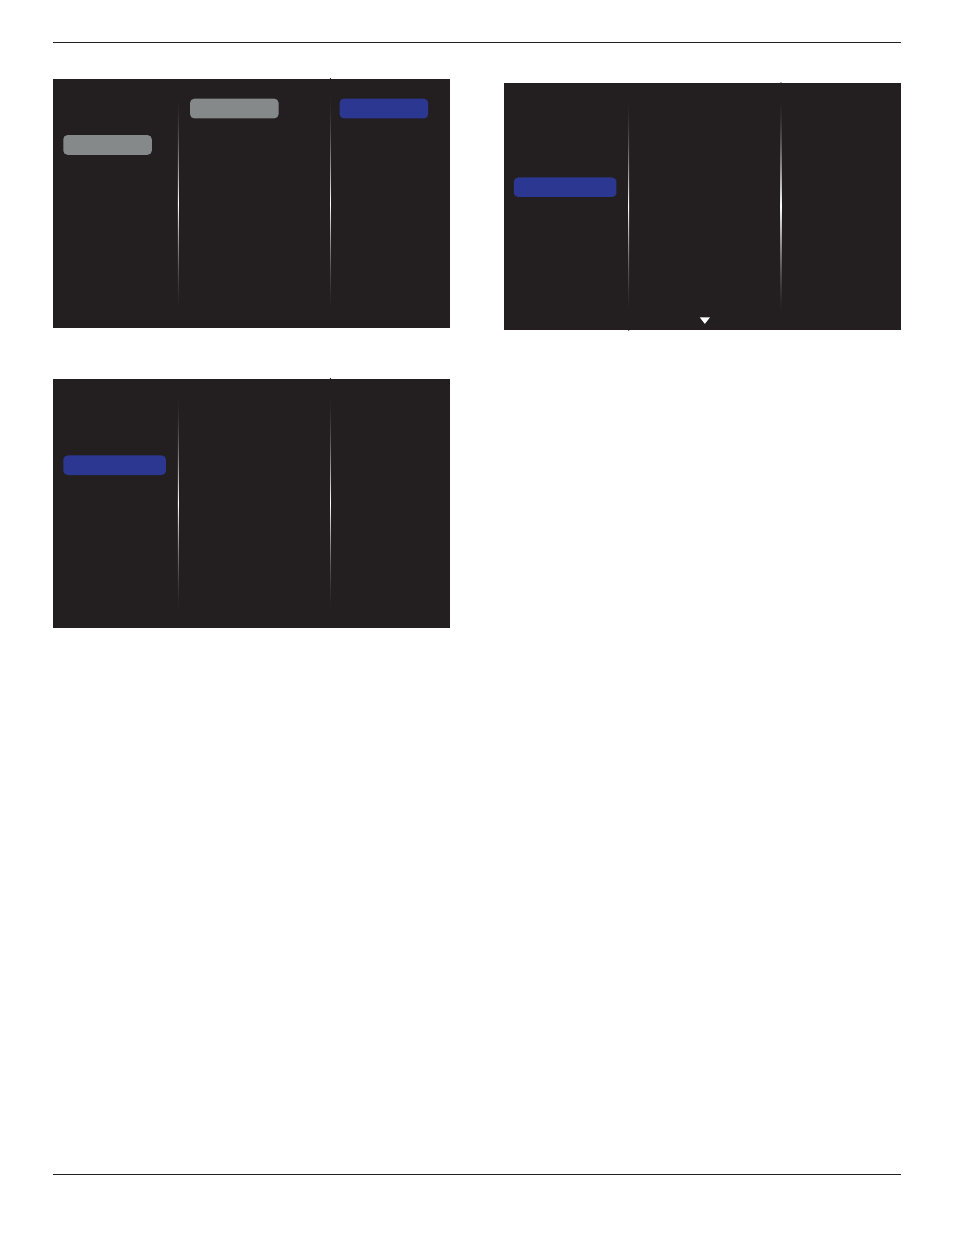
5.1.4. Network
Picture
Sound
Tiling
Network
General settings
Advanced
Help
Network settings
Digital Media Rendere...
Network name
Clear Internet memory
Network settings
• {Network configuration}: Choose how this display should assign
addresses to the network resources.
The user can choose {
DHCP & Auto IP
} (suggested) or {
Static IP
}.
• {Network type}: Choose Wired (default) to set the network type.
Digital Media Renderer - DMR
Receive multimedia files from the connected device by your network.
Network name
In the multiple-display connection, you can rename each display for easy
identification.
Use the on-screen keyboard or the remote control keypad to enter the
name.
Clear Internet memory
Clear all the cookies, bookmarks, history list and text used for auto fill.
5.1.5. General settings
Picture
Sound
Tiling
Network
General settings
Advanced
Help
Menu language
Monitor Group
Monitor ID
Eco mode
Auto search
Clock
Scheduling
Sleep timer
OneWire
Local KB lock
RC lock
Menu language
Choose language used for OSD menus.
Monitor group
Adjust the group range between 1 to 255. The default setting is 255.
Monitor ID
Adjust the ID number for controlling the display via the RS232C
connection. Each display must have a unique ID number when multiple
sets of this display are connected. Monitor ID number range is between
1 to 255. The default setting is 1.
Eco mode
Set this display to reduce the power consumption automatically.
NOTES: Factory default setting is “low power standby”, but user could
not reset it to default after setting Eco mode to”Normal” by “Factory
reset” in MENU. However, user can still change the ECO mode back to
“low power standby” manually.
Auto search
Choose to let this display detect and display available signal sources
automatically.
Clock
Set the current date and time for the display’s internal clock.
NOTES:
The Daylight saving time definition and behavior:
The current implementation of daylight saving is a reminder tool for
the customer which doesn’t know how to adjust the clock for daylight
saving on and off. It does not adjust the real time clock automatically.
Problem is that there are no stable rules per region, or country when to
adjust the clock. To solve this the user must be able to set the daylight
saving start en stop date. When daylight saving correction is on (user
selectable) then the real time clock should be adjusted at the moment
in time set in the daylight saving on and off date. At daylight start date
the clock should be put forward 1 hour at 2 o’clock. At daylight stop
date the clock should be put back 1 hour at 2 o’clock.
The existing daylight on/off menu item should be replaced with the
following menu structure:
Menu item {
Daylight saving
} opens submenu containing the following
items:
• Menu item {
Daylight saving start date
} Selection item {
1st, 2nd, 3rd,
4th, last
} Sunday of selection item {
1-12 month
}
• Menu item {
Daylight saving stop date
} Selection item {
1st, 2nd, 3rd,
4th, last
} Sunday of selection item {
1-12 month
}
• Menu item {
Correction time
} Selection item {
0.5, 1.0, 1.5, 2.0
} hour