Retrotec DucTester with DM-2 User Manual
Page 2
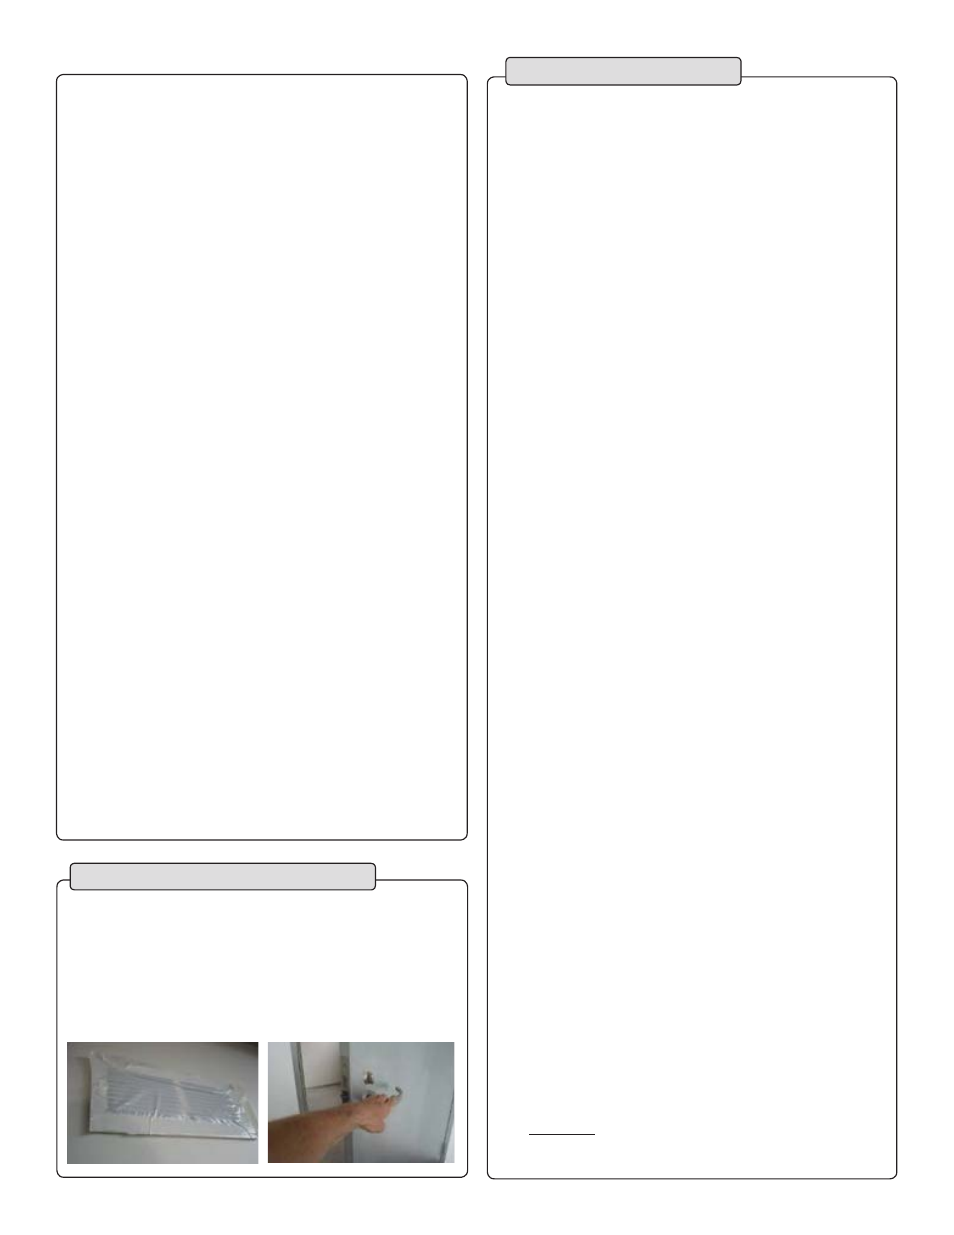
Step 1:
Prepare ducts and house
□
Seal all supply and return grills/registers, including
any exterior air inlets, with Grill Mask or tape.
□
Open all interior doors leading to rooms containing
a supply or return register, and open an exterior door
or window.
□
Shut off all HVAC (exhaust fans, dryers, A/C, furnaces).
Page 2 of 8
Step 2:
Connect to ducts
□
Turn off air-handler
and remove all filters.
□
Tape Flange to main
return or air handler
cabinet using
masking tape.
□
Attach Flex Duct to
Flange.
□
Install Mid-Range Ring to start,
as most systems can be tested
on this Range Configuration.
□
Press [Range Config] to select
range on gauge to match fan,
whenever Range Ring is changed.
□
Press [Auto Zero] until “On” appears -
to keep the gauge
zeroed and ready
to measure.
□
Press [Time Avg] until “4s” appears.
□
Press [Device] until “Retrotec DU200”
appears.
If desired Device does not appear, see:
QuickGuide DM-2 mark II Digital Gauge,
Add/Remove Devices section
□
Press [Range Config] until
“Mid” appears.
□
Press [Mode] to cycle through results.
Select based on “Get the results you
need” on page 4.
If you can’t find the required results, see:
QuickGuide DM-2 mark II Digital Gauge
Prepare the DM-2 gauge
Next, prepare the ducts, house, and fan following
Steps 1 through 3.
Mid
Low
Open
Remove Range Rings for
leakier ducts, add Rings
for tighter ducts.