Figure 3 – H3C Technologies H3C S12500 Series Switches User Manual
Page 3
Manual Version:6PW102-20110725
BOM:3105A01E
iii
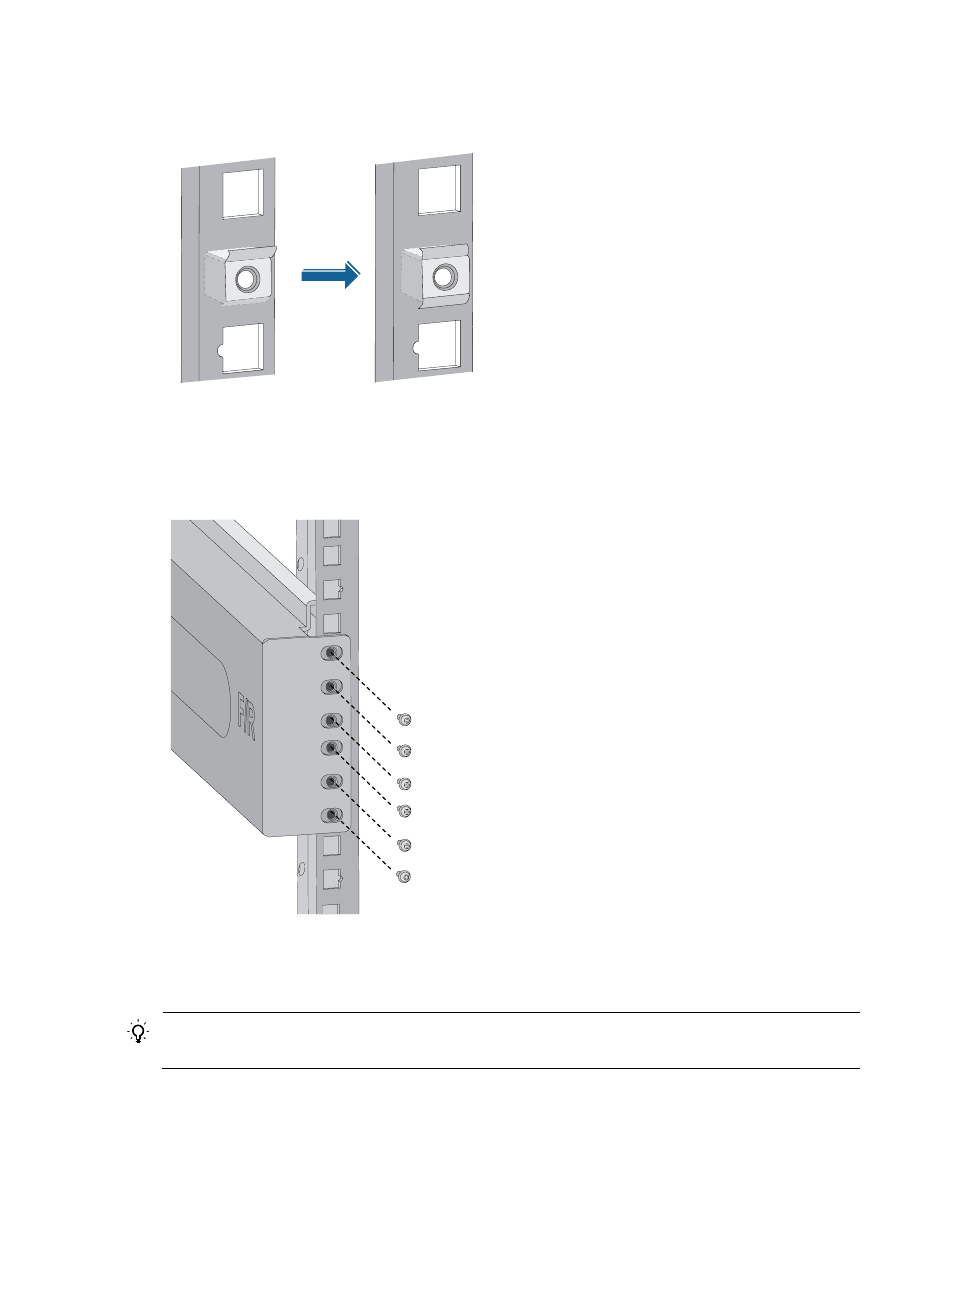
Figure 3 Install a cage nut
Step4
Align the installation holes on the front end of the slide rail with the cage nuts on the front rack post, and
fix them with screws, as shown in
Figure 4 Fix the slide rail to the cage nuts with screws
Step5
Keep the slide rail horizontally and adjust its length until the installation holes on the rear end of the slide
rail touch the cage nuts on the rear rack post. Then fix them with screws.
TIP:
Fix all installation holes of the slide rail with screws to ensure its weight bearing capacity.
Step6
Repeat steps
to install the other slide rail. Make sure the two slide rails are at the same
height so that the device can be placed on them horizontally.
shows the installed slide rails.