Setup, Menu basics – ROTEL RSP-1570 User Manual
Page 37
36
37
English
RSP-1570 Surround Sound Processor
36
37
English
RSP-1570 Surround Sound Processor
• Avoid sending the same infrared command to the RSP-1570’s front
panel sensor and to a remote zone repeater at the same time. This
means that remote zones must be in a different room from the
RSP-1570.
Remote Zone Power On/Off
Once master power is applied to the unit by pressing the rear panel
POWER switch button, the unit provides independent power on/off
operation for the remote zones. Pressing the remote control ON/OFF
buttons in the main room activates or deactivates the unit in the main
room only and has no effect on the remote zones. Conversely, activating
or deactivating Zone 2, 3, or 4 has no effect on the main listening room.
However, placing the rear panel master POWER switch in the OFF
position completely shuts off the unit, for all zones.
Note: For proper power on and off operation with remote zones,
the RSP-1570’s power mode should be set to the factory default
STANDBY setting or to the DIRECT setting using the OTHER
OPTIONS menu described in the Setup section of this manual.
Controlling Zones 2–4 from the Main Room
246-AILM
You can control Zones 2–4 from the main room using front-panel or
remote control buttons to activate or deactivate Zones 2–4, change input
sources, and adjust the volume. Controlling Zone 2, 3 or 4 from the main
room is accomplished by pressing the SEL button on the front panel or
REC button on the remote two or more times, putting the RSP-1570 in
Zone 2, 3 or 4 control mode temporarily. When Zone 2, 3 or 4 status is
displayed, the OSD and/or front-panel displays show the current source
selection and volume in that zone for ten seconds, during which time you
can use the front panel VOLUME control and INPUT buttons to change
the ZONE 2, 3 or 4 settings.
To turn Zone 2, 3 or 4 on or off:
1. Press the front panel SEL or remote REC button repeatedly until the
desired zone status appears in the OSD and front panel displays.
2. Within 10 seconds, press the front panel or remote ZONE button to
toggle the selected Zone on or off.
3. Following 10 seconds with no commands, the unit reverts to normal
operation.
To change the Zone 2, 3 or 4 input source:
1. Press the front panel SEL or remote REC button repeatedly until the
desired zone status appears in the OSD and front panel displays.
2. Within 10 seconds, press one of the INPUT buttons to select a
new source for the selected zone. The name of the selected source
appears in the display. Instead of pressing an INPUT button, you can
also push the +/– buttons on the remote to step through the inputs.
3. Following 10 seconds with no commands, the unit reverts to normal
operation.
To change Zone 2, 3 or 4 volume:
1. Press the front panel SEL or remote REC button repeatedly until the
desired zone status appears in the OSD and front panel displays.
2. Within 10 seconds, adjust the volume control on the front panel or
remote to change the output level for the selected zone. The new
setting appears in the display.
3. Following 10 seconds with no commands, the unit reverts to normal
operation.
Controlling Zones 2–4 from the Remote Locations
AILM
With a properly configured IR repeater system, you have full control of
Zones 2–4 using the supplied remote control, from the zone locations.
You can select and operate a source, adjust the volume, and turn
the relevant Zone on or off. Whatever commands you send from the
RR-1061 will change ONLY the Zone for the location you are in, just as
if you were controlling a totally independent audio system in that room.
These changes will not affect the main listening room.
To turn the Zone on or off, press the ON/OFF buttons on the remote. To
adjust the volume in the Zone, press the VOLUME buttons on the remote.
To select a different analog input source, press one of the DEVICE/INPUT
buttons on the remote. You can also use the +/– buttons to step through
the source inputs.
All OFF command:
A long press of the OFF button (more than 3
seconds) from any room, sets all rooms to standby, i.e., the unit goes to
standby completely.
Note: The volume adjustment is only available if the Zone 2–4
outputs are configured to use VARIABLE levels. With FIXED levels,
the volume control for Zones 2–4 is disabled.
Note: The RR-1061 remote control can be set to send individual
IR commands for each zone. Please refer to the setup manual
supplied with the RR-1061 to program this function.
SETUP
The Rotel RSP-1570 features two types of information displays to help
operate the system. The first consists of simple status displays that
appear on the TV screen and/or front panel display whenever primary
settings (Volume, Input, etc.) are changed. These status displays are self-
explanatory.
A more comprehensive ON-SCREEN DISPLAY (OSD) menu system is
available at any time by pressing the MENU/OSD button on the remote.
These OSD menus guide you through the configuration and setup of the
RSP-1570. In general, the settings made in the configuration process are
memorized as default settings and need not be made again for normal
operation of the unit.
The OSD menus can be configured to display several different
languages. The default English version of all the menus is shown at the
front of this manual. If your language is available, those menus will be
shown in the instructions. If you would like to change from the default
English language before proceeding, go to the instructions for the OTHER
OPTIONS menu later in this manual. From this menu, you can change
the language display.
Menu Basics
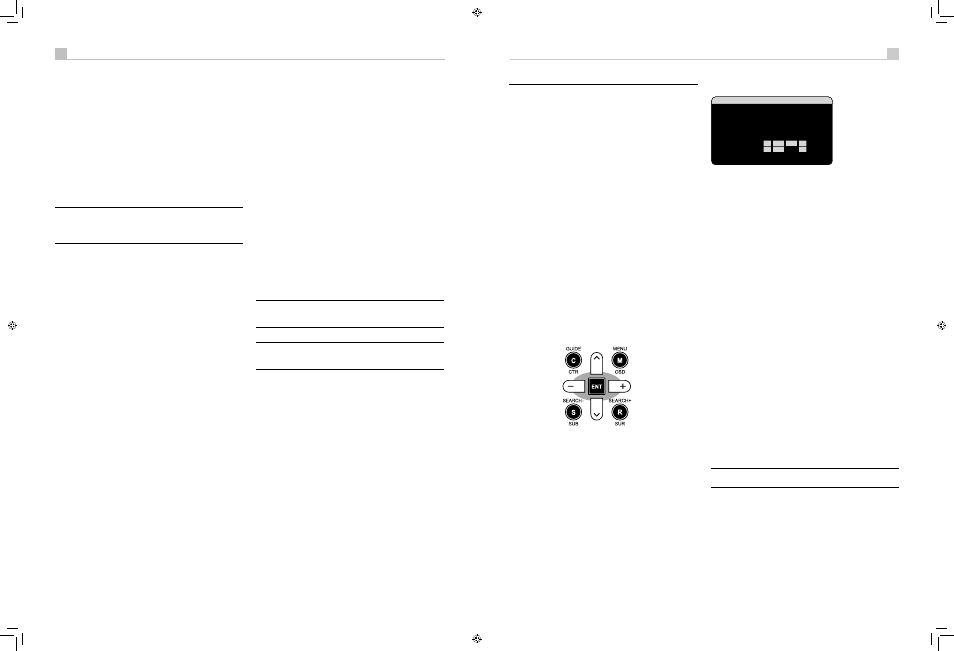
Navigation Buttons
KL
The following remote control buttons are used to navigate the OSD menu
system:
MENU/OSD button:
Press to display the SYSTEM STATUS screen. From
the SYSTEM STATUS screen, press the ENTER button to display the MAIN
MENU screen which has links to all other menus. If a menu is already
visible, push this button to cancel the display. The MENU button on the
front panel provides the same function.
DOWN/UP Buttons:
Press to move up and down in the lists of menu
items that appear on the OSD screens.
+/– Buttons:
Press to change the current settings for a selected menu
item on OSD screens.
ENTER Button:
From the SYSTEM STATUS screen, press ENTER to
display the MAIN MENU screen. From any other OSD screen, press
ENTER to confirm a setting and return to the MAIN menu.
System Status
����������������������
�������������������
�����������������
���������������������
�������������������������������
�����������������������
����������������
��������������
�������������
��������������
������
����
���
����������������������������������
The SYSTEM STATUS menu provides a snapshot of the current system
settings and a starting point for reaching all other screens and menus.
This screen appears when you press the remote MENU/OSD and
displays the following information:
LISTEN:
the input source selected for listening.
VID INPUT:
the video source selected for viewing. It is necessary to
assign a video input, by selecting from Composite 1–3, S-Video 1–3,
Component 1–3, HDMI 1–4 or OFF (no video) in the INPUT SETUP
menu.
RECORD:
the source selected for recording from the VIDEO and AUDIO
outputs.
MODE:
the current surround sound mode.
AUDIO INPUT:
the input selected for the current source: Optical Digital,
Coaxial Digital, HDMI Audio, Analog, etc.
VOLUME:
the current volume setting.
SPEAKERS:
highlights the speakers that are currently configured for the
system (front right, center, subwoofer, front left, surround left, center back
1, center back 2, and surround right).
ZONE:
shows the current status of ZONE 2, 3 & 4 (Z2, Z3 & Z4). In the
example, the ZONE 2 source is Video 1, ZONE 3 is OFF, and the ZONE
4 source is Video 5.
No changes can be made using this screen; it only provides information.
To go to the rest of the menus, press the ENTER button to go to the MAIN
menu. Press the MENU/OSD button on the remote to cancel the display
and return to normal operation.
Note: The SYSTEM STATUS screen appears for five seconds when
the unit is turned on and automatically turns off.
RSP-1570 English v1.2.indd 36-37
7/10/08 00:05:35