Service and care, Initial operation, Shutting down the unit – REMKO PWW 5000 User Manual
Page 6
6
Service and Care
REMKO PWW units require virtually no maintenance
when operated normally. They should, however, be
checked regularly and, if necessary, cleaned, to ensure
proper operation.
1. Separate all poles of the unit from the power supply
and secure it from being switched on by unauthor-
ised persons.
It is not adequate to switch the unit off via the control
switch on the switching unit!
Initial Operation
Prior to initial operation
Prior to initial operation, the following must be com-
pleted:
1. Check that assembly is mechanically sound.
2. Check that the connection to the customer-installed
heating system is correct.
3. Make sure that hot surfaces, e.g. the supply lines,
are protected against unintentional contact.
4. Make sure that all air outlet openings are opened.
5. Activate the power supply to the switching unit and
switch the unit on via the control switch.
6. Initial operation is prohibited until it is ensured that
the proper assembly and electrical installation corre-
sponds to the provisions of the EU guidelines
89/392/EWG and 73/23/EWG.
During initial operation
1. Measure the power consumption of the fan.
The rated current may not exceed the value speci-
fied on the type plate in each switch phase.
2. Check the control/regulating function of the fan.
3. Check the function of the room thermostat.
If mounted.
4. Check that the fan is running quietly.
5. Check the entire system for any vibrations.
6. Check that the heating medium supply lines have
been properly connected and are impermeable.
2. Wait until the fan stops.
3. Turn off the flow of water and secure it from being
opened on by unauthorised persons.
4. Wait until the heat-exchanger has cooled down.
Cleaning materials
◊
Only clean the unit when dry or with a slightly moist
towel and a soap solution.
◊
Never use high-pressure or steam cleaners.
◊
Do not use abrasive cleaners or cleaners that con-
tain solvent.
◊
Even when the unit is extremely dirty, only use suit-
able cleaning materials.
General care
◊
Keep the inside and outside of the unit free of dust
and other deposits.
◊
Keep the air intake and outlet openings from being
blocked.
The 4 air outlet grilles can be easily removed from
the front using a screwdriver.
◊
Check the protection grilles, the fan wings and the
heat-exchanger at regular intervals for dirt.
◊ Clean the plate fins of the heat-exchanger by blow-
ing air out or in or with a soft brush.
◊ Remove extreme dirt on the fan and plate fins with a
soap solution.
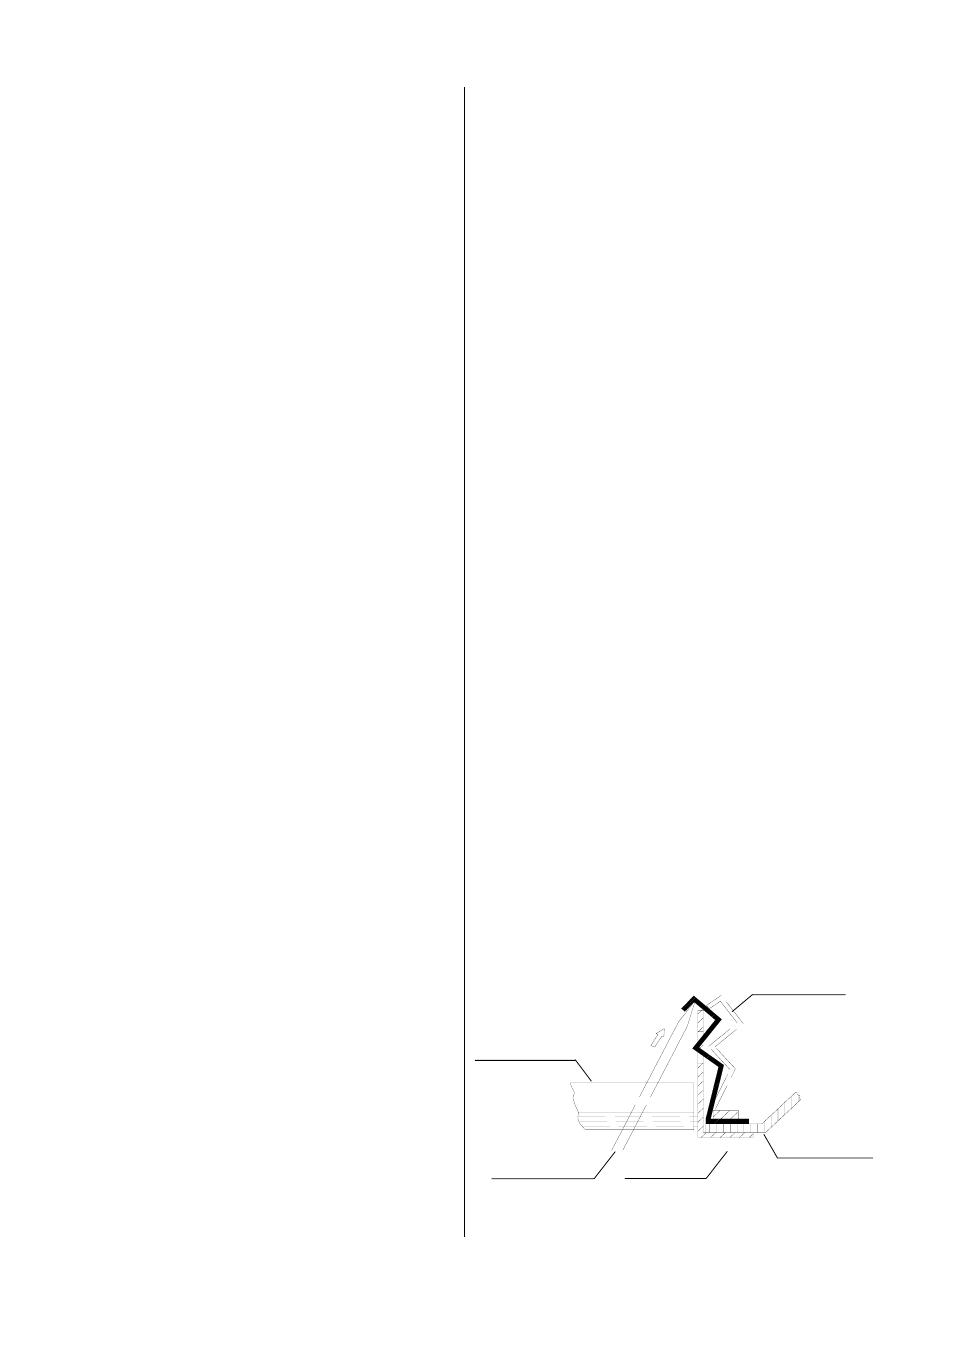
Air outlet fin
Screwdriver
Holding spring
Unit housing
Air outlet grille
Information on dismantling the air outlet grille
1. Press the black holding spring to the inside.
Using a screwdriver, etc.
2. Remove the air outlet grille to the front.
3. When inserting the grilles, push lightly on them until
they click into their original position.
Shutting Down the Unit
Prior to longer periods of non-operation
◊
Switch all poles of the electrical connections off.
◊
If there is a danger of frost, drain the system if the
heating medium (water) has not been mixed with a
suitable anti-freeze.
It is only possible to completely drain the heat-
exchanger with compressed air.
*
Do not flood the motor and the housing. Do not
damage or bend the fan blades or plate fins.
*