Setting the clock, Selecting the operating mode – REMKO ATR-3 User Manual
Page 7
7
Setting the Clock
The clock can be set once the
¹ program button
has been held down for 3 seconds or after the
unit restarts following a reset. If the clock has not
yet been reset, it blinks on the display.
When you press the SET program button, you are taken to the desired set-
ting option (Hours -> Minutes -> Day of the week). The selected option
blinks on the display.
By pressing one of the program buttons + or –, the value of the selected op-
tion can be changed and the selection confirmed by pressing the SET button.
After confirming the day of the week, the clock starts accurate to the sec-
ond. The unit returns to the operating mode from which the “
Set Clock
“
menu was accessed. If no button is pressed within 1 minute, the current
time automatically appears again.
Programming example: Monday, set 10:16
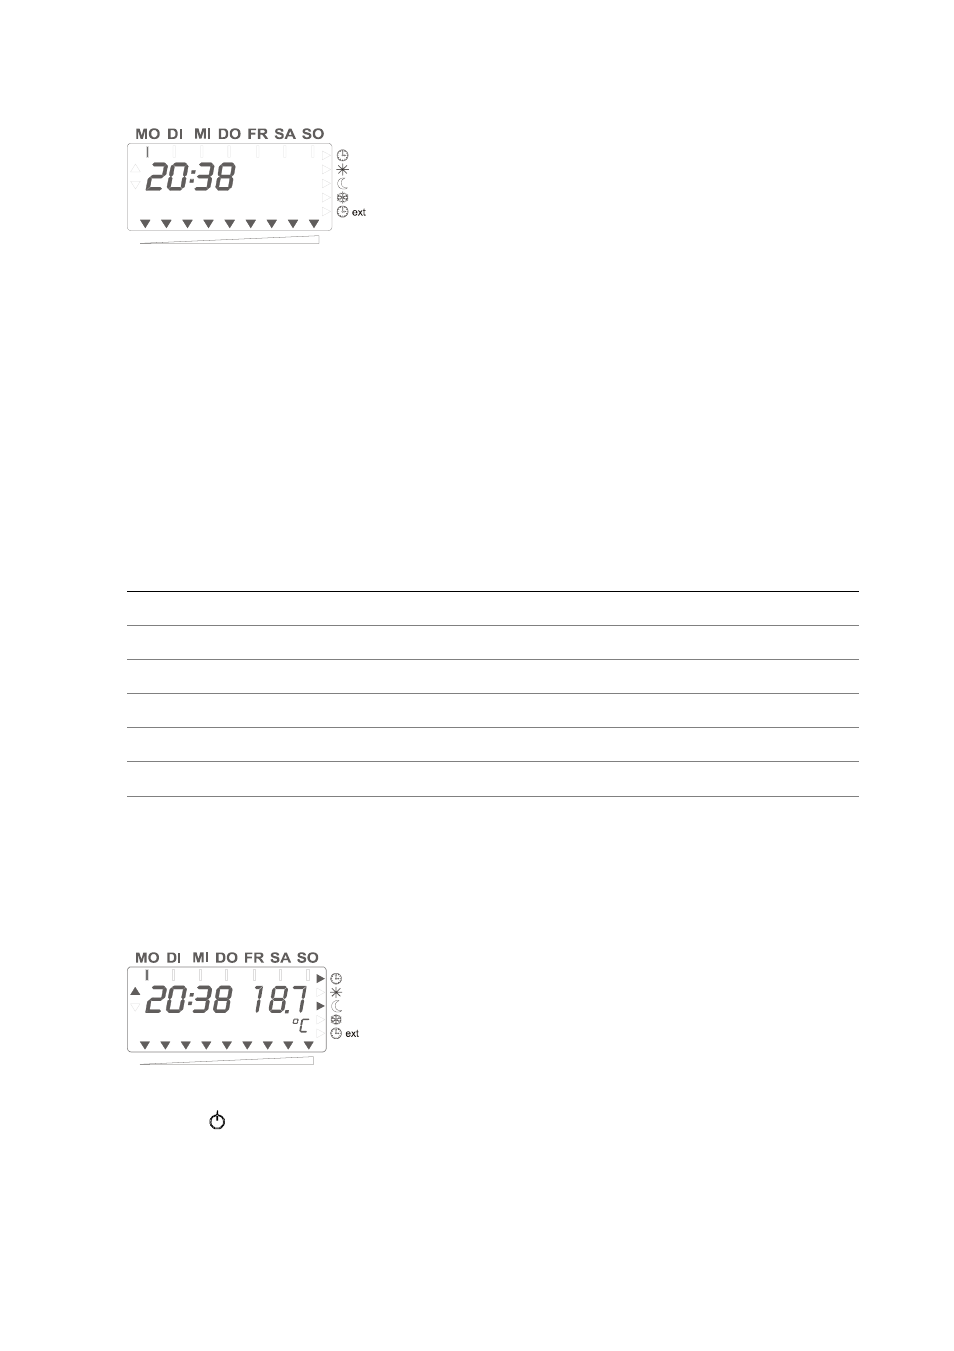
Selecting the Operating Mode
Display Button Explanation
1.
¹
Change time setting
2.
20:30
+/-
Hours blinking; change setting with [-]
3.
10:00
SET
Confirm entry
4.
10:00
+/-
Minutes blinking; change setting with [+]
5.
10:16
SET
Confirm entry
6. *
+/-
Day of the week blinking; change setting with [+/-]
7. *
SET
Confirm entry and transmit programming
The main operating modes are selected by
pressing one of the three program buttons on the
left. You can select from the following modes:
Automatic
¹, Comfort á(continuous) and Cool-
ing
(continuous).
The Off and Frost protection
T modes can be set by pressing the top and
middle or bottom and middle program buttons on the left at the same time.
The selected operating mode is displayed by indicators on the right-hand
side of the display. In the
Automatic
operating mode, one of the two indica-
tors also shows the currently valid temperature control (Comfort or Cooling).
No indicator is displayed in the
Off
operating mode.