Dukane Projector 8794H-RJ User Manual
Page 57
57
OPTION menu
Item
Description
MY BUTTON
(
continued)
• PICTURE MODE: Changes the PICTURE MODE (31).
• FILTER RESET: Displays the filter time reset confirmation dialogue (55).
• TEMPLATE: Makes the template pattern selected to the
TEMPLATE item (51) appear or disappear.
• AV MUTE: Turns the picture and audio on/off.
• RESOLUTION: Turns on/off the RESOLUTION dialog (42).
• ECO MODE: Changes the ECO MODE (44).
•
BLANK: Turns on/off the blank function. (ECO button only)
•
FREEZE: Turns on/off the freeze function. (ECO button only)
•
VOLUME: Turns on/off the volume dialog. (ECO button only)
•
AUTO: Performs the automatic adjustment function.
(
ECO button only)
MY SOURCE
Using ▲/▼ buttons selects the picture input port to be selected with
pressing the
MY SOURCE/DOC.CAMERA button on the remote
control.
You can use this function not only for document cameras but also
computers and other equipment.
VIDEO ó COMPUTER IN1 ó COMPUTER IN2 ó LAN
S-VIDEO ó HDMI ó USB TYPE B ó USB TYPE A
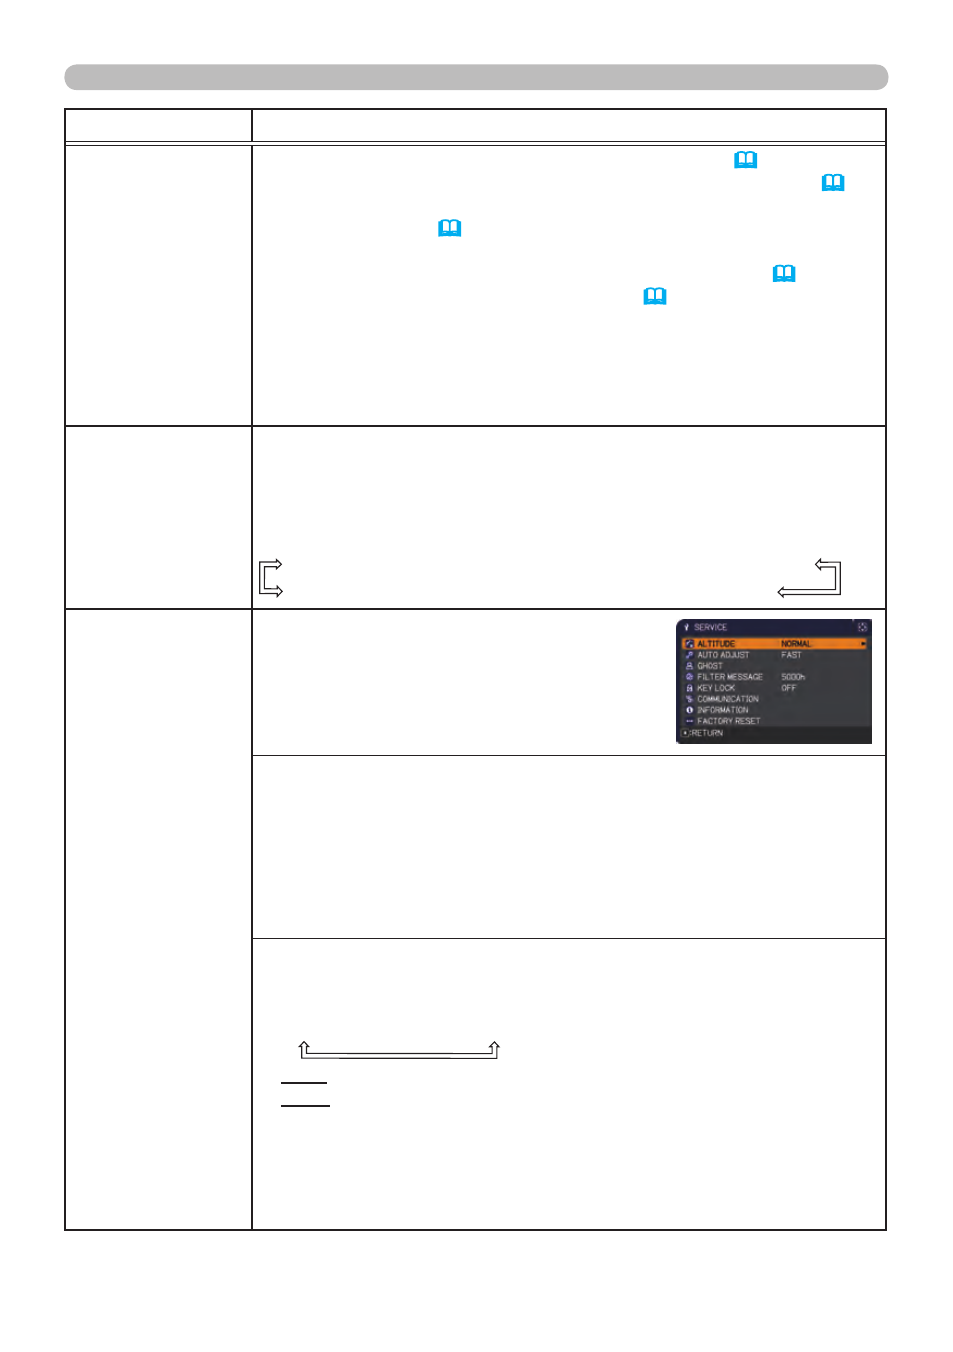
SERVICE
Selecting this item displays the SERVICE
menu.
Select an item using the ▲/▼ buttons,
and press the ► button or the
ENTER
button on the remote control to execute
the item.
ALTITUDE
Using the ▲/▼ buttons switches the rotation speed of the cooling fans.
The HIGH is the mode for use at highlands etc. If the projector is used
at an altitude of about 1600 m (5250 feet) or higher, select HIGH.
Otherwise, select NORMAL.
Note that the projector is noisier when the
HIGH is selected.
HIGH ó NORMAL
AUTO ADJUST
Using the ▲/▼ buttons to select one of the mode. When the
DISABLE is selected, the automatic adjustment feature is disabled.
FINE ó FAST ó DISABLE
FINE: Finer tuning including H.SIZE adjustment.
FAST: Faster tuning, setting H.SIZE to prearranged data for the
input signal.
• Depending on conditions, such as input image, signal cable to the
projector, environment around the projector, etc., the automatic adjustment
may not work correctly. In such a case, please choose DISABLE to
disable the automatic adjustment, and make adjustment manually.
(continued on next page)