Oregon LW301 User Manual
Page 6
E
N
6
SET.UP.REMOTE.TEMPERATURE./.HUMIDITy..SENSOR
LW301/302
. Slide to open the battery compartment cover.
2. Slide channel switch to select a channel (, 2, 3).
Ensure you use a different channel for each sensor.
3. Place the batteries in the compartment following the
polarity label +/-.
4. Press RESET after each battery change.
5. Align the cover flat against the battery compartment,
then slide it until it clicks into place to lock the cover.
.NOTE. Ensure to set at least one sensor to be channel
one, the data of channel one will be shown on LIVE page
in the application (page 8).
SET.UP.RAIN.GAUGE
LW301
The rain gauge collects rain and takes rainfall readings.
SET.UP.WEATHER.SENSOR.RECEIVER
LW301/302
For continuous use, connect the weather sensor receiver
to Internet-connected hub using receiver connection
cable provided.
1. Using provided LAN cable, connect one end to the
ETHERNET socket on the Internet-connected hub
and the other end to the router.
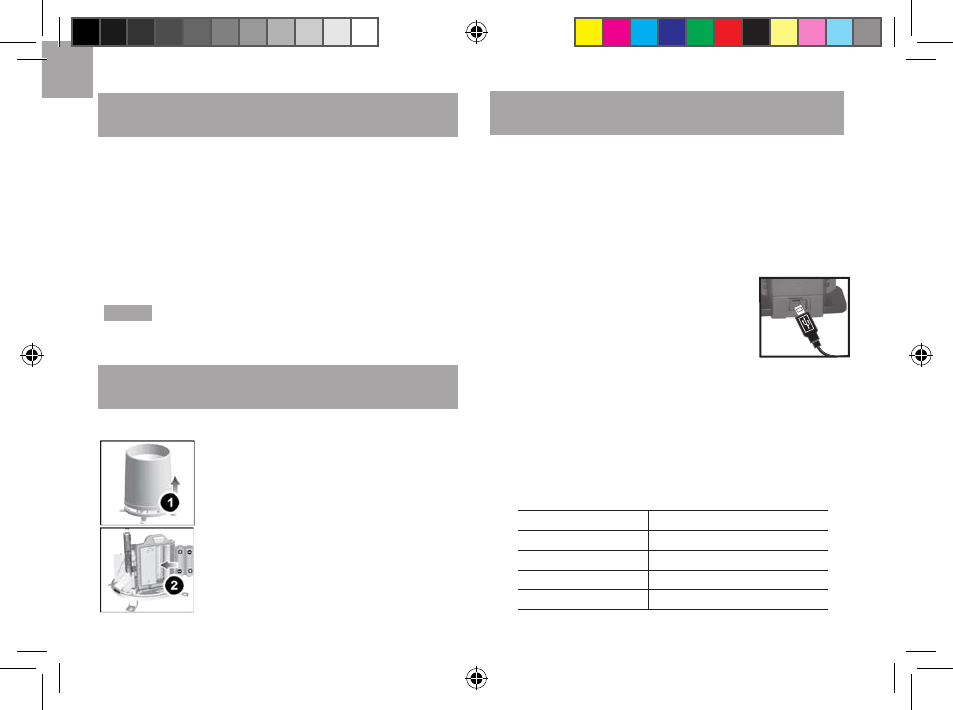
2. Using provided receiver connection cable, connect one
end to the receiver connection socket
( or 2) on the Internet-connected hub
and the other end into the USB socket
on the weather sensor receiver. on the
weather sensor receiver.
3. Plug the large end of the power adapter into a power
outlet not controlled by a wall switch. Plug the small
end of the power adapter into the power socket on
the Internet-connected hub.
4. Once connected, the weather sensor receiver will
send the data to the Internet-connected hub via
receiver connection cable.
LED Light
Meaning
Continuously on
Connection successful
Fast blink
Searching
Slow blink
Lost link
Protracted blink
No device found
. Remove screws and slide the cover
off in an upwards motion.
2. Place the batteries in the compartment
following the polarity label +/-. Press
RESET after each battery change.
3. Remove the fibre tape.
LW301_UM_EN_R8.indd 6
2012/8/14 3:06:15 PM