Rotary encoder installation-using alignment tool – MicroE 1500H Mercury User Manual
Page 10
Installation Instructions
Rotary Encoders - Using Alignment Tool - Mounting
Page 8
Attach your hub/scale
assembly to the rotary
device. Refer to the
interface drawing. The
reflective surface of the
scale must face the sensor.
1
2
Install the sensor on your mounting surface
referencing the appropriate datum surface as
shown on the interface drawing. Use 2 washers
per mounting screw.
Benching pins may be used to locate the sensor
if the system mechanical tolerances are adequate.
See data sheet for alignment tolerances, or keep
mounting screws loose for sensor alignment if
benching pins are not used.
To Power Supply
To M1500H encoder
4
Connect the Alignment Tool to the
Computer Interface Adapter. Turn on
the power.
3
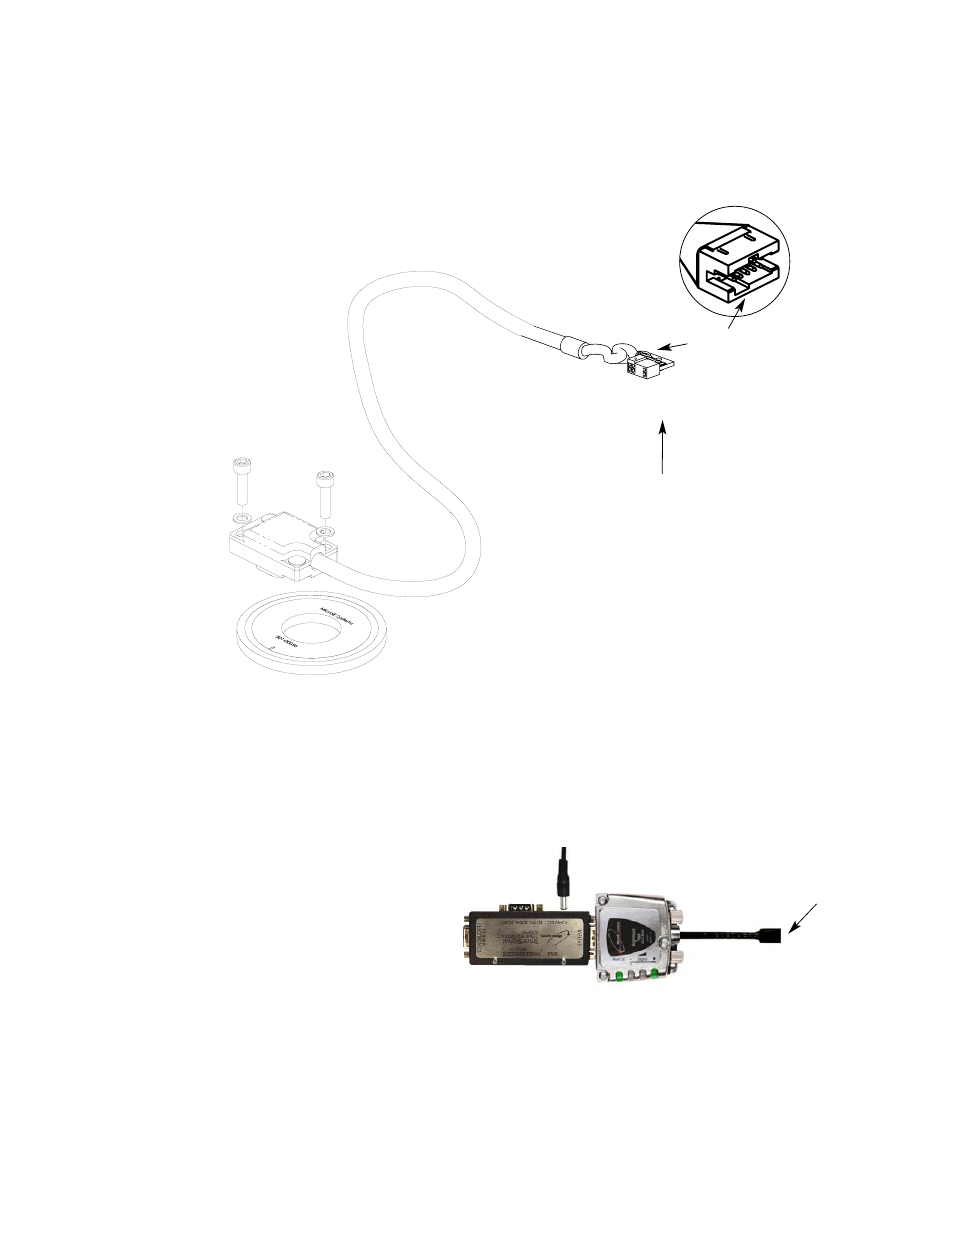
Be sure the source power is off before
connecting the SmartPrecision
Alignment Tool.
Connect the M1500H encoder to the
SmartPrecision Alignment Tool; note
that the key and keyway on the mating
connectors must be aligned.
When connecting the M1500H in your
motion system, see p. 13 for grounding
and strain relief recommendations.
Keyway
Alignment tool
connector