Key lock (child safety), Key-lock (child safety) – Kleenmaid DCTI User Manual
Page 8
8
Key Lock (child safety)
Mod. DCTI
Locking/ unlocking of the Key Lock
The keypad is blocked when the Key Lock button is
pressed in the Standby or On mode; the Key-Lock
LED “9” lights permanently.
The control continues to operate in the previously set
mode but can no longer be controlled by other buttons,
except by the Key-Lock button or the ON/OFF button.
Switching off with the ON/OFF button is also possible
when locked. The Key-lock button LED switches off
when the Touch control and Key-Lock function are
switched off. The LED lights again if reactivated (within
10 sec.) until it is deactivated by pressing the Key-Lock
button once again. The activation/ deactivation of the
Key-Lock function is not possible in the OFF mode.
Unlocking/ deactivation of the Key Lock
The keypad is unlocked and the Key-Lock LED is
switched off when the Key-Lock button is pressed again
in the Standby or On mode. All sensor buttons can once
again be activated.
Key-Lock (child safety)
Mod. DCTIW
Activation and deactivation
The activation of the key-lock in the pause or active
mode causes the deactivation of the power to both
burners.
The symbol “11” appears on the display. It can only
be totally turned off with the ON/OFF bu on or the
release by activating the key-lock symbol and then the
“+” o “-” symbol a er the beep.
To block the regulation of a burner in safety,
activate the TIMER symbol and the “-” symbol
related to the burner at the same time. The key-lock “9”
LED will light. The control will continue to operate in the
previously set mode and cannot be controlled by other
bu ons, except for switching off with the key-lock bu on.
The release is performed by activating again the TIMER
symbol and the “-” symbol together.
Booster and management of power for the wok
induction model DCTIW
The wok induction model has a Booster function. The
generator, with Booster On, gives the cooking zone
power that is significantly greater than the rated output.
The booster allows a particularly rapid heating of the
food thereby saving the user time.
The Booster function can be activated as follows:
- The cooking zone must be at the maximum possible
level;
- The Booster function is activated by pressing the “+”
button again. A fixed “P” is displayed on the indication
of the cooking zone.
The power is increased from 2400 to 3000 W.
For safety reasons the Booster function can only be
activated for a limited duration of 10 minutes.
If the pan is removed from the cooking zone during the
Booster time, the Booster function remains on and also
the Booster time is not deactivated.
The Booster is switched off by pressing the “-“ button.
The “+” has no effect whatsoever.
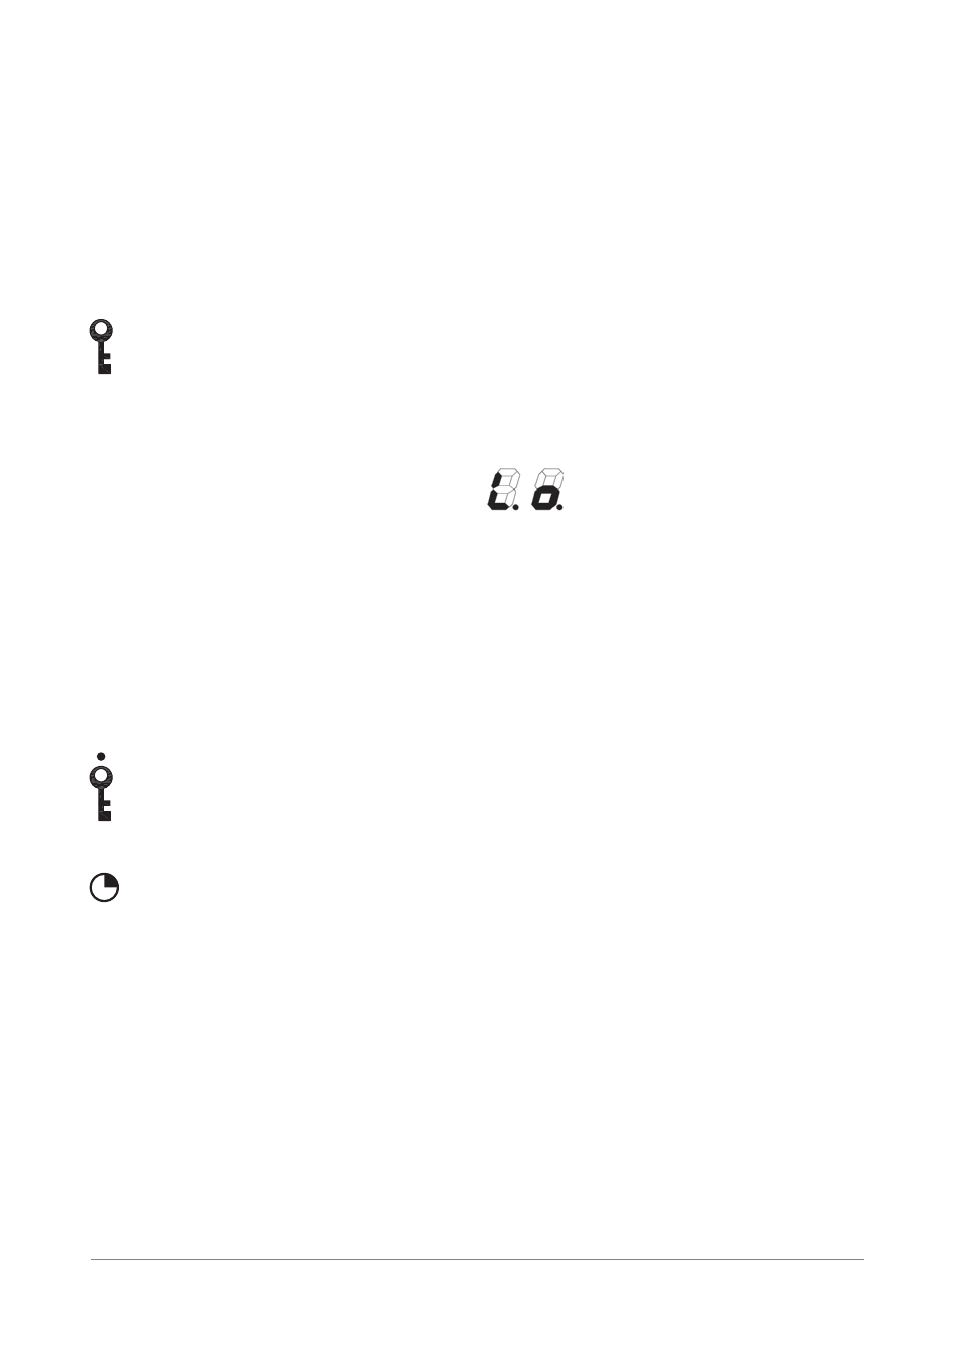
Keep- warm function (Lo Temp)
The keep-warm function serves to keep the
food on a cooking zone warm. To do so,
the selected cooking zone is supplied with
a lower power.
The temperature maintenance function is activated by
setting the cooking level between 0 and 1. On both
settings, the indications of the cooking areas on the IN
2 model are displayed with the “Lo” symbol (see above).
This is the same for the wok induction model.
Lowering the cooking temperature with the “-“ button
pressed, the temperature stops on the keep-warm
cooking level. Push the button again to switch to “0”.
Precautions
- If there is even the tiniest crack in the ceramic glass
surface, immediately disconnect the hob from the
electricity supply.
- During operation, move any magnetic materials such
as credit cards, computer disks, calculators, etc.,
away from the area.
- Never use cooking foil or rest products wrapped in foil
directly on the hob.
- Metallic objects such as knives, forks, spoons and
lids must not be rested on the surface of the hob to
prevent them from heating up.
- When cooking with non-stick containers, without
using water or oil, limit any preheating time to one or
two minutes.
- When cooking foods which tend to stick to the bottom
of the pan, start at minimum power and gradually
increase the heat, stirring frequently.
- After use, switch off correctly (decreasing to “0”) and
avoid relying on the pan sensor.