Assembly – Echo Bear Cat 70520 User Manual
Page 8
5
Assembly
1. Remove from crate.
2. Place hopper assembly on top of shredder frame.
The tabs on the bottom of the hopper should be
placed inside of the shredder frame. Secure with 11
5/16" x 3/4" Bolts, washers and locknuts. Insert the
bolts from the inside of the hopper outwards.
3. Connect 3 pt. mounts on chipper/shredder and
tractor (a special bushing kit is needed for category
2 & 3 hitches). Secure connection with snap rings.
4. Adjust leg stands so that the PTO drive shaft runsa
as straight as possible. PTO shaft angle should not
exceed 7
o
.
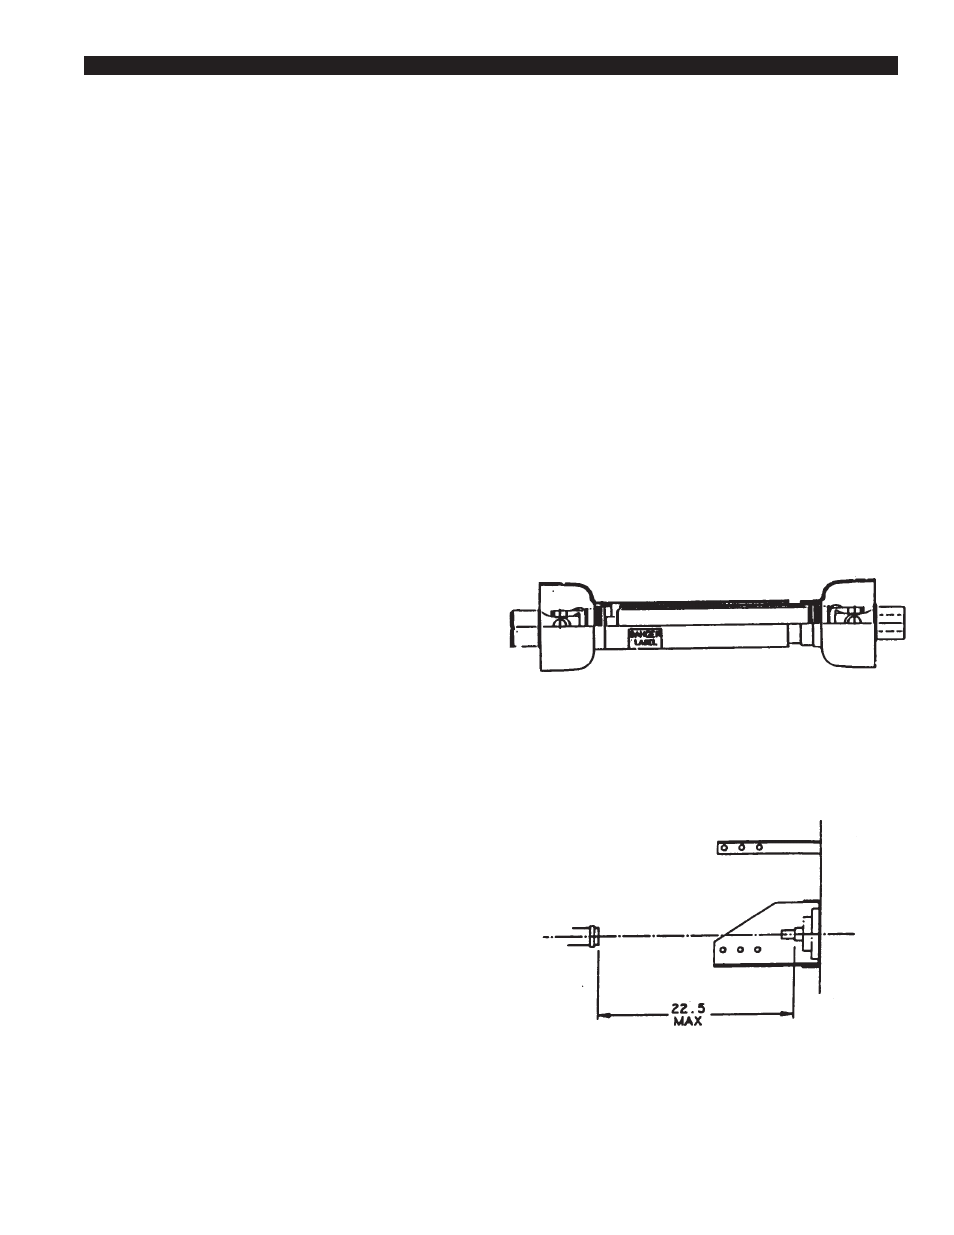
5. Connect PTO shaft between Chipper/Shredder and
tractor. Make sure you are using the correct RPM
machine, there are two models, 540 rpm and 2000
rpm. Do not operate machine at speeds different
than specified on shield.
NOTE: Minimum & maximum telescoping on the PTO shaft
is 18" to 26". This will leave a 4 inch overlap at maximum
telescoping distance.
NOTE: The maximum distance between the chipper/
shredder and the tractor should not exceed 22-1/2 inches.
Your chipper/shredder may arrive totally or partially
assembled. If your machine arrives partially assembled,
you may need to perform the steps in this section.
2.1.1 Assembly Towable Models
1. Remove the chipper/shredder and hopper assembly
from shipping crate.
2. Place hopper assembly on top of shredder frame.
The tabs on the bottom of the hopper should be
placed inside of the shredder frame. Secure with 11
5/16" x 3/4" Bolts, washers and locknuts. Insert the
bolts from the inside of the hopper outwards.
3. Install rims and wheels onto trailer frame, using the
wheel bolts supplied.
4. Using three 5/16" x 1" bolts, six 5/16" washers, and
three 5/16" locknuts, install the fender onto the
existing fender bracket on the chipper chute side of
the unit. A washer is used on both the bolt head and
the nut in this application. Torque bolts and nuts to
20 ft. lbs.
5. Using three 5/16" washers and three 5/16" nylock
nuts, mount the left side fender onto the large belt
guard. There are three weld stubs on the belt guard
to which the fender is attached. Torque to 20 ft. lbs.
6. Insert trailer hitch into track on the bottom of the
trailer frame and secure with three 3/8" bolts,
washers and nuts that connect under the trailer
frame. Tighten to 35 ft. lbs. torque
7. Read and become familiar with the Engine Owners
Manual. Be sure to fill the engine oil before starting
the machine.
8. Install 12 volt battery (not supplied) into tray on
hitch assembly. Connect cables, be sure black cable
is attached to negative battery terminal and red cable
to positive terminal. Secure battery with angle and
bolt. (NOTE: Battery size-Group U1 12 volt 32
amp-250 cold cranking amps.)
9. Connect spark plug wire.
2.1.2 Assembly PTO Model
S
E C T I O N
2
2