Echo Bear Cat 70520 User Manual
Page 12
9
MACHINE'S SHREDDING CAPABILITY, DO NOT ATTEMPT
TO HOLD ON TO MATERIAL INTENDED FOR SHREDDING
ONCE IT HAS BEEN PLACED IN THE HOPPER.
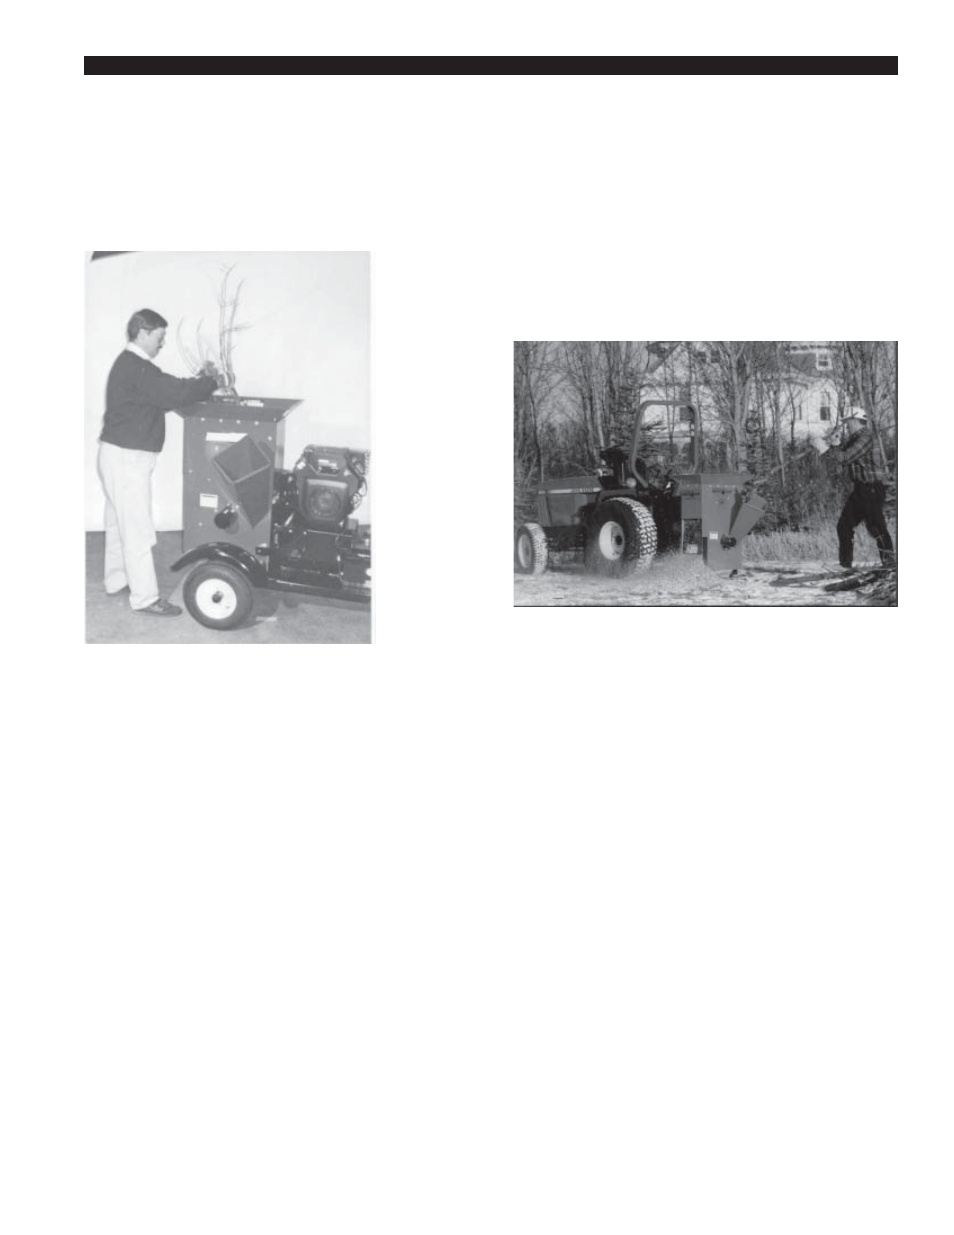
1. Place materials to be shredded (grass, leaves, garden
refuse, sticks and branches less the 1-1/2 inches in
diameter and 24 inches long, etc.) into the hopper. If
necessary,
use a leaf
tamper,
branch or
other similar
object to
push material
through the
inlet guards.
Feed mate-
rial evenly
into the
shredder so
that the
engine does
not lug down
or the
shredder
becomes
plugged.
Attempting
to use the clutch to clear a plugged rotor will cause
belt damage. Refer to Section 3, Clearing Plugged
Rotor, for instructions. Branches or items that plug
or cause the machine to stall should be fed in more
evenly or put through the chipper chute.
2.2.2 Chipping (See Figure 5)
WARNING! Keep face and body away from the feed
opening. Do not overreach. Keep proper balance and
footing at all times.
1. Select limbs that are between 3/4 and 5 inches in
diameter; trim side branches off that cannot be bent
over enough to fit into the chipper chute. Some
small branches can be broken off on the chipper
chute transport handle. Small diameter branches
can be held together in a bundle and fed in
simultaneously.
2. Place limb, butt end first, into the chipper chute
until it contacts the chipping blades (See figure 5).
The actual feed rate of the limb into the chipper will
depend on the type of material being fed, the
sharpness of the cutting blades and the size of the
machine. Alternately insert and retract the limb or
insert continuously at a rate that will not kill the
engine. Rotating the branch as it is being fed will
improve cutting action.
The chipping blades will dull with use and require
periodic sharpening. Refer to Section 3, Sharpening
Chipper Blades, for instructions.
2.2.3 Stopping(Towable Models)
To stop the machine, proceede as follows:
1. Move throttle to slow position.
2. Disengage rotor clutch by pressing foot pedal.
3. Move throttle to stop position or turn off ignition
switch and remove spark plug wire from spark plug.
4. Allow machine to come to a complete stop.
2.2.4 Stopping(PTO Models)
1. Move the tractor throttle to slow position.
2. Disengage the PTO lever and shut off the tractor
engine.
3. Allow the machine to come to a complete stop.
Note: The rotor is heavy and has inertia that will make the rotor
continue to turn for some time after the clutch has been
disengaged. You can tell that the rotor has come to a complete
stop when there is no noise, machine vibration, or the exposed
end of the rotor shaft is not rotating. The stopping time can be
shortened by inserting a branch into the chipper chute so it
contacts the blades and slows the rotor.
Figure 4
Figure 5
S
E C T I O N
2