Delta Dore DU TYXAL+ User Manual
Tyxal du
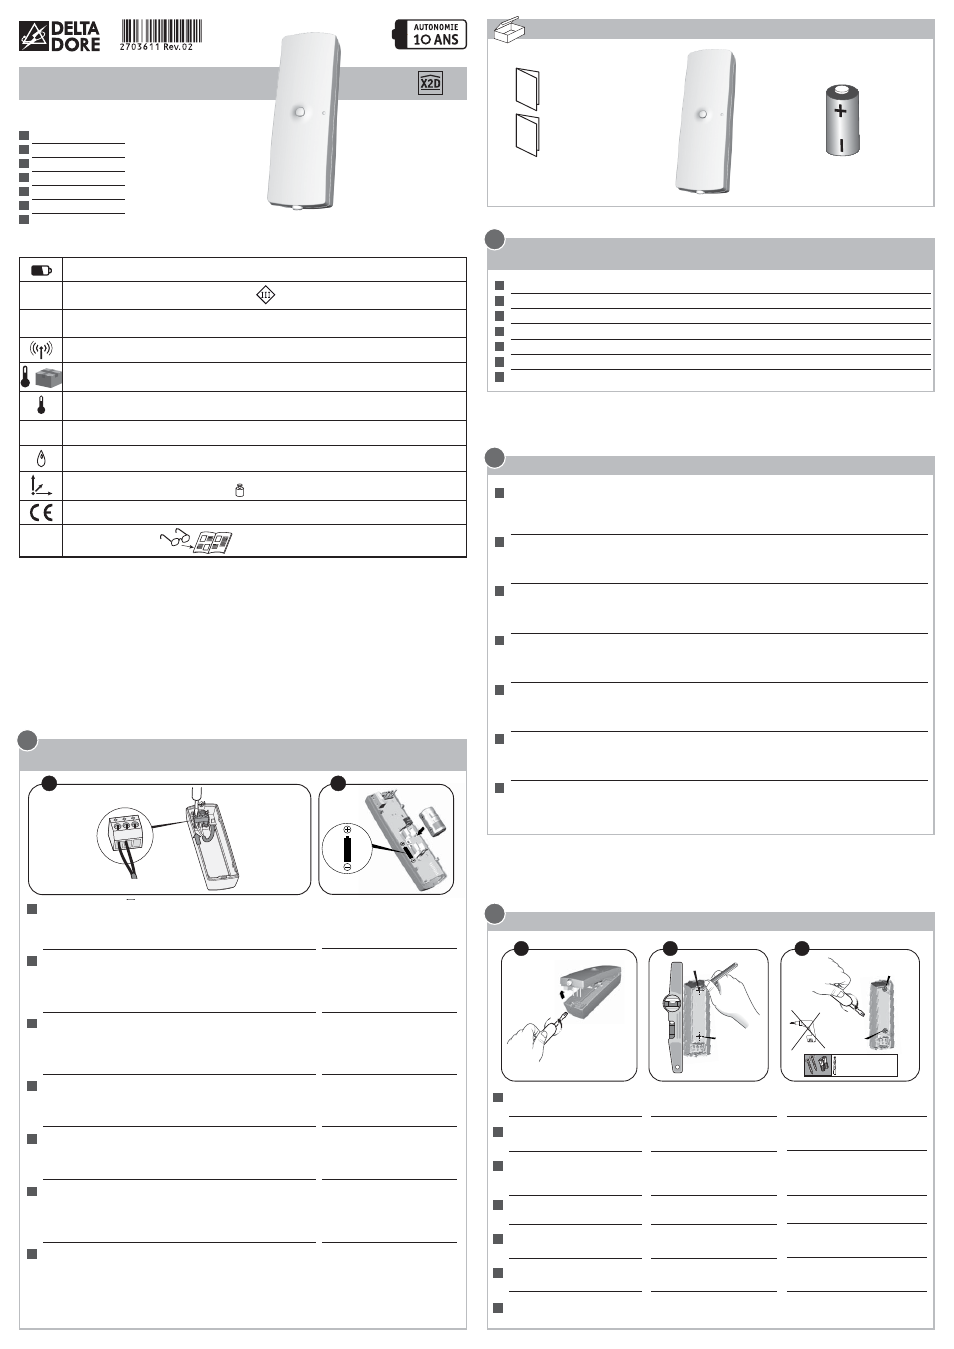
Contenu / Contents / Inhalt / Contenuto / Contenido / 3PISÒTREÜCIÒ/ Inhoud
Instructions
Important
Product
Informations
FR
Le détecteur doit être associé à un système d’alarme DELTA DORE radio X3D.
EN
The detector must be associated with a DELTA DORE wireless X3D alarm system.
DE
Der Melder muss mit einer DELTA DORE Funk-Alarmanlage X3D verbunden werden.
IT
Il sensore deve essere associato ad un sistema d’allarme DELTA DORE radio X3D.
ES
El detector debe asociarse a un sistema de alarma DELTA DORE radio X3D.
PL
$ETEKTORÒMUSIÒBYĀÒSKONµGUROWANYÒZÒRADIOWYMÒSYSTEMEMÒALARMOWYMÒ$%,4!Ò$/2%Ò8$
NL
De detector moet worden gekoppeld aan een alarmsysteem DELTA DORE radio X3D.
Présentation / Presentation / Beschreibung / Presentazione / Presentación / Prezentacja /
Voorstelling
1
LS 14250 - 3,6 V - 1,2 Ah - Lithium
Autonomie 10 ans - Autonomy 10 years
Consumption stand-by :
3,5
μA
Consumption : 14,2 mA max.
868,30 MHz / 868,95 MHz (EN 300 220) -
100 m
Ý
300m
-10°C / +70°C
+5°C / +40°C
IP
IP 30 - IK 02
75 %
33 x 102 x 32 mm
R&TTE 1999/5/CE
Important product information (Ì)
www.deltadore.com
TYXAL DU
FR
Notice d’installation
EN
Installation guide
DE
Installationsanleitung
IT
Guida di installazione
ES
Manual de instalación
PL
Instrukcja instalacji
NL
Installatiehandleiding
59 gr.
D1
D2
V1
V2
1
2
3
Fixation / Mounting / Montage / Fissaggio / Fijación / Mocowanie / Bevestiging
3
FR
Ê Séparez les 2 parties
du boîtier.
EN
Ê Open the unit.
DE
Ê Öffnen Sie das Gehäuse,
indem Sie die zwei
Gehäuseteile trennen.
IT
Ê Separare le 2 parti della
scatola.
ES
Ê Separe las 2 partes de la caja.
PL
ÊÒÒ/DDZIELIĀÒÒCZĂÜCIÒOBUDOWY
NL
Ê Scheid de twee delen van de
behuizing.
Ë Tracez et percez les trous
D1 et D2.
Ë Mark and drill holes D1 and
D2.
Ë Markieren Sie die
Bohrstellen und bohren Sie
die Löcher D1 und D2.
Ë Segnare e fare i fori D1 e
D2.
Ë Marque y taladre los
agujeros D1 y D2.
ËÒ:AZNACZYĀÒIÒWYWIERCIĀÒ
OTWORYÒ$ÒIÒ$
Ë Markeer en boor de gaten
D1 en D2.
Ì Fixez le socle de l’émetteur
avec les vis V1 et V2.
Ì Attach the transmitter base with
the V1 and V2 screws.
Ì Befestigen Sie den Sockel des
Senders mit den Schrauben V1
und V2.
Ì Fissare il supporto dell’emettitore
con le viti V1 e V2.
Ì Fije el zócalo del emisor con los
tornillos V1 y V2.
ÌÒ0RZYMOCOWAĀÒPODSTAWĂÒ
NADAJNIKAÒÜRUBAMIÒ6ÒIÒ6
Ì Bevestig de basis van de zender
met de schroeven V1 en V2.
FR
s
longueur de câble doit être inférieure à 2 m).
s
s
EN
(cable length must not exceed 2 m).
s
s
DE
s
der Nähe des Melders an (Kabellänge max. 2 m).
s
s
IT
s )L
lunghezza del cavo deve essere inferiore a 2 m).
s
s
ES
s
cable debe ser inferior a 2 m).
s
s
PL
s
DåUGOÜĀÒKABLAÒMUSIÒBYĀÒMNIEJSZAÒNIêÒÒM
s
s
NL
s
(kabellengte moet minder dan 2 m bedragen).
s
s
Emplacement / Location / Einbauort / Posizionamento / Ubicación / Lokalizacja / Locatie
2
Ø max = 3 mm
1 2 3
AL
Com
AP
1
2
Mise en service / Activation / Inbetriebnahme / Messa in funzione / Puesta en servicio /
Rozruch / Ingebruikname
4
FR
Ê )NTRUSION
!,
EN
Ê Intruder: connect the intruder alarm wires to the AL and Com
terminals, and the tamper alarm wires to the AP and Com
terminals. Other: connect the 2 wires of a sensor of your choice to
the universal detector AL and Com terminals. The AP terminal is
not connected.
DE
Ê Einbruchmeldung: Schließen Sie die Leitungen des Melders an
die Klemmen AL und Com an, die Leitungen des Selbstschutzes
an die Klemmen AP und Com. Technik: Schließen Sie die beiden
Drähte des Sensors Ihrer Wahl an die Klemmen AL und Com des
Universalmelders an. Die Klemme AP wird nicht belegt.
IT
Ê
!,
ES
Ê Intrusión: cablee los hilos de detección de intrusión en los bornes
AL y Com, y los hilos de autoprotección en los bornes AP y Com.
Técnico: cablee los 2 hilos del sensor de su elección a los bornes
AL y Com del detector universal. El borne AP no se conecta.
PL
Ê 7TARGNIĂCIEÒPOåæCZYĀÒPRZEWODYÒWYKRYWANIAÒWTARGNIĂCIAÒZÒ
KOĆCWKAMIÒ!,ÒIÒ#OMÒAÒPRZEWODYÒSAMOOBRONYÒZÒKOĆCWKAMIÒ
!0ÒIÒ#OMÒ4ECHNIKAÒPOåæCZYĀÒÒWYBRANEÒPRZEWODYÒCZUJNIKAÒZÒ
KOĆCWKAMIÒ!,ÒIÒ#OMÒDETEKTORAÒUNIWERSALNEGOÒ+OĆCWKAÒ!0Ò
POZOSTAJEÒNIEPODåæCZONA
NL
Ê Inbraak: sluit de kabels voor inbraakdetectie aan op de
aansluitingen AL en Com, en de kabels voor zelfbescherming op
de aansluitingen AP en Com. Techniek: sluit de twee kabels van
de sensor van uw keuze aan op de aansluitingen AL en Com van
de universele detector. De aansluiting AP wordt niet aangesloten.
Ë Mettez la pile en place en
respectant son sens puis
refermez le boîtier.
Ë Insert the battery and close
the unit.
Ë Setzen Sie die Batterie unter
Beachtung der Polarität ein
und schließen Sie dann das
Gehäuse.
Ë Posizionare la pila nel corretto
senso e chiudere la scatola.
Ë Coloque la pila respetando la
polaridad y cierre la caja.
Ë 7åOêYĀÒBATERIĂÒZGODNIEÒZÒ
POLARYZACJæÒAÒNASTĂPNIEÒ
ZAMKNæĀÒOBUDOWĂ
Ë Plaats de batterij in de correcte
richting en sluit de behuizing.