Dixi XWA11V User Manual
Page 3
dIXEL
Operating Instructions XWA11V
1598003200
Weiss Instruments, Inc. 905 Waverly Ave. Holtsville, NY 11742 631-207-1200 www.weissinstruments.com
3
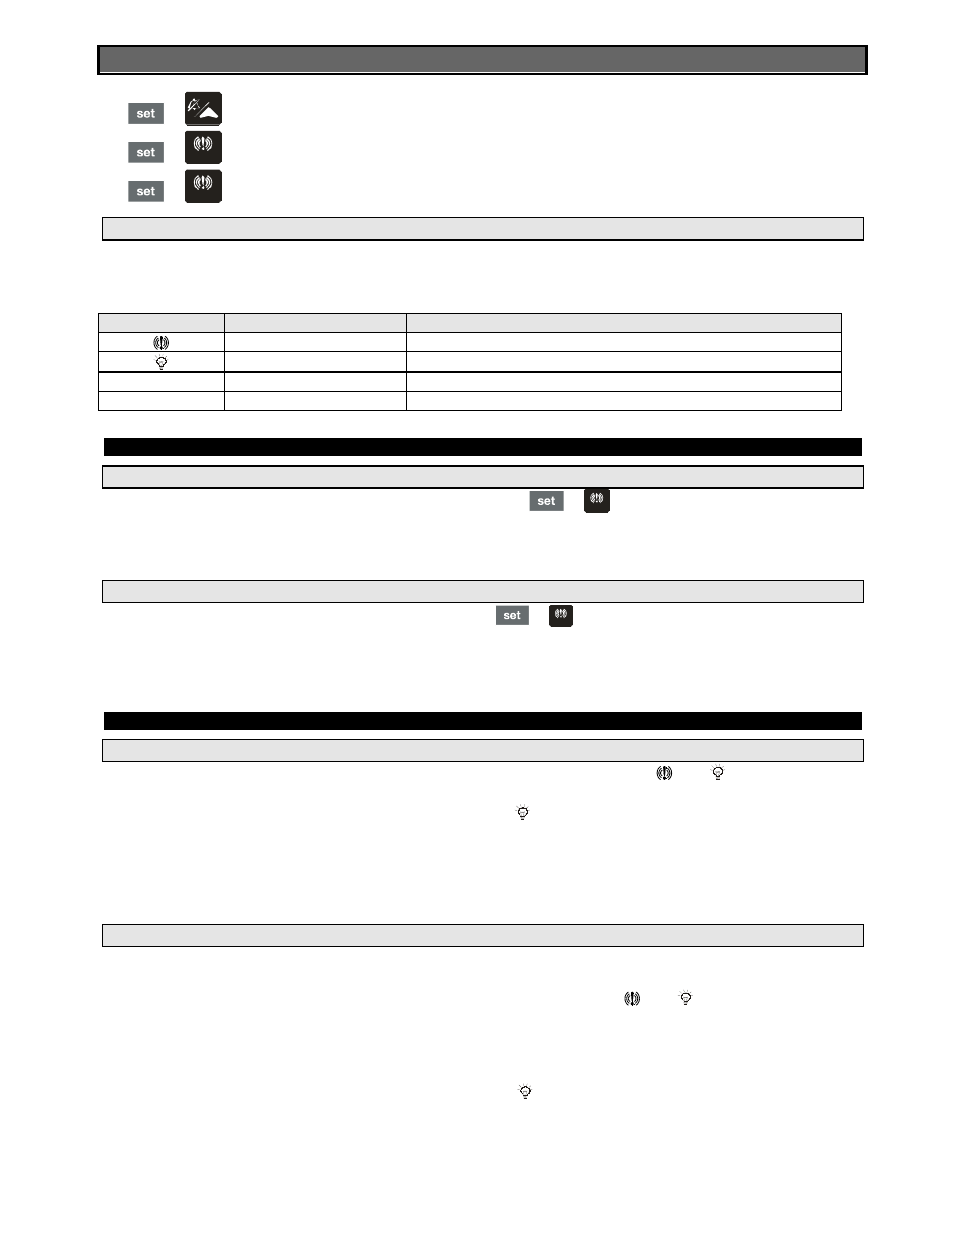
+
To exit the Programming Mode.
+
HIGH
To enter a new value for the HIGH Temp ALARM (ALU).
+
LOW
To enter a new value for the LOW Temp ALARM (ALL).
3.1 USE OF LEDS
Each LED function is described in the following table:
LED
MODE
Function
ON
ALARM signaling
ON
The light is on
°C
ON
Celsius degrees operation
°F
ON
Fahrenheit degrees operation
4. TEMP ALARMS SETTING
4.1 HOW TO SET THE MIN TEMPERATURE ALARM
•
To modify the minimum (LOW) Temp ALARM: hold the
+
LOW
keys pressed for 3 s until the
minimum Temp alarm is displayed.
•
Change the value using the UP and DOWN keys.
•
Press the SET key to confirm the new value and exit.
4.2 HOW TO SET THE MAX TEMPERATURE ALARM
•
To modify the max (HIGH) Temp ALARM: hold the
+
HIGH
keys pressed for 3 s until the max Temp
alarm is displayed.
•
Change the value using the UP and DOWN keys.
•
Press the SET key to confirm the new value and exit.
5. PROGRAMMING
5.1 HOW TO CHANGE A PARAMETER VALUE MAIN MENU
1. Enter the Programming Mode by pressing the SET and DOWN key for 3s (
and
will start blinking).
2. Select the required parameter. By using the UP or DOWN KEY
3. Press the “SET” key to display its value (now only the
LED is blinking).
4. Use “UP” or “DOWN” to change its value.
Press “SET” to store the new value and move to the following parameter.
To exit: Press SET + UP or wait 15 s without pressing a key.
NOTE: the set value is stored even when the procedure is exited, by waiting the time-out to expire.
5.2 THE HIDDEN MENU (PR2)
The hidden menu includes all the parameters of the instrument.
5.2.1 HOW TO ENTER THE HIDDEN MENU (PR2)
1. Enter the Programming Mode by pressing the Set + down key for 3s (
and
starts blinking).
2. When a parameter is displayed, release and re-press the SET + down for more than 7s.
3. The Pr2 label will be displayed immediately followed from the HY parameter. NOW YOU ARE IN THE
HIDDEN MENU.
4. Select the required parameter as above
5. Press the “SET” key to display its value (Now only the
LED is blinking).
6. Use “UP” or “down” to change its value.
7. Press “SET” to store the new value and move to the following parameter.
To exit: Press SET + up or wait 15s without pressing a key.
NOTE: the set value is stored even when the procedure is exited by waiting the time-out to expire.