Neutrino series - quick start guide – Xilica Neutrino Series User Manual
Page 10
Neutrino Series -
Quick Start Guide
XILICA AUDIO DESIGN CANADA / ASIA / EUROPE
Pag
e
10
To manually assign IP addresses,
(a) Connect processor device number one directly to your PC. Reset its IP
as described on Page 7 (IP Reset) and establish a connection.
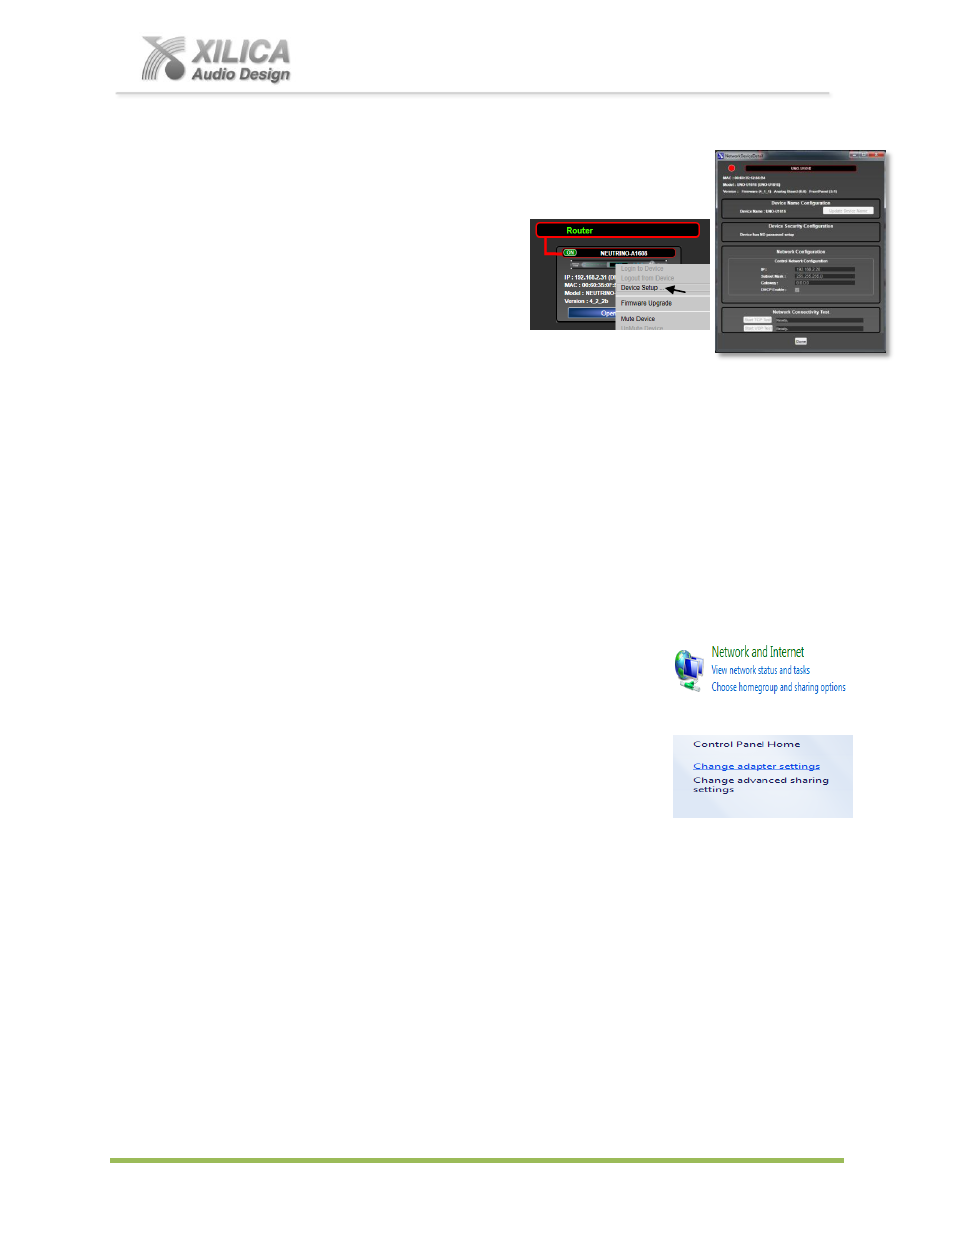
(b) In Network View as shown below left - right click the processor device
and select
“Device Setup”.
In the Network Properties window as shown
at the far right - select the
“Change Network
Configuration” button in order to disable
DHCP and to insert IP addresses manually.
(c) With the DHCP button disabled, assign the unique IP Address of
192.168.1.X
– where X is a unique number between 0 & 255 – to the first device and
subsequent unique IP addresses to the remaining devices in the network.
(d) When finished
– Select “Apply” to save changes and then “Done” to exit.
(e) Complete steps 1 thru 4 for each subsequent processor or device so each is assigned its
own unique IP address (example-might be 192.168.1.180/181/182 etc).
(f) Your devices will appear Offline in Network View until you are able to assign a static IP
address to your PC - as described in #13 below.
13. A Static IP Address for your Computer - Multiple Devices
– No DHCP Available:
In this section, we will be navigating through Microsoft Windows to determine your home
networking information as it applies to manually assigning a unique static IP addresses to your
computer.
(a) The first step is to open the 'Start Menu' and select Control
Panel.
(b) Click View Network Status and Tasks under the Network and
Internet header as shown at the right.
(c) Click on Change adapter settings on the left most tab.
(d) Left-Click on Local Area Connection and click the
Properties button. Select Internet Protocol Version 4
(TCP/IPv4) then click Properties to access the manual
IP settings.
(e) Set up your IP address to be 192.168.1.X where the X can be any value from 0
– 255 – but
unique from the other devices that you already manually assigned unique IP addresses to.
(f)
Use the following settings for your PC’s unique static address
: IP Address: 192.168.1.X
(Example
– IP might be 192.168.1.185 based on my Subnet Mask: 255.255.255.0
unique device addresses above) Gateway: 192.168.1.1
DNS Servers: 192.168.1.1
(g) If you set up your devices as per step 12 & 13 on Page 9 & 10 above, you will now see them
appear online and connected in Network View in the NeuConsole software.