页面 9 – Tview D72TSB User Manual
Page 9
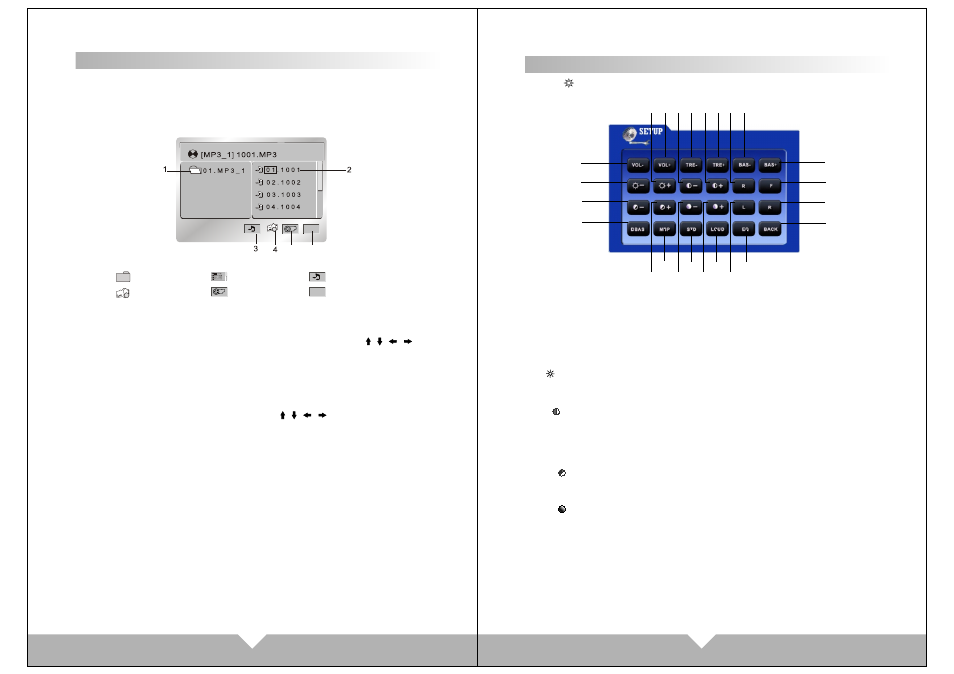
USB/SD Operation
When the machine is connect USB / SD, touch the main menu "USB/SD"
icon, the screen displays "SD" or "USB",and will auto read and display
the file. If under the playing mode, and insert the card, no need to choose
the any function, will auto get into the display mode.
When display USB or SD card, touch panel menu is the same as
DVD menu, also the same operation, Touch the DVD menu / / /
button move to the file bag, file,MP3 icon or J
PEG icon.
After more cursor to the display bag, then press
"OK"
to ensure the
icon; The chosen file will be display by order.
After you choose the JPE
G display, touch again the OK button to confirm
this picture, then touch again the number / / / button can change
the picture direction to up/down/left/right.
Note: While the USB/SD is playing, and if you eject the disc or slot-in the
disc, the display will pause for few second, this is normal situation.
After finish the disc operation will resume the display.
pull out the USB/
SD when you want to stop playing
13
14
Key
5
6
1. File bag
4. JPEG Icon
3. Mp3 Icon
2. File
5. Video Icon
Key
6. Menu Icon
SYSTE M M EN U S E T U P
Press “ “ picture on main menu , on AUX mode ,Click the screen will
enter to system menu setup:
1/2.VOL-/VOL+:
Volume adjust
3/4.TRE-/TRE+:
High volume balance adjust
5/6.BAS-/BAS+:
Low volume balance adjust
7/8. -/+:
Display picture brightness
adjust
9/10. -/+:
Display picture contrast
adjust
11/12.R/F:
Rear/ Front audio adjust
13/14. -/+:
Display picture colorful
adjust
15/16. -/+:
Display picture acutance
adjustment
17/18.L/R:
left / right audio adjust
19.DBAS:
Sub-woofer on /off
20.MBP:
Listen respectfully left/right on/ off
21.STD:
Standard video select
22.LOUD:
LOUD ON/OFF
23. EQ: sound select
There are “POPULAR,
CLASSICALITY, ROCK” three
kind of sound mode, can through
EQ to select or turn off EQ.
24.BACK:
Back (back to last step)
You can operate above function follow the instruction. When you choose
above point 1 to 16 items, through “SEL” button can adjust it directly .
1
23
17
22
16
21
15
20
14
24
18
19
13
7
12
6
5
11
4
10
3
9
2
8
SYSTEM MENU SETUP