Installation, Installing the drive in the carrier preparation – StorCase Technology DE90i-A100 User Manual
Page 13
6
Installation
StorCase Technology, Inc.
DE90i-A100 User's Guide - Rev. B02
INSTALLATION
Installing the Drive in the Carrier
Preparation
While performing the steps in this section, work on a soft surface to prevent excessive shock
to the drive being installed. Also refer to the manufacturer's documentation provided with the
drive.
NOTE:
A #2 Phillips screwdriver will be required during this procedure.
1.
Remove the drive from its protective packaging.
2.
Plastic Drive Bezel: If the drive came equipped with a plastic front bezel, it
must be removed before installing the drive into the drive carrier.
3.
Master/Slave Drive Selection: In most cases, the drive will be factory-
configured as a Master Ultra ATA/100 drive using a jumper plug on the drive
itself. No configuration changes are required. For multiple drive configurations,
it is necessary to set the first Ultra ATA/100 drive as Master and the second Ultra
ATA/100 drive to Slave. This can be done by changing the jumper on the Ultra
ATA/100 drive itself (refer to your drive manufacturer documentation).
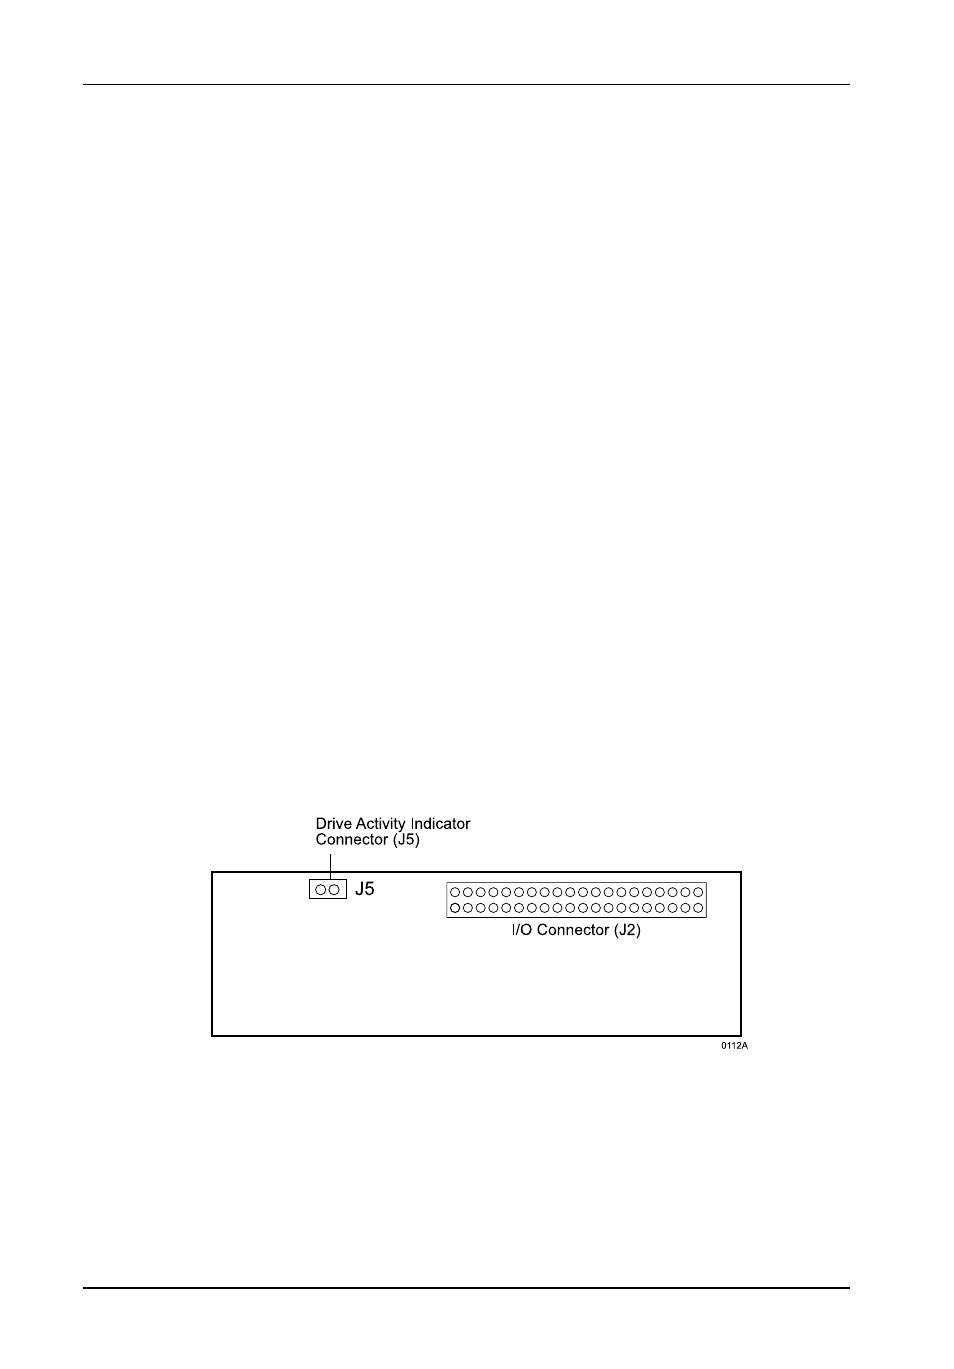
Figure 5: DE90i-A100 Drive Carrier Circuit Board