Installation, Preparation, Drive installation – StorCase Technology DE50 User Manual
Page 13
6
Installation
StorCase Technology, Inc.
SATA 3Gbps DE50 User's Guide - Rev. B00
INSTALLATION
NOTES:
SATA 3Gbps DE50 receiving frames are indicated by a BLUE LED. PATA DE50
receiving frames are indicated by a GREEN LED.
SATA 3Gbps DE50 carriers are indicated by the SATA logo. PATA DE50 car-
riers are indicated by a Data Express Logo.
Preparation
While performing the steps in this section, work on a soft surface to prevent excessive shock
to the drive being installed. Also refer to the manufacturer's documentation provided with the
drive.
1.
Remove the drive (not included) from its protective packaging.
Drive Installation
NOTE:
A #1 Phillips screwdriver will be required during this procedure.
1.
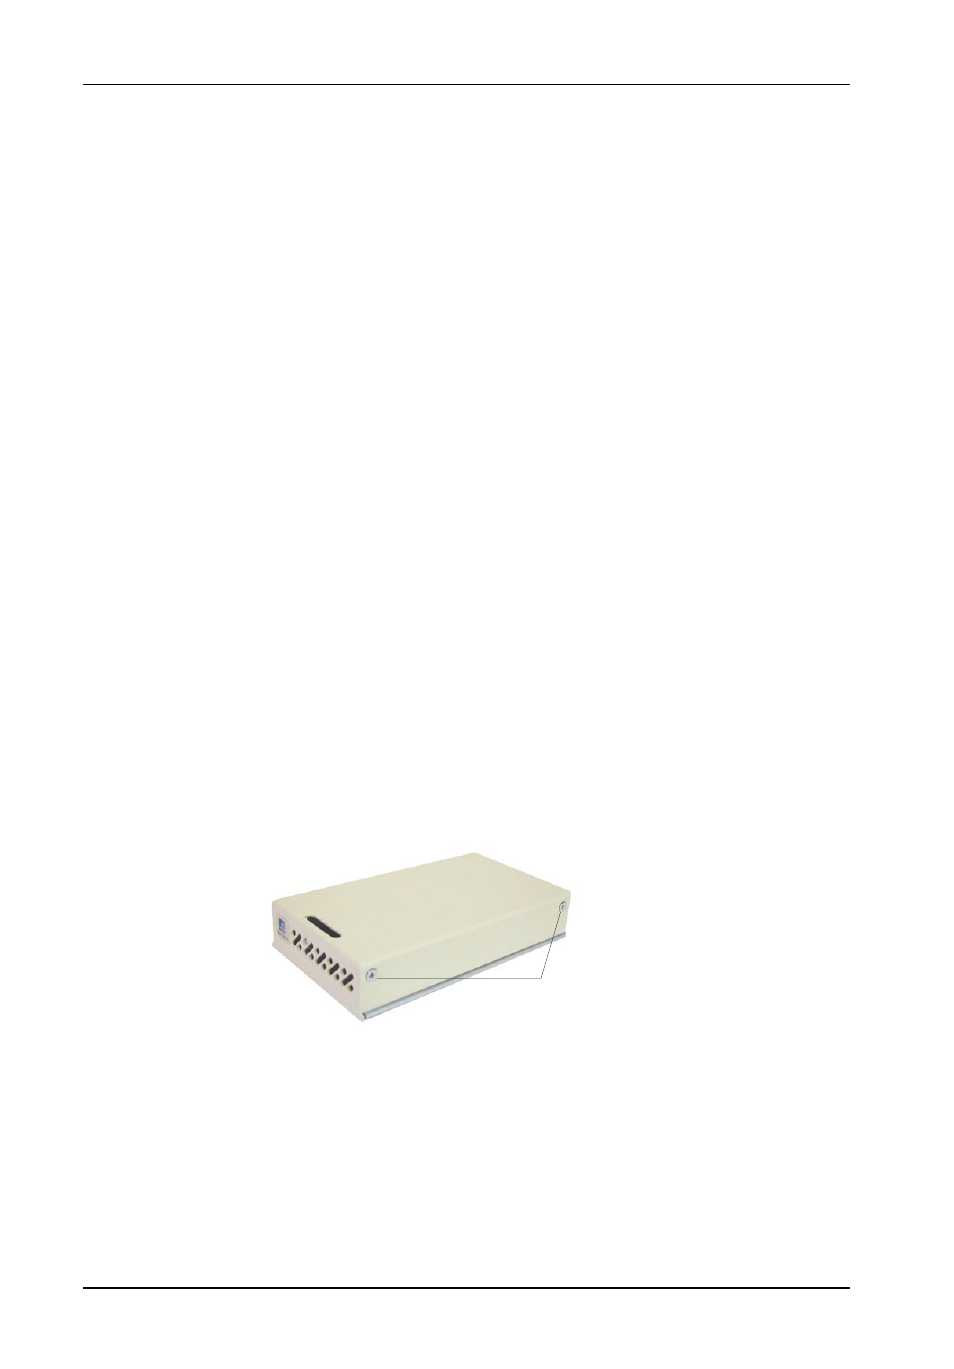
Loosen and remove the four (4) M3 Phillips Flat Hd. screws located on the drive
carrier unit (Figure 6). Save these screws for Step 5.
Figure 6: Disassembling the Drive Carrier Unit
M3 Phillips
Flat Hd. Screw
(2 per Side)
2.
Disassemble the drive carrier unit into its three (3) main components as shown in
Figure 7 (the drive carrier unit is shipped pre-assembled).