Step 2 – binding the ember 2 – ParkZone PKZ3480 User Manual
Page 4
5
6
Step 2 – Binding the Ember 2
Transmitter Preparation
Please make sure you have fresh/charged batteries in your transmitter.
If applicable, set your transmitter model to Airplane. JR/Spektrum
transmitters’ servo settings should be set to default (normal) servo
direction. Futaba transmitters (equipped with Spektrum modules) may
require you to reverse the throttle channel.
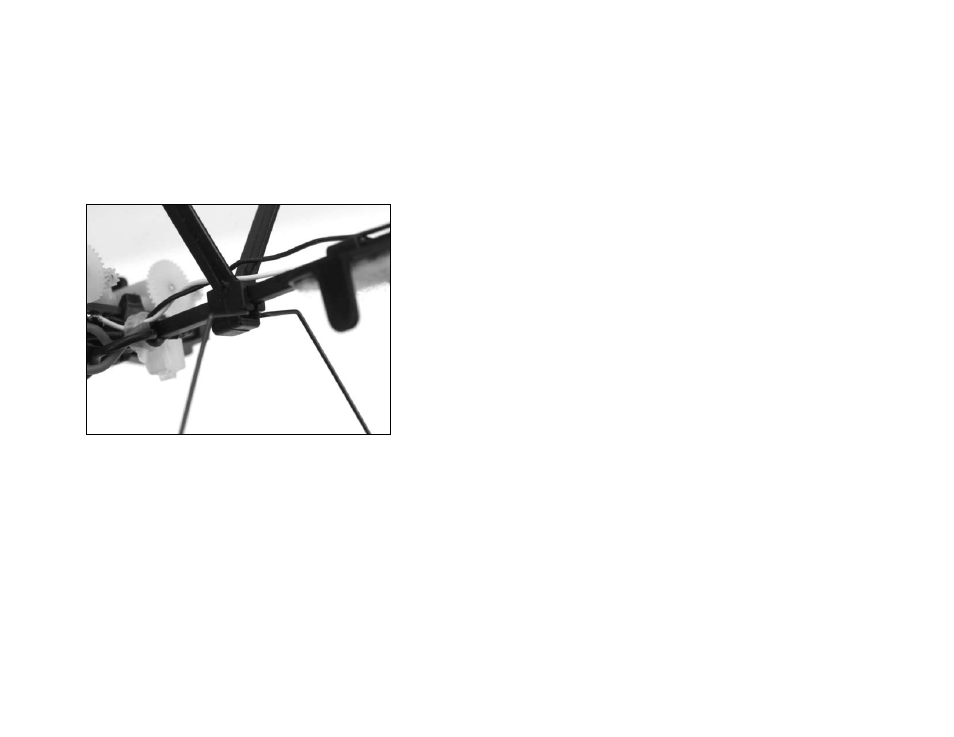
Installing the Landing Gear
Attach the main landing gear by sliding the gear into the lower slot
located on the front wing mount.
Installing the Flight Battery
Once the Li-Po battery has been fully charged, it’s ready to be installed in
the Ember 2.
Install the battery in the Ember 2 by pressing it to the battery tray with
the label facing downward and the connector oriented toward the back
of the airplane.
Note: Be sure to press the battery against the battery tray so that it is
properly secured by the hook and loop material.
Binding the Ember 2 to Your Transmitter
Binding is the process of programming the receiver of the control unit to
recognize the GUID (Globally Unique Identifier) code of a single specific
transmitter. It will be necessary for you to ‘bind’ your chosen Spektrum
DSM2 technology equipped transmitter to the receiver/ESC for proper
operation.
The following is a list of some of the Spektrum DSM2 equipped
transmitters and modules that will bind to the receiver/ESC of the
Ember 2:
E-flite LP5DSM
JR 12X 2.4
E-flite HP6DSM
Spektrum DX5e
E-flite MLP4DSM
Spektrum DX6i
ParkZone Vapor/Ember 2 Transmitter
Spektrum DX7
JR X9303 2.4
Spektrum Modules
Note: The Spektrum DX6 (SPM2460) is equipped with DSM (not
DSM2) technology and is not compatible with the receiver/ESC
included in the Ember 2 or in the original ParkZone Ember.
The following steps outline the binding process:
1. Confirm the process of entering the bind mode for your chosen
transmitter by reviewing the instruction manual included with the
transmitter.
2. Make sure the flight battery is disconnected from the receiver/ESC
unit and the transmitter is turned off.
3. Plug the flight battery into the receiver/ESC unit. After 5 seconds
the LED on the ESC unit will begin flashing.
4. After verifying the LED is flashing on the receiver/ESC
follow the steps that allow your chosen transmitter to enter bind
mode.
5. If you entered bind mode correctly, you will see a solid LED
approximately 5 to 10 seconds later on the receiver/ESC. You
should now be bound to the transmitter, and have full control
and function.
Additional Smartbind
™
Information
Prior to each flight, you should ensure that you power on your transmitter
and wait about 5 seconds before you plug in the flight battery into
the receiver/ESC unit. Doing this allows time for the transmitter to scan