Hanna Instruments HI 96751 User Manual
Page 7
12
13
MEASUREMENT PROCEDURE
• Whenever the cuvette is placed into the measurement cell, it
must be dry outside, and completely free of fingerprints, oil
or dirt. Wipe it thoroughly with HI 731318 or a lint-free
cloth prior to insertion.
• Shaking the cuvette can generate bubbles in the sample, causing higher readings. To obtain
accurate measurements, remove such bubbles by swirling or by gently tapping the cuvette.
• Do not let the reacted sample stand too long after reagent is added, or accuracy will be lost.
• It is possible to take multiple readings in a row, but it is recommended to take a new zero
reading for each sample and to use the same cuvette for zeroing and measurement.
• After the reading it is important to discard immediately the sample, otherwise the glass
might become permanently stained.
• All the reaction times reported in this manual are referred to 20°C (68°F). As a general rule
of thumb, they should be doubled at 10°C (50°F) and halved at 30°C (86°F).
• In order to maximize accuracy, prior to a measurement follow the validation procedure to
be sure that the instrument is properly calibrated. If necessary, calibrate the instrument.
STARTUP
Prepare the instrument for measurement as follows:
• Unpack the instrument by removing the dust protection sleeve from the instrument cuvette
holder.
• Place the battery in the instrument as described in the “BATTERY REPLACEMENT” chapter.
• Place the instrument on a flat table.
• Do not place the instrument under direct sun light.
To compensate the meter for the sample turbidity or color, the measurement takes place in two
phases. First, the meter is zeroed using the unreacted sample. After the reagents are added the
reacted sample is measured.
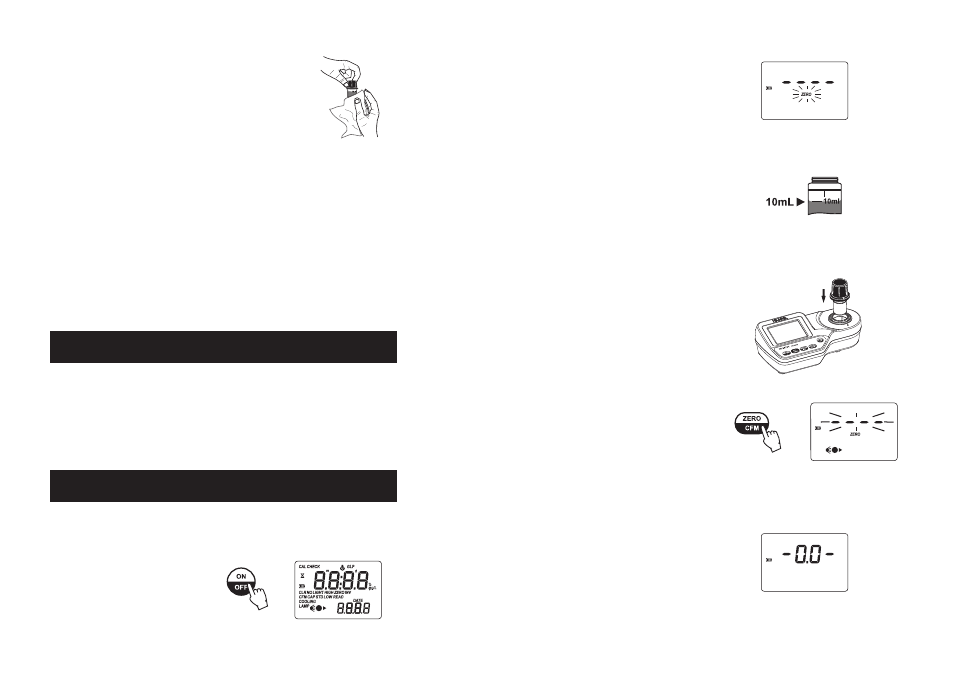
• When the beeper sounds briefly and the
LCD displays dashes, the meter is ready.
The blinking “ZERO” indicates that the
instrument needs to be zeroed first.
• Fill the cuvette with 10 mL of unreacted
sample, up to the mark, and replace the
cap.
• Place the cuvette into the cuvette holder
and ensure that the notch on the cap is
positioned securely into the groove.
• Press ZERO/CFM and the lamp, cuvette
and detector icons will appear on the
display, depending on the measurement
phase.
• After a few seconds, the display will show
“-0.0-”
. The meter is now zeroed and
ready for measurement.
• Turn the meter on by pressing ON/OFF.
The display briefly shows all tags on.