Hanna Instruments HI 98140 User Manual
Page 8
15
14
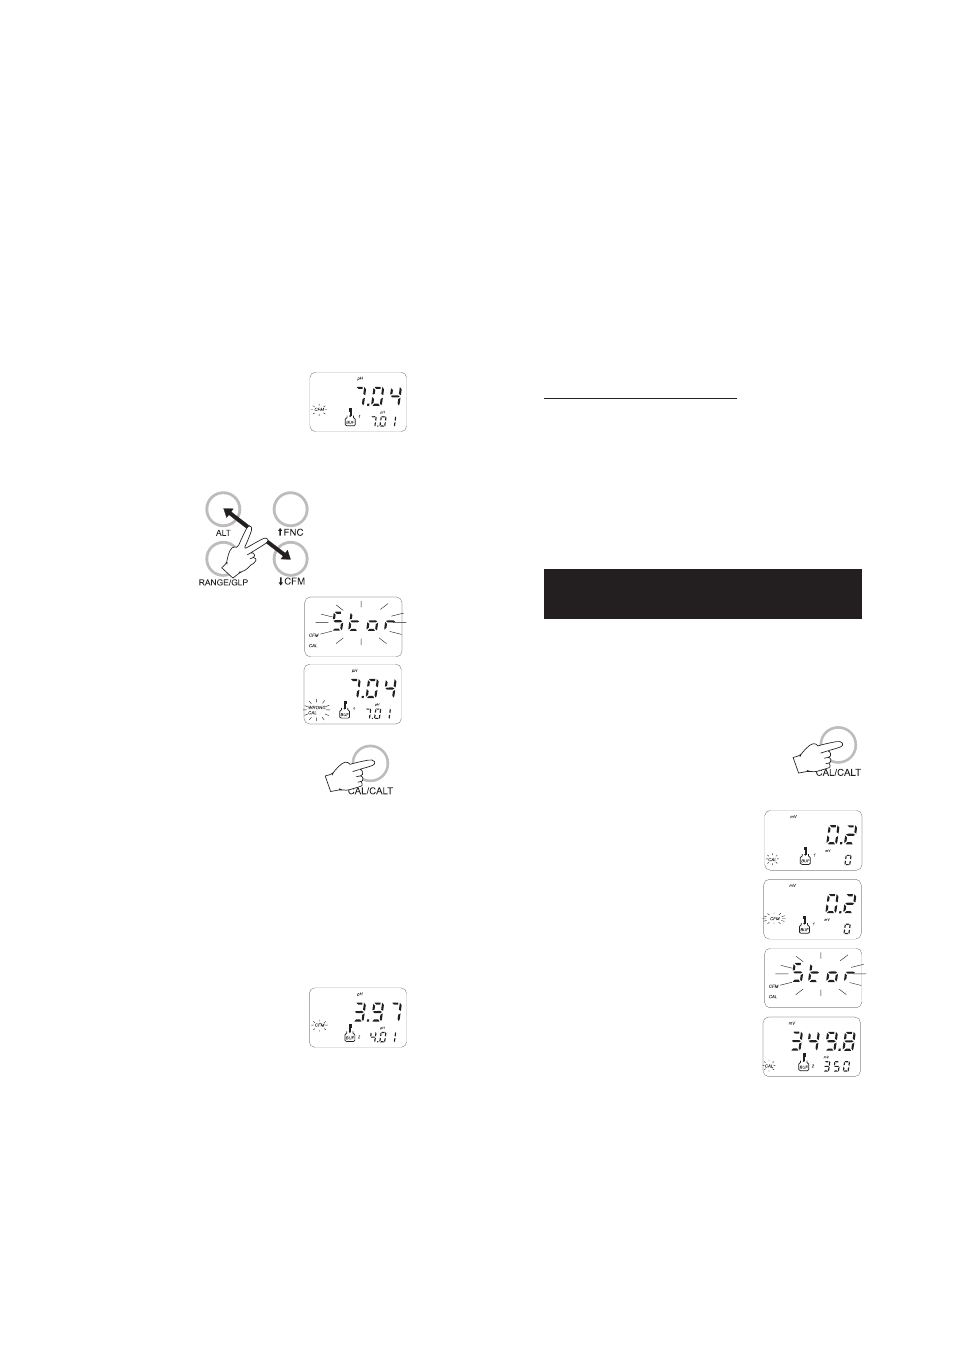
15. The LCD will display "Stor". The instrument checks the electrode
parameters and advises the user of abnormalities by "old probe"
and "dead probe" indications (in these cases, repeat the calibra-
tion with fresh buffers). If everything is satisfactory the meter is
calibrated and it returns to normal operational mode.
CALIBRATION ERROR MESSAGES
If the "old probe", "dead probe" or "WRONG" messages are displayed
during calibration, check your electrode by following the conditioning
and maintenance procedures and repeat calibration. The pH elec-
trode might have to be replaced if calibration cannot be successfully
performed.
note: see "GLP" paragraph for more details about "old probe" and
"dead probe" messages.
Note: The buffer pH value, and thus the value displayed on the
lower LCD, varies with temperature. For example, at 20
o
C it
shows 4.00 -7.03 -10.06, at 25
o
C it shows 4.01-7.01-10.01.
6. Select the first buffer solution value with and if necessary.
7. When the "CFM" symbol blinks, the read-
ing is stable and calibration can be
confirmed.
8. Press ALT and CFM to confirm the first buffer.
9. If everything is satisfactory the LCD will
display "Stor" and then the second buffer
value expected will be displayed (two-
point calibration). If a wrong solution or
electrode has been used or if the buffer is
polluted, "WRONG" will be displayed to
alert the user.
10. If only a single point calibration is re-
quired, press CAL to exit the calibration
mode and maintain the previous slope
calibration. The instrument then checks
the electrode parameters and advises user
of abnormalities by "old probe" and "dead
probe" indications.
11. Press or to select the second buffer value. The meter will
display the "BUF 2" indication.
12. Rinse the electrode with some of the second buffer solution or clean
water.
13. Dip the bottom 4 cm (1½") of the pH electrode in a beaker
containing the second buffer.
14. When the "CFM" symbol blinks, press ALT
and CFM to confirm the second calibra-
tion point.
mV CALIBRATION PROCEDURE
(HI98150 ONLY)
A two or three-point calibration can be performed. The first two
calibration points are always 0 and +350 mV; the third point is
optional at +1900 mV.
1. Connect a mV simulator (HI8427 or HI931001 with the proper
connecting cable) to the meter and set it to 0 mV.
2. Press CAL when LCD is displaying mV.
3. Enter the password (if different from "0000")
with the arrow keys.
4. Press ALT and CFM to confirm the password or CAL to exit.
5. If password is correct, the meter will
display "0 mV" on the lower LCD with the
"BUF 1" and "CAL" indication. The upper
LCD displays the mV reading.
6. When the "CFM" symbol blinks, the read-
ing is stable and calibration can be
confirmed.
7. Press ALT and CFM to confirm the first
value.
8. The LCD will display "Stor" for a few
seconds.
9. The meter will then display "350 mV" on
the lower LCD with the "BUF 2" indica-
tion.