Hanna Instruments pH 20 User Manual
Page 4
7
6
Note: If measurements are taken in different samples successively, it is
recommended to clean the electrode thoroughly to avoid cross-
contamination. After cleaning, rinse the electrode with water
and then with some of the solution to be tested.
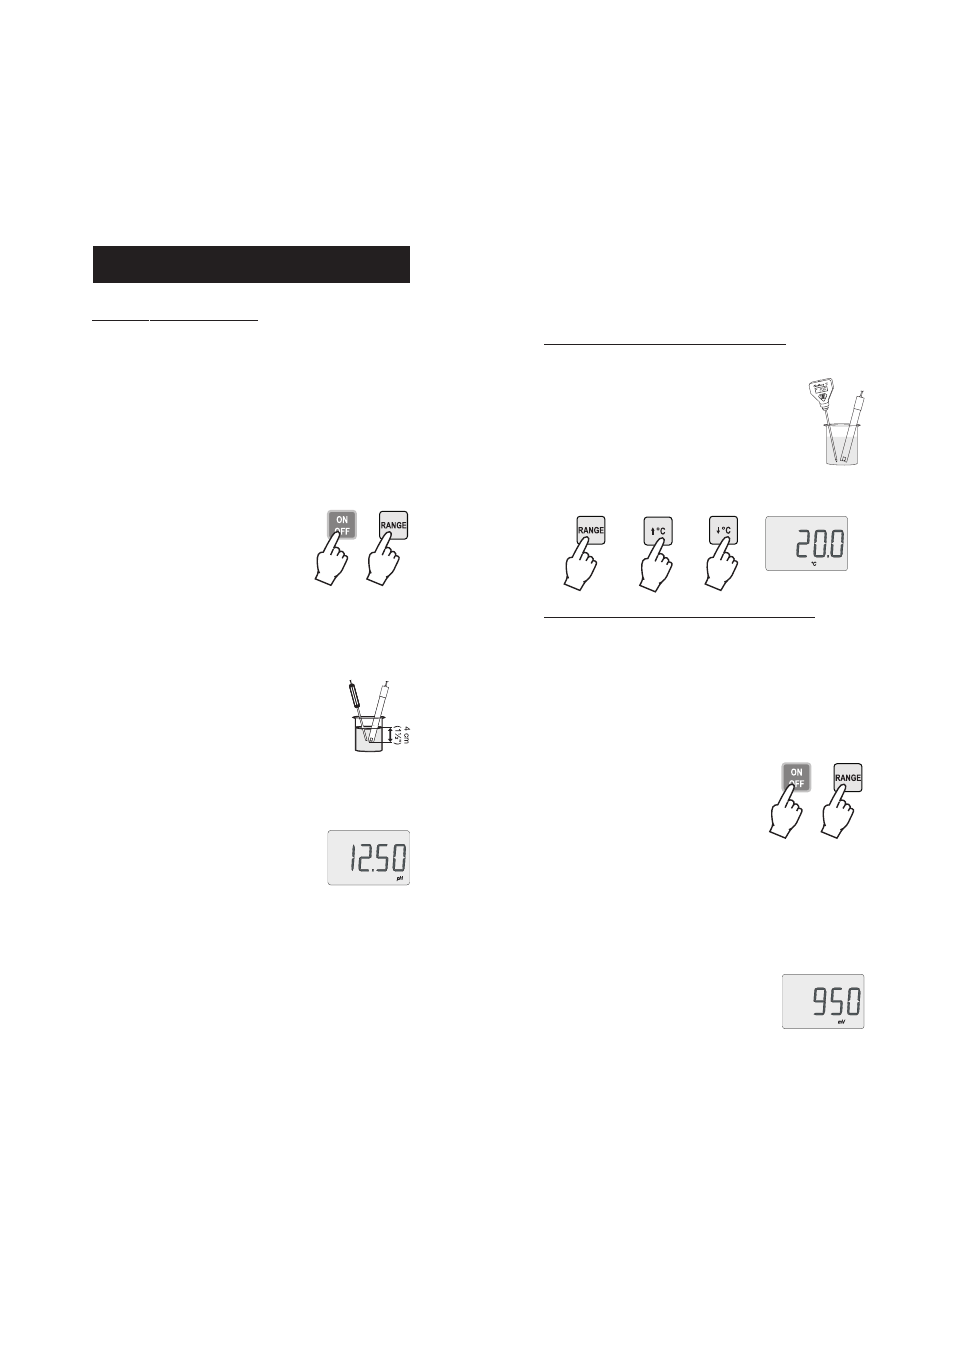
MANUAL TEMPERATURE COMPENSATION
• When the temperature probe is not connected, the default
temperature value is 25°C.
• To temperature compensate the pH read-
ing, measure the temperature of the solution
with a
ChecktempC or another accurate
thermometer. E.g. 20°C.
• Press the RANGE key to enter the °C mode and adjust the
displayed value by using the arrow keys.
TAKING ORP MEASUREMENTS (for pH21 only)
• The meter is factory calibrated for ORP (mV) range. Please
contact the nearest Hanna Service Center for recalibration,
if needed.
• Connect an ORP electrode (optional, see "Accessories" section) to the
BNC connector on the rear panel (see page 4).
• Connect the 12VDC power adapter to the instrument (see page 4)
and then to the mains.
• Press the ON/OFF key to turn the meter
on.
• Press the RANGE key to select the ORP
(mV) mode.
• Remove the electrode protective cap, then immerse the ORP
electrode in the sample to be tested.
Note: The electrode should be submerged approximately 4 cm (1½")
into the solution.
Note: With refillable electrodes, to obtain a faster response unscrew
the refill hole cap during measurements.
• Shake briefly and wait a few seconds for
the reading to stabilize, i.e. when the
hourglass symbol stops blinking. The LCD
will show the ORP (mV) value.
TAKING pH MEASUREMENTS
• Make sure that the instrument has been calibrated for pH before
taking measurements (see "pH Calibration" section for details).
• Connect the supplied HI 1110B pH electrode to the BNC connec-
tor on the rear panel (see page 4).
• If automatic temperature compensation is required, connect the
HI 7662 temperature probe (optional) to the proper socket on
the rear panel (see page 4).
• Connect the 12VDC power adapter to the instrument (see page 4)
and then to the mains.
• Press the ON/OFF key to turn the meter
on.
• Press the RANGE key to select the pH
mode, if necessary.
• Remove the electrode protective cap, then immerse the pH
electrode and the temperature probe in the sample to be tested.
Note: If the pH electrode is dry, immerse it in HI 70300 storage
solution for at least one hour to reactivate it.
Note: The pH electrode should be submerged
approximately 4 cm (1½") into the
solution and the temperature probe (if
used) should be located as close as
possible to the electrode.
Note: With refillable electrodes, to obtain a faster response unscrew
the refill hole cap during measurements.
• Shake briefly and wait a few seconds for
the reading to stabilize, i.e. when the
hourglass symbol stops blinking. The LCD
will show the pH value automatically com-
pensated for temperature variations.
• After measurements, turn the meter off by pressing the ON/OFF
key, disconnect the power adapter from the mains and the pH
electrode from the instrument.
• Store the electrode with a few drops of HI 70300 solution in the
protective cap.
NEVER USE DISTILLED OR DEIONIZED WATER FOR STORING
PURPOSES.
OPERATIONAL GUIDE