GoDEX Dual-color Printing System User Manual
User manual, Dual-color printing system
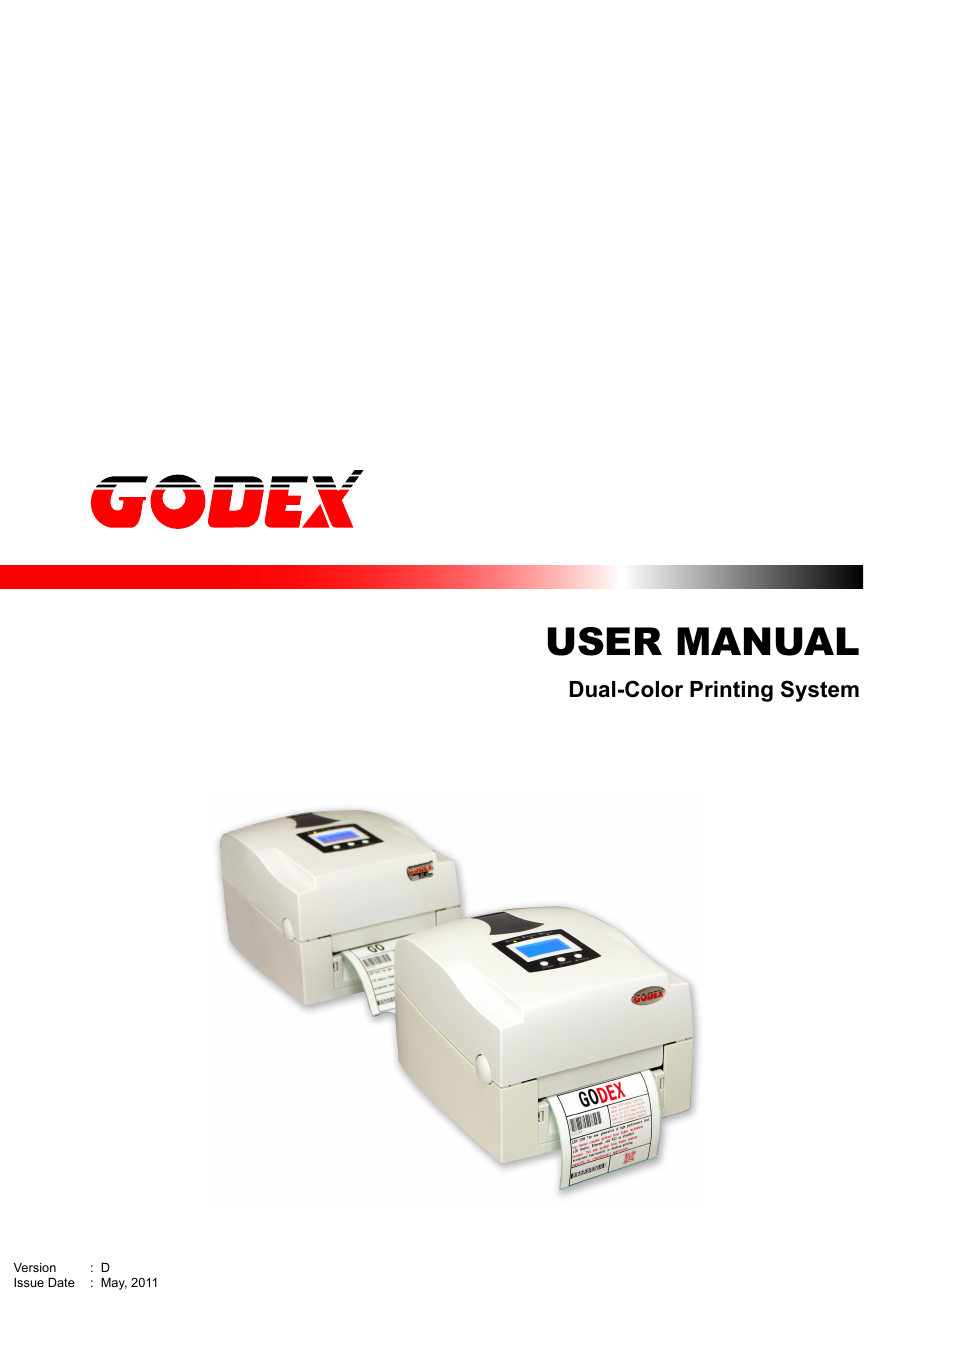
Table of contents
Document Outline
- User manual_Dual color system_Front cover
- Dual Color printing_UM_en_00D GE_0511
- TABLE OF CONTENTS
- 1. BARCODE PRINTER 2
- 1-1. Box content 2
- 1-2. Specifications 2
- 1-3. RS-232 Cable Specification 3
- 2. SET UP FOR DUAL-COLOR PRINTING 4
- 2-1. How Dual-Color printing works 4
- 2-2. Steps to set up the Dual-Color printing system 5
- 2-3. Make a Dual Color Label with QLabel 1.192 7
- 3. TROUBLESHOOTING 11
- 1. Barcode printer
- Please check that all of the following items are included with your printer:
- Two EZPi1200 / EZPi1300 printers with full package
- RS-232 cable
- CD for Dual-Color printing (with QLabel 1.192 and user manual)
- Model
- Thermal Transfer / Direct Thermal
- Print Method
- 300 dpi (12 dot/mm)
- 203 dpi (8 dot/mm)
- Resolution
- 4 IPS (102 mm/s)
- 6 IPS (150 mm/s)
- Print Speed
- 4.16” (105.7 mm)
- 4.25” (108 mm)
- Print Width
- Min. 0.16” (4 mm)**
- Min. 0.16” (4 mm)**
- Print Length
- Max. 30” (762 mm)
- Max. 68” (1727 mm)
- 4MB Flash (2MB for user storage) ; 8MB SDRAM
- Memory
- Adjustable reflective sensor. Fixed transmissive sensor, central aligned
- Sensor Type
- Types: Gap labels, black mark sensing, and punched hole; label length set by auto sensing or programming
- Width: 1” (25.4 mm) Min. - 4.64” (118 mm) Max.
- Media
- Thickness: 0.003” (0.06 mm) Min. - 0.01” (0.25 mm) Max.
- Label roll diameter: Max. 5” (127 mm)
- Core diameter: 1”, 1.5”, 3” (25.4 mm, 38.1 mm, 76.2 mm)
- Types: Wax, wax/resin, resin
- Length: 981’ (300 m)
- Width: 1.18” Min - 4.33” (30 mm - 110 mm) Max
- Ribbon
- Ribbon roll diameter.: 2.67“ (68 mm)
- Core diameter: 1” (25.4 mm)
- EZPL, GEPL (Godex Eltron® Printer Language), GZPL (Godex Zebra® Printer Language)
- Printer Language
- Label design software: QLabel-IV (for EZPL only)
- Software
- Driver & DLL: Windows 2000, XP and Vista
- Bitmap fonts: 6, 8, 10, 12, 14, 18, 24, 30, 16X26 and OCR A & B
- Bitmap fonts 90°, 180°, 270° rotatable, single characters 90°, 180°, 270° rotatable
- Resident Fonts
- Bitmap fonts 8 times expandable in horizontal and vertical directions
- Scalable fonts 90°, 180°, 270° rotatable
- Bitmap fonts 90°, 180°, 270° rotatable, single characters 90°, 180°, 270° rotatable
- Asian fonts 90°, 180°, 270° rotatable and 8 times expandable in horizontal and vertical directions
- Download Fonts
- Scalable fonts 90°, 180°, 270° rotatable
- 1-D Bar codes:
- Code 39, Code 93, Code 128 (subset A, B, C), UCC/EAN-128 K-Mart, UCC/EAN-128, UPC A / E (add on 2 & 5), I 2 of 5, I 2 of 5 with Shipping Bearer Bars, EAN 8 / 13 (add on 2 & 5), Codabar, Post NET, EAN 128, DUN 14, HIBC, MSI (1 Mod 10), Random Weight, Telepen, FIM, China Postal Code, RPS 128 and GS1 DataBar
- Barcodes
- 2-D Bar codes: PDF417, Datamatrix code, MaxiCode, QR code and Micro QR code
- CODEPAGE 437, 850, 851, 852, 855, 857, 860, 861, 862, 863, 865, 866, 869, 737
- Code Pages
- WINDOWS 1250, 1251, 1252, 1253, 1254, 1255
- Unicode (UTF8, UTF16)
- Resident graphic file types are BMP and PCX, other graphic formats are downloadable from the software
- Graphics
- Serial port: RS-232 (DB-9)
- USB port (default on)
- Parallel port: Centronics 36-pin
- Interfaces
- PS2 port
- CF Card socket
- Ethernet 10/100Mbps print server (default off; disables USB when in use)
- Backlit graphics LCD display: 128 x 64 dots or 4 lines x 16 characters
- Three mono-color status-LEDs: Power on, Ribbon out, Media out
- Control Panel
- Control keys: FEED, PAUSE and CANCEL
- Standard
- Real Time Clock
- Auto Switching 100-240VAC, 50-60Hz
- Power
- Operation temperature: 41°F to 104°F (5°C to 40°C)
- Environment
- Storage temperature: -4°F to 122°F (-20°C to 50°C)
- Operation: 30-85%, non-condensing.
- Humidity
- Storage: 10-90%, non-condensing.
- Agency Approvals
- CE(EMC), FCC Class A, CB, cUL, CCC
- Length: 11.2” (285 mm)
- Height: 6.8” (171 mm)
- Dimension
- Width: 8.9” (226 mm)
- 6.6 lbs (3.0Kg) ,excluding consumables
- Weight
- Rotary Cutter
- Label Dispenser (peel)
- External label roll holder for 10” (250 mm) O.D. label rolls
- Options
- External label rewinder
- 802.11 b/g wireless print server (Default off; disables USB when in use. Must remove PS2 port and Ethernet card to install)
- *Specifications are subject to change without notice. All company and/or product names are
- trademarks and/or registered trademarks of their respective owners.
- ** Minimum print height specification compliance can be dependent on non-standard material
- variables such as label type, thickness, spacing, liner construction, etc. Godex is pleased to test
- non-standard materials for minimum height printing capability.
- DB 9P/M TO DB 9P/M
- Type
- 1000 mm
- Length
- /
- Pin Assignments
- CN2
- CN1
- 3
- 2
- Brown
- 2
- 3
- Red
- 5
- 5
- Orange
- 7
- 6
- Yellow
- 6
- 7
- Green
- Shell
- Shell
- Drain
- 2. Set up for Dual-Color printing
- For example, make two EZPi1200 printers placed in line. Printer #1 prints the first color and then the labels are fed directly into the back of printer #2. Printer #2 then prints the second color. Both printers print simultaneously in this system making volume batch printing possible.
- /
- Printer # 1 Printer # 2
- The final printing result will be the combination of both printouts as demonstrated below.
- /
- Godex’s unique Dual-Color QLabel makes sure that the printing of both printers stays synchronized and that the printing registration of both printers is perfect.
- Step 1 Connect both printers to PC with USB / Ethernet and connect them with RS-232 in
- between
- The Godex dual color printing system supports USB and Ethernet connection for now. But both printers should be connected with the same type of connection port, e.g. both on USB port or both on Ethernet port. The RS-232 cable between two printers is used for error handling. This is essential to synchronize the printers for accurate dual color printing.
- /
- Step 2 Place two printers in a line and load the label and ribbon respectively
- Please refer to the graphic in right, two printers must be placed in a line and make sure they are aligned correctly so that the label feeding path can be kept straight. Load a color of ribbon on the first printer and load another color of ribbon on the second printer. Load a label roll on the first printer and keep pulling the label, then feed the label to the second printer from the slot for Fan-Fold media. Connect the Godex supplied serial cable to each printer’s serial port.
- /
- Step 3 Execute the auto calibration for both printers
- Execute the auto calibration function for both printers to make sure the label can be fed to correct position. (For more details about calibration function, please refer to EZPi1000 series user manual.) Please start doing it from the first printer then to the second printer. If you start from the second printer, there may be not enough labels to complete the auto calibration.
- Step 4 Design your dual color label format with QLabel and Print
- QLabel is a FREE label editing software provided by Godex. You can find the installation file from the Dual Color CD in your printer package. Insert your product CD, follow the instructions to install the QLabel and start to execute it. For more detail about the operation of QLabel, please refer to QLabel operation manual in Product CD.
- The exclusive function in QLabel 1.192 is able to select color of the font and graphic in red of black (default). The other function is the same as standard Godex QLabel function.
- 1) Font: click / and type characters in the field. In the down-right side of window, select which kind of colors you would like to print.
- /
- 2) GHS or graphic: For GHS sign, please prepare those graphics into 2 images (red squre and warning symbol) with other Image Tool, like Photoshop, as better resolution as possible and in different size of the image. For example, 10 x10 mm. In QLabel when you extend image, this worse the image quality, so that a concrete size of the symbols is important.As same as 1) describes, after load your preferred image, select “BLACK „or “RED”. You will see on the screen the color changed.
- /
- 3) Serialized number, Variable and Database: the function is the same as standard QLabel. After you are ready with number setting or database connection, please select the color you prefer to.
- /
- 4) The Label Format now is ready.
- /
- 5) Label / Printer Setup: make sure the setting in the below windows.
- //
- 6) After all settings are done and ready to print, go to “Advance(Download( Dual Color”. A window of Dual Color Tool V.1 is pop-up. To print, pleases click “SEND”.
- 7) Print delay setting between printer #1 and #2
- Set the delay time of Printer #2 (max : 9999(ms)). The delay time setting is just for second printer because only the second printer needs to be delayed for cooperating with the first printer. Usually, you don’t need to set the delay time since the software tool and the printer firmware can handle the delay time for collaborative printing. It is reserved for some cases if you may need to print with more complicated label contents or special kinds of material.
- /
- /
- Other functions of the operation interface of Dual Color Tool:
- 1) Port configuration
- Detect the connection ports of the printers (USB or LAN). It can switch the port setting between USB and LAN as well.
- /
- 2) Printer actions
- Printer action control for both printers. It can perform various printer actions for specific printer or for both printers.
- /
- /
- 3) Printer settings
- Setting tools for both printers. It can change printer setting options for specific printer or for both printers.
- /
- 4) IP address of printer #1 when connecting via Ethernet
- Display the IP address of Printer #1 when the printer is connected with Ethernet port.
- 5) IP address of printer #2 when connecting via Ethernet
- Display the IP address of Printer #2 when the printer is connected with Ethernet port.
- 6) The connection port status
- The connection port detection result will be displayed here when the Dual-Color Software tool is opened. Click “SEARCH” button to do the detection again if the connection port is changed.
- 7) A button to clear files from the software tool
- Clear the content in both command windows of Printer #1 and Printer #2.
- 8) A button to send the print job to printers #1 and #2 for dual-color printing
- Send the printer commands to both printers and start to do the dual color printing.
- 3. Troubleshooting
- Solution
- Problem
- The printer is switched on but the display does not light up.
- Check the power supply.
- Check the software settings (driver settings) or command codes.
- Look for the error alert in the table in Section 3-8. Error alerts from printer user manual.
- One or both LEDs light up red and printing is interrupted.
- Check whether the cutter is functioning normally and whether it is cutting at all. (Only if a cutter is installed.)
- Please make sure that the label stock is loaded the right way up and that it is suitable material.
- The label stock passes through the printer but no image is printed.
- Please make sure that the ribbon is loaded correctly.
- Clear the paper jam. Remove any label material left on the thermal print head and clean the print head using a soft lint-free cloth dipped in alcohol.
- The label stock jams during printing.
- Check the thermal print head for dust or other dirt (label material or ribbon residue).
- Check for errors in the application software.
- There is no printed image on part of the label or the image is blurred.
- Check the ribbon for wrinkles.
- Check the power supply.
- Run a self test and check the test print pattern to see whether the print head prints over the entire width of the medium.
- Check the quality of the print medium.
- Run the auto-detection function.
- The printed image is positioned incorrectly or a label is missed out during printing.
- Check the label height setting.
- Check whether there is paper or dust covering the sensor.
- Check the paper guide settings.
- Check whether the label stock is positioned straight.
- The cutter does not cut off the labels in a straight line.
- The cutter does not cut off the labels completely.
- Check whether the label is more than 0.2 mm thick.
- Check whether the cutter has been correctly installed.
- When using the cutter, the labels are not fed through or cut off incorrectly.
- Check whether the paper guides are functioning correctly.
- Check whether there is dust on the label dispenser.
- The label dispenser is not functioning normally.
- Check whether the label stock is positioned correctly.
- 【Note】If any problems occur that are not described here, please contact your dealer.