Eskimo 15300 User Manual
Page 6
Check for parts online at
www.GetEskimo.com or call 800-345-6007 M-F 8-5 CDT
6
Operator's Manual
ESKIMO
®
QuickFlip
™
1
ADDITIONAL INSTALLATION
14. Locate the included 8 foot tow rope that was in the hardware
bag. To install the tow rope locate the two holes in the front
of the sled and push each end of the rope through a hole. Tie
a knot at each end of the rope to keep the rope from pulling
through the holes. This tow rope is designed for manual pull-
ing by hand only. DO NOT tow behind a motorized vehicle
with rope. For high-speed towing, you should purchase the
Eskimo Universal Tow Hitch accessory (11608).
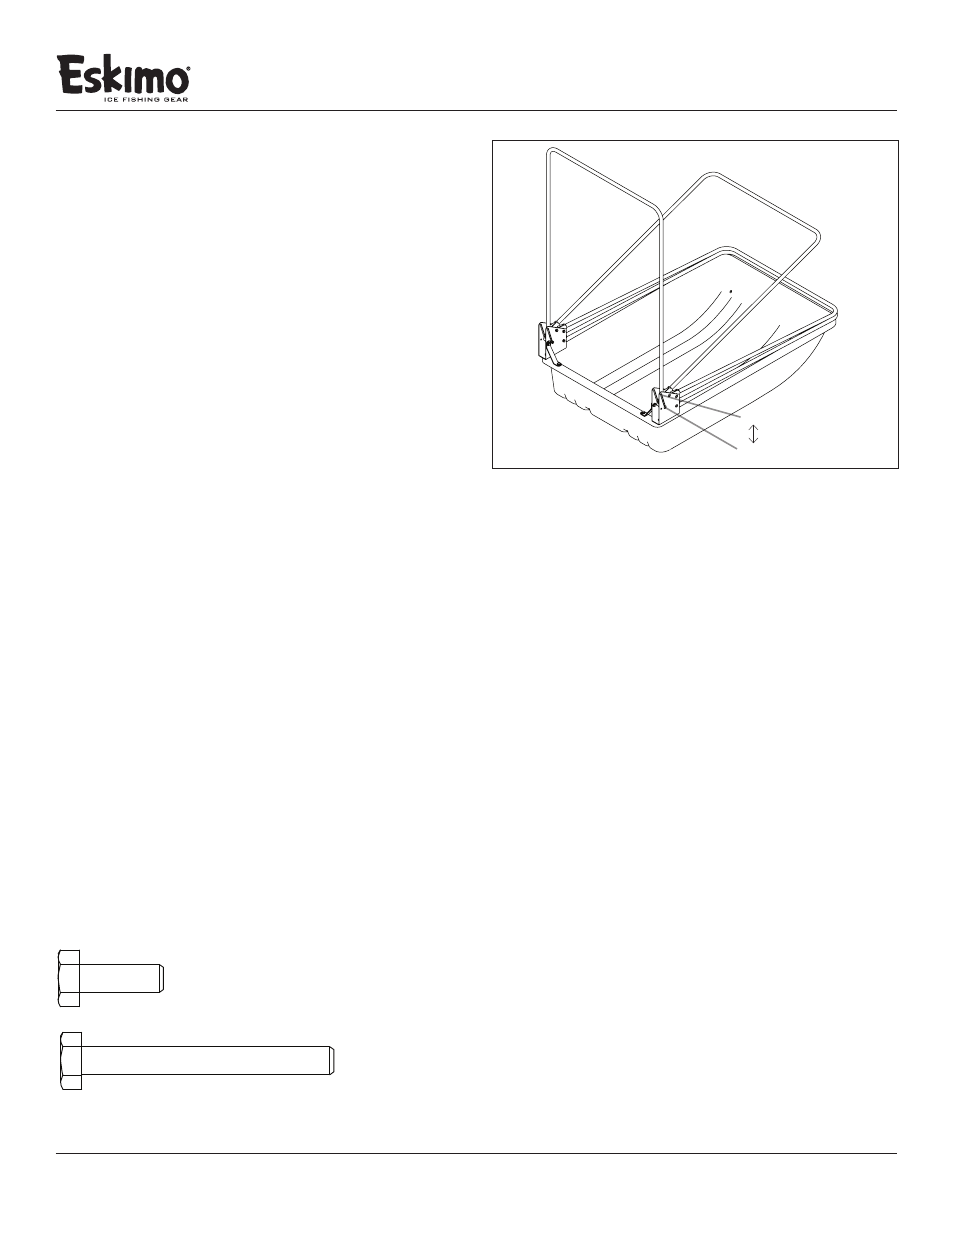
WIND BREAK POSITION
This shelter is equipped with a locking system that positions
the shelter to be used as a wind break on colder days. To
engage, flip the sheler back halfway leaving the pole at the bot-
tom slot in the hinge. SEE FIGURE 7
Note: To disengage the wind break position, the front pole
must be lifted to the top of the hinge slot before it can fold flat
to the sled.
LONG-TERM STORAGE
•
Always make sure your ice shelter is completely dry before
storing for long periods of time. Storing your ice shelter
when damp or wet may cause mold and mildew damage.
•
Remove skin from ice shelter sled and poles.
• Clean all salt, moisture and debris from your shelter skin,
sled and poes. Wipe down poles with a wet rag.
Note: Lubricate the slide poles with a silicon spray at
least seasonally. Do not use oil or grease as a lubricant.
Note: Before attaching skin for use, spray silicon spray
inside of poles for ease of sliding.
• Store skin, poles an sled in a cool, dry place away from
rodents.
FIGURE 7
open
locked
BOLT 1/4-20 X 3/4” HH GR5 ZN
BOLT IDENTIFICATION CHART
•
Not all bolt sizes shown are included with all shelters. Bolts
shown are for size reference only. Extra hardware may be
included in the parts bag.
BOLT 1/4-20 X 2-1/4” HH GR5 ZN