Elenco Robotics User Manual
Page 7
6
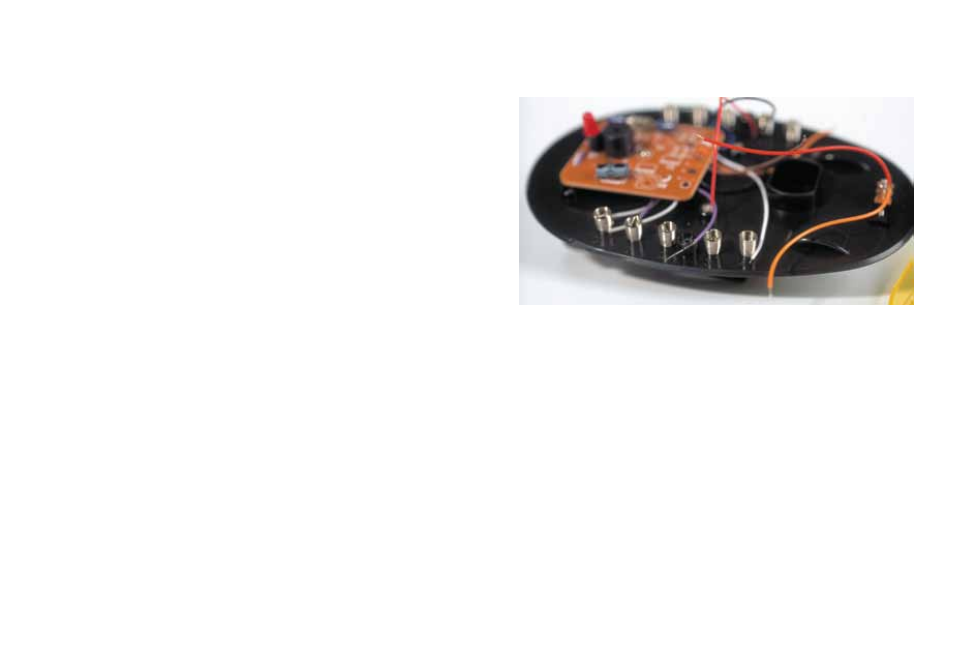
Step 4
Connect all the wires of the same color to the same spring (there should be
2 or 3 wires of the same color).It does not matter which spring you use; take
whichever spring is easiest to reach with the same colored wires.
The springs are only used to connect the colored wires together, the
numbers next to them are meaningless.
The wires are connected by bending the spring sideways with your finger;
this creates a gap in the side of the spring. Push the wires into the gap,
making sure that only the bare parts of the wires are inserted into the
spring. Now let go and the wires are trapped in the spring.
Step 5
If the black and red wires from the battery holder are not on the bottom side of chassis push them through the hole next to the battery holder.
Step 6
Make sure that all the wires are in the right place and that none of the wires have come out of the springs.
Take one of the bodies of your choice and place it on the chassis.
Hold the body with one hand and turn the Robot over: with your other hand insert the the 2 screws into the holes situated between the springs
on both sides, and tighten them with a small screwdriver.
Step 7
Insert two AA batteries, switch on and try out the Robot. You will probably want to change the sensitivity: you can do this by adjusting the
trimmer. This can be done from the bottom of the Robot.
You will see a small rod by the front wheel.
Gently rotate it in one direction and then the other until your Robot responds, the way you want.
When not in use remove the batteries. NOTE: DO NOT USE RECHARGABLE BATTERIES
It is best to use new batteries when starting to use the Robot for the first time.