Adjusting the sound, Adjusting sound settings, Changing channel settings – Dynex DX-42E250A12 User Manual
Page 22: Automatically scanning for channels, E “adjusting sound settings, Ge 18
18
Adjusting the sound
DX-42E250A12
• Advanced Video—Opens the PICTURE-Advanced Video
menu where you can adjust additional video options.
• Noise Reduction—Selects the noise reduction mode
to reduce picture noise (snow). You can select Low,
Middle, Strong, or Off.
• Adaptive Contrast—Automatically adjusts picture
detail and brightness. You can select On or Off.
3 Press MENU to return to the previous menu, or press EXIT to
close the menu.
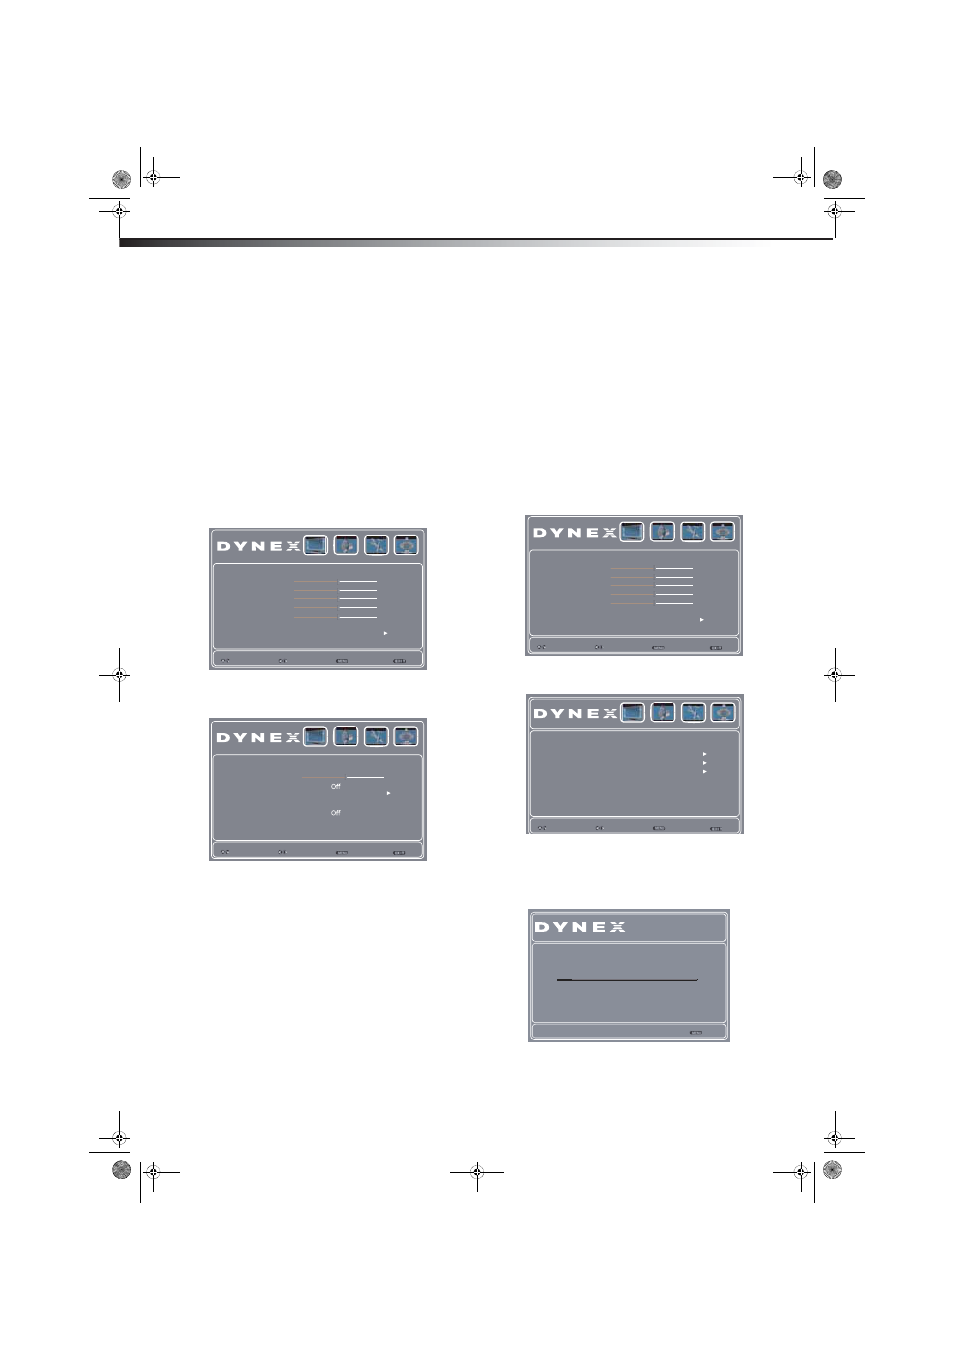
Adjusting the sound
Adjusting sound settings
To adjust sound settings:
1 Press MENU. The on-screen menu opens.
2 Press or to highlight AUDIO, then press . The AUDIO menu
opens.
3 Press or to highlight an option, then press or to adjust
the option. You can select:
• Sound Mode—Selects the sound mode. You can select
Standard, News, Custom, or Music.
• Balance—Adjusts the balance between the left and right
audio channels.
• Surround Sound—Turns the surround sound effect On or
Off.
• Equalizer—Lets you select the frequency you want to
adjust or change its value.
• Digital Audio/SPDIF—Sends digital audio to an external
audio system. You can select PCM (to select to output audio
in 2-channel stereo), or RAW (to pass through the original
digital audio sound).
• Auto Volume Control—Lets you turn automatic volume
control On or Off. When this option is turned on, it keeps the
audio within a preset range, to eliminate large spikes in
volume.
4 Press MENU to return to the previous menu, or press EXIT to
close the menu.
Changing channel settings
Automatically scanning for channels
When you scan for channels, your TV searches for channels with signals
and stores the channel information in the channel list. When you press
CH + or CH –, your TV goes to the next or previous channel in the
channel list.
If the TV signal source changes, for example you change from an
outdoor antenna to cable TV (no box), you need to scan for channels.
To automatically scan for channels:
1 Press MENU. The on-screen menu opens.
2 Press or to highlight TV, then press . The TV menu opens.
3 Press or to highlight Tuner Mode, then press or to
select Antenna, Cable, or Cable/Satellite Box.
4 Press or to highlight Channel Scan, then press ENTER. The
TV-Channel Scan screen opens.
• If you are using an antenna for a standard or HD TV signal,
select Antenna.
• If your cable is connected to your TV through a tuner box,
select Cable/Satellite Box.
Picture Mode Energy Savings
Brightness
Color
Tint
Sharpness
Color Temperature Cool
Advanced Video
Select
Exit
Back
Video Audio Setup TV
Move
47
53
0
4
Contrast
56
Balance
Surround Sound
Equalizer
Digital Audio/SPDIF
Auto Volume Contorl
Select
Exit
Back
Video Audio Setup TV
Adjust
PCM
0
Sound Mode Standard
Picture Mode Energy Savings
Brightness
Color
Tint
Sharpness
Color Temperature Cool
Advanced Video
Select
Exit
Back
Video Audio Setup TV
Move
47
53
0
4
Contrast
56
Select
Exit
Back
Video Audio Setup TV
Adjust
Antenna
Stereo
English
Tuner Mode
Channel Scan
Channel Skip
Favorite List
MTS/SAP
Audio Language
Channel
Channel Scan
4 Search type Antenna
DTV 0 TV 4
23%
Return
DX-42E250A12_11-0618_MAN.book Page 18 Wednesday, August 31, 2011 8:31 AM