Using the configuration menu (continued) – D-Link DVC-1000 User Manual
Page 35
35
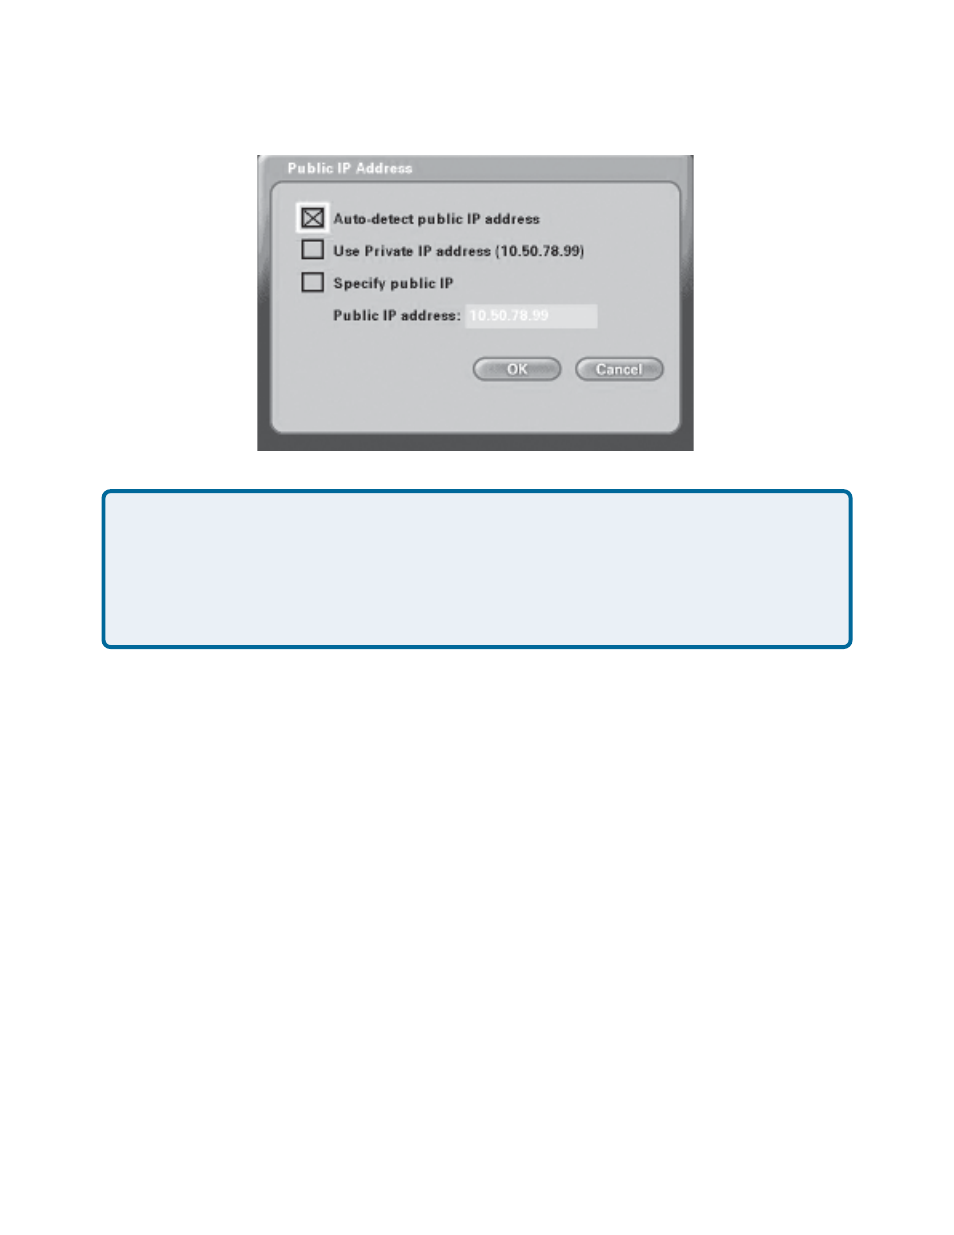
Main Screen > Settings > Network > Public IP address
Using the Configuration Menu (continued)
This screen allows you to view or edit the VideoPhone’s public IP address.
(Optional) Select this checkbox if you want to use your
VideoPhone ONLY within a private network (LAN) or across
a VPN connection. If you select Use Private IP address,
the VideoPhone will not be able to place or receive calls
outside the private network and the Status Icons on the
Main Screen will appear with an “X” to indicate the
DVC-1000 is not connected to the Internet.
(Optional) Select this checkbox if you want to manually
change the DVC-1000 VideoPhone’s public IP address.
Using the number pad on the remote or the on-screen
keyboard, enter the public IP address. (Only available for
editing when Specify public IP is selected.)
If you are sharing a broadband connection with another device (such as a PC),
you typically will need a router to accomplish the sharing of the connection.
Your router will usually have a Network Address Translation (NAT) mode in-
stalled. The NAT affects the IP address of the DVC-1000 and any other devices
sharing your Internet Connection. See the Glossary on page 59 for a description
of a NAT.
This is the default and recommended setting. If the
DVC-1000 is behind a NAT router, and you leave this
checkbox selected, the VideoPhone will automatically use
your public IP address for placing and receiving calls. On
the majority of Cable and DSL broadband systems, leaving
this checked will result in simplified installation and use.
Auto-detect public
IP address
Use Private IP
address
Specify public IP
Public IP address