Installation instructions – Audiovox ACA250 User Manual
Page 4
Attention! The text in this document has been recognized automatically. To view the original document, you can use the "Original mode".
Installation Instructions
CQMPLETELYJtEAD THIS MANUAL BEFORE
INSTALLATION
NOTE:
Wc
have included all of ihe items needed for most standard
installalions, but all vehicles are different. We recommend you review
your vehicle completely before starting.
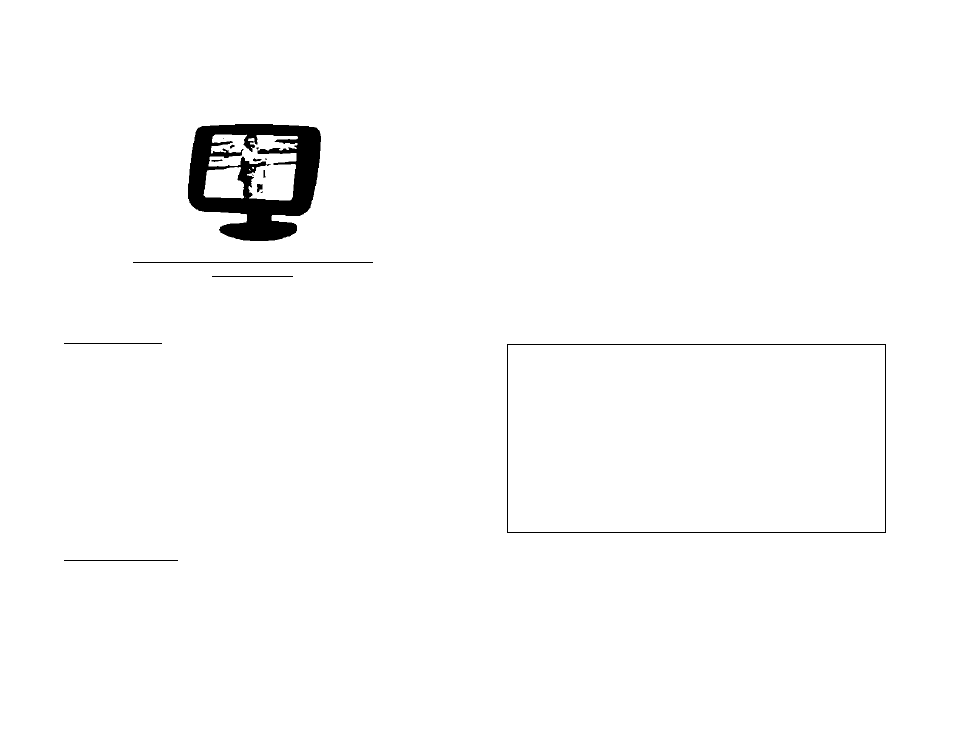
MonUor Installation
jVouníiñg fhf Monitor
The monitor with flexible mounting pad and double sided tape mounts on
either the vehicle windshield or dashboard.
Note: Tkt douhU sidtd tape supplied is extremely strong. Be sure of the
position before mounting.
1. Choose a monitor location in your vehicle that does not block your
view and complies with local laws for safe driving..
2. Clean the monitor base and mounting area with a cleaner that does
not leave a residue.
i.
Remove the protective film from one side of the double sided tape
and apply to the bottom of the monitor base. Next, remove the
protective film from the other side of the double sided tape and
carefully position the monitor and press into place.
CAUTION: Insure that all wires arc run safely and do not interfere
with Airbags, Safety Devices« or any other equipment.
a)
Choose a source that only has power when the vehicle ignition is
on. Check with a meter or test lamp (can be purchased at an auto
parts store). Af)er determining your power location; turn off the
ignition and disconnect the battery to insure your safety.
b) The Red wire on the Monitor Power Harness is the ignition or 12
volt lead. This roust be connected to the power source or fuse box
location that you have chosen to use. Insure the connection is
covered or protected so it can not short circuit.
c) The Black wire on the harness is to be connected to any * 12 volt
ground lead or a solid metal location in the vehicle. Also test your
location to insure a good solid ground. Just because it is metal
does not mean it is a good ground.
d) Plug the power plug into the monitor power supply jack.
After the monitor Installation is complete remove the protective plastic
cover from the panel.
Figure i (Electrical Connections)
-i
sucKChMUi/arseAe
-
aen* lavoc i^use
ssoks
FUSCtXS)
-
[
У
LIsaWf AdJWUr
FUiCOA)
Electrical Connections
The monitor can be powered two ways:
1« Cigarette Lighter Adapter: Plug the cigarette lighter adapter into
the
vehicle's
eigereitc
lighter
socket«
end
then
insert
the
2.5mia
plug into the power supply jack on the monitor.
2.Advanced Hard Wire Installation: Audiovox recommends using
a qualified professional for the Hard Wired cable installation.
NOTE; When using the Cigarette Lighter Adapter, if the Red Power
Indicator stays on after you turn your ignition key off, you will want to
unplug the adapter to insure that your vehicle battery does not run
down when parked for extended periods of time.
To replace the fuse in the Cigarette lighter adapter« unscrew the tip.
Replace only with the same rating of fuse or damage may incur.