12 press my info, Activating the timer, To cancel the timer – Aiwa CT-FX729M User Manual
Page 10: Notes, 1 with the unit on, press my info, 3 press my info, 5 press my info to activate the timer
Attention! The text in this document has been recognized automatically. To view the original document, you can use the "Original mode".
MY INFORMATION SWITCH
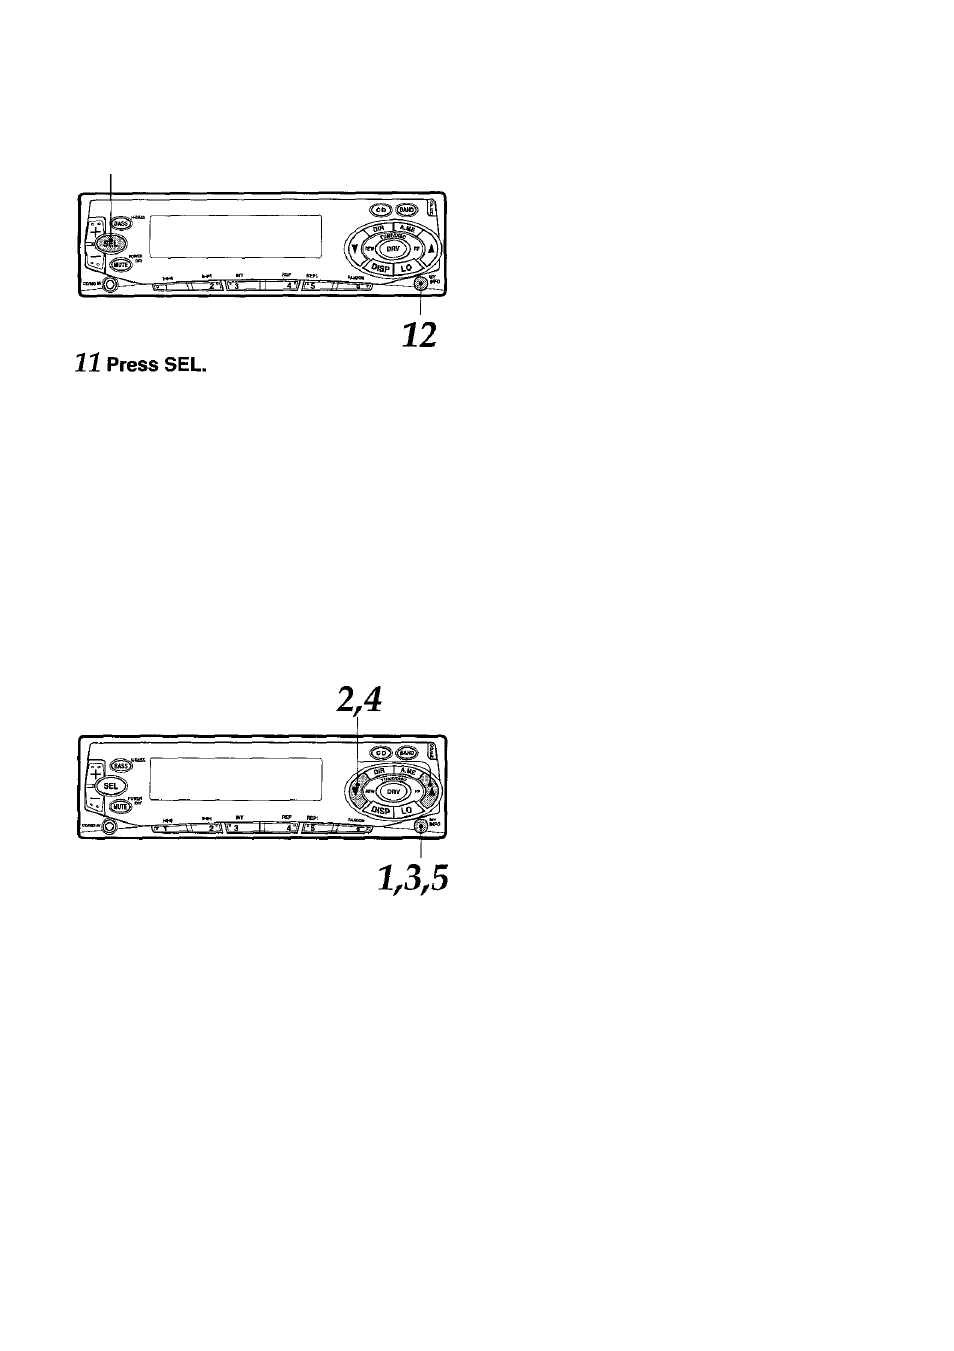
11
The clock indication appears.
12
Press MY INFO.
Your setting is stored in memory and the unit
turns off.
•If you preset another program, repeat all the
steps from step 1.
• To cancel a timer setting in progress, press and
hold MUTE for more than 2 seconds.
Activating the timer
You can activate the timer for program 1 and/or
program 2.
To cancel the timer
To cancel program 1, press TUNE
T
or TUNE
A
repeatedly until the “PRG10FF” indication flashes
in step 2.
To cancel program 2, press TUNE
T
or TUNE
A
repeatedly until the “PRG2 OFF” indication flashes
in step 4.
Notes
•When you preset two programs, be sure that
they do not overlap.
• Even if the unit is in a mode other than Radio
mode, the unit switches to Radio mode and
tunes in the preset radio program at the preset
time automatically. When the program is over,
the unit returns to the former mode automatically.
• When this function is activated, TUNE T/A,
A.ME, LO and the preset number buttons do not
work for tuning in stations.
• Even if you are listening to a radio program with
this function, pressing the following buttons
switches the unit to other mode:
— Pressing BAND changes the unit to Radio
mode.
— Pressing DIR changes the unit to Tape Play
mode.
— Pressing CD changes the unit to CD Changer
Play mode.
If you switch modes with these buttons, the unit
does not turn off at the turn-off time of the timer.
To switch to CD/MD IN mode, press DIR, CD, or
BAND before connecting a portable CD/MD
player, etc. to the CD/MD IN jack.
1
With the unit on, press MY INFO.
The ‘‘PRG1 ON” or ‘‘PRG1 OFF” indication
(the current setting for program 1) appears.
2
Press TUNE T or TUNE A repeatedly
until the “PRG1 ON” indication f iashes.
3
Press MY INFO.
The ‘‘PRG2 ON” or “PRG2 OFF” indication
(the current setting for program 2) appears.
4
Press TUNE ▼ or TUNE A repeatedly
until the “PRG2 ON” indication hashes.
5
Press MY INFO to activate the timer.
The “MY INFO” indicator lights up.
If you do not proceed to the next step within 5
seconds in steps 1-4, the display returns to the
current source indication.
9
ENGLISH