Connecting a hunter solar sync et sensor, Installing solar sync sensor, Installing the wireless solar sync – Hunter X-CORE User Manual
Page 14: Solar sync settings
12
CoNNECTING a HUNTEr solar syNC ET sENsor
The X-Core is compatible with the Solar Sync and Wireless Solar
Sync systems. Solar Sync is a sensor system that will automatically
adjust the X-Core controller’s watering schedule (based on
changes in local climate condition) by using the Seasonal Adjust
function. The Solar Sync uses a solar and temperature sensor to
determine evapotranspiration (ET), or the rate at which plants and
turf use water, and also includes Hunter Rain Clik and Freeze Clik
technology that will shut down irrigation when it rains and/or during
freezing conditions.
NoTE: solar sync will apply a default seasonal adjust
value of 100% until the first full day (24 hour period)
of weather measurements have been received from
the sensor.
NoTE: enabling the sensor Bypass switch has no
effect on the seasonal adjust updates from the solar
sync sensor. It will, however, bypass the Rain Clik and
Freeze Clik functionality of the sensor.
Installing solar sync sensor
Connect the Green and Black wire from the Solar Sync Sensor to
the “SEN” wiring terminals on the X-Core controller, similar to
picture on page 11. It does not matter which wire connects to which
terminal. Turn the dial to the “Solar Sync Settings” position. The
display will initially show dashed lines
and then will show the default Region
setting (3) on the left and the default
Water Adjustment setting (5) on the
right. Adjust the Region as needed
by using the and buttons (refer to page 13 for explanation
of Solar Sync Region setting). Use the button to advance to the
right to adjust the Water Adjust setting as needed (see page 14
for
explanation of Water Adjust setting).
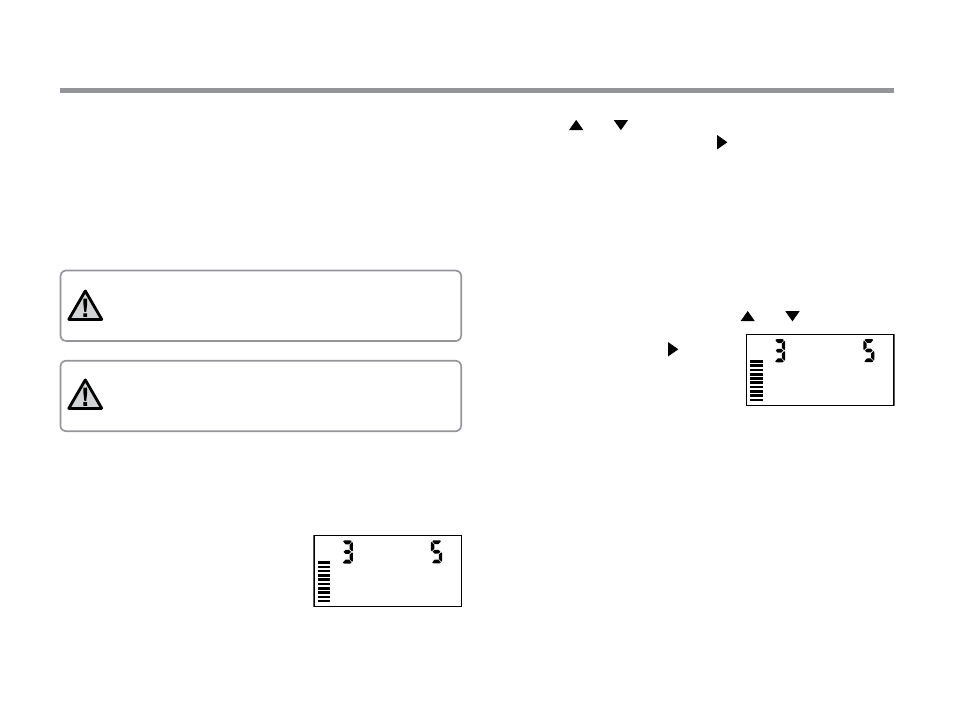
Installing the Wireless solar sync
Connect the Green and Black wire from the Wireless Solar Sync
Receiver to the “SEN” wiring terminals on the X-Core controller. It
does not matter which wire connects to which terminal. Turn the dial
to the “Solar Sync Settings” position. The display will initially show
dashed lines and then will show the default Region setting (3) on
the left and the default Water Adjustment setting (5) on the right.
Adjust the region as needed by using the and buttons (refer
to page 13 for explanation of Solar
Sync Region setting). Use the button
to advance to the right to adjust the
Water Adjust setting as needed (see
page 14 for explanation of Water
Adjust setting).
solar sync settings
Once the Solar Sync sensor is connected to the X-Core controller,
two numbers will appear in the display when the dial is turned to
the Solar Sync Settings position. The number on the left of the
screen is the Region setting, and the number on the right on the
screen is the Water Adjustment setting (as shown above).