Using your rotary mower, Off-season storage, Warning – MTD 111-328-300 User Manual
Page 13: Handle storage
Attention! The text in this document has been recognized automatically. To view the original document, you can use the "Original mode".
2. Drain aii the oil from the crankcase (this
should be done after the engine has been
operated
and
is
still
warm).
Refill
the
crankcase with clean new oil.
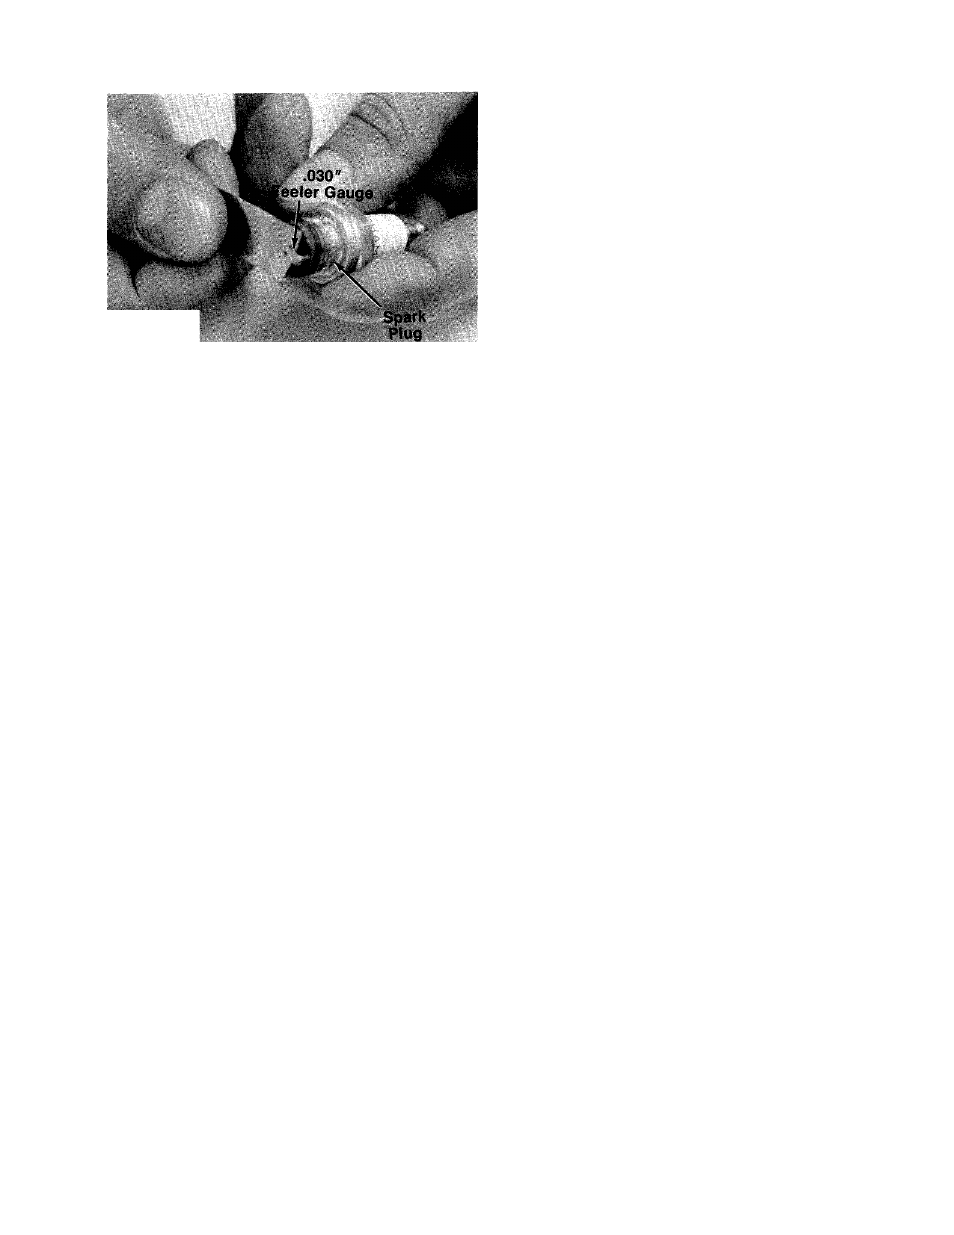
3. Disconnect the spark plug wire and remove
the spark plug from the cylinder. Pour about 2
or 3 tablespoons of engine oil into the
cylinder. Turn the engine over several times to
spread out the oil. Replace the spark plug, but
do not connect the wire.
4.
Clean the engine and the entire mower
thoroughly.
5. Lubricate all lubrication points.
FIGURE 20.
USING YOUR ROTARY
MOWER
For the best results, do not cut wet grass because
it tends to stick to the underside of the mower,
thus preventing proper discharge of grass clip
pings. If wet grass must be cut, reduce walking
speed.
New grass should be treated as wet grass. Other
wise, a normal walking speed is about the right
pace for efficient mowing.
Lawn should be cut in the fall as long as there is
growth.
OFF-SEASON STORAGE
If the machine is to be inoperative for a period
longer than 30 days, the following procedures are
recommended:
1. Working outdoors, drain all fuel from the fuel
tank. Use a clean dry cloth to absorb the small
amount of fuel remaining in the tank. Then run
the engine until all fuel in the carburetor is ex
hausted.
WARNING
Do not drain fuel while smoking, or
if near an open fire.
HANDLE STORAGE
The handle can be stored in an upright position to
take less space. Move hairpin cotters to outer hole
on weld pins (see figure 3). Grasp the lower handle
at the bottom and pull apart slightly. Tip the han
dle forward. It will lock in this position. Reverse
this procedure to place the handle in the
operating position.
The handle may also be folded away completely
for storage.
1. Remove hairpin cotters from inner hole on
weld pins on handle mount brackets. Place in
outer hole.
2. Loosen the two hand knobs on each side of
the handle.
3. Push outward on the bottom of each side of
the lower handle, and push forward.
4. Fold the upper handle back and down, as
shown.
To take the handle out of storage position, pro
ceed as follows.
1. Lift the upper handle up and towards the rear.
2. Pull the handle back until it iocks into the
operator’s position.
3. Tighten the two hand knobs securely.
4. Move the hairpin cotters to the inner hole on
the weld pins.
13