SINGER WRotary (Book 13) User Manual
Page 11
Attention! The text in this document has been recognized automatically. To view the original document, you can use the "Original mode".
I ' n i o r
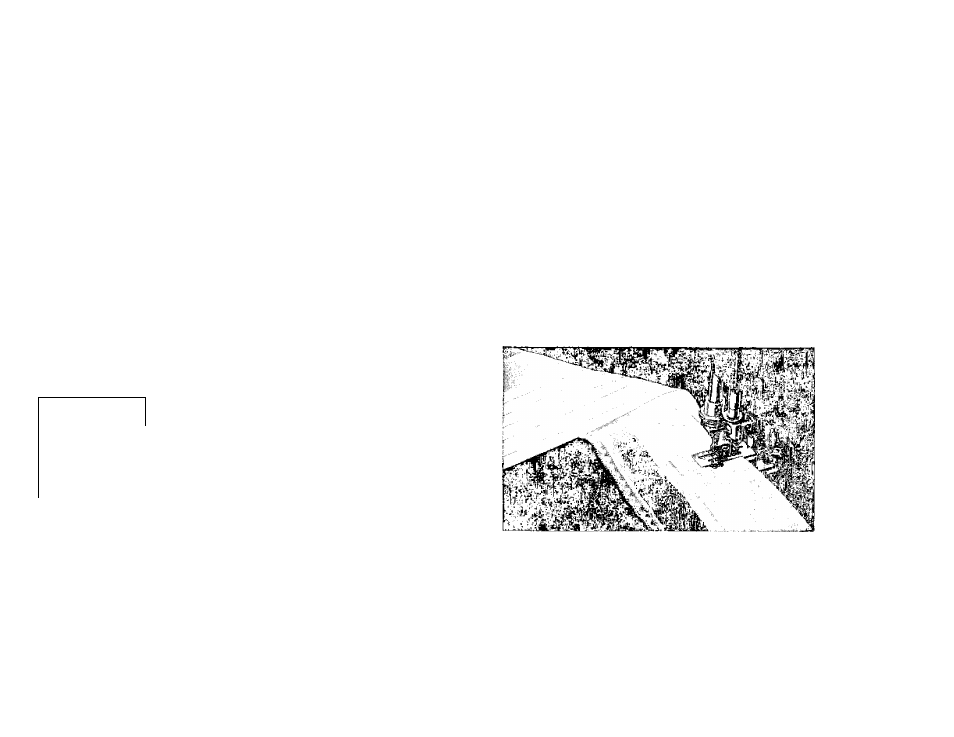
Using the
Shirring
Foot
Rt'inovc Iho I'iiesset-lout and replace with the Shirring Foot
•*;»,
■ ■
u
■ :
,
-.; fi:
% -i
ihig. i.1
Tc >ath<=’>’. r iF m , iiJi q
Place the goods
i m d e i i b e l o o i ¡ ¡ n - t , j u i e a s m m t i m a t ' s e u n i i
For line gather use a .dioi I stitcii. d.-uo'’.
d-.'.-Uii <. l - . n i h
en the stitch. For greaiei iulln»'?.-’ ticdma, -
dsioii
.
Coiiibiiiation
Edge
Sliichei, i. i- •
,'F i,
,,,
)d an' _ 1
№
M r r . r .
^ h m , ' • > 1 l u l l ! •
f a s -
M r ' ! ' . , ,
1 1 1 ’ i i 1 1
r ( i M ■ ' i ■ “
n i " ^ |
a s t l i e h ' r e s s e r -
L ' * O O t * 1 . . h e r e
> 1 1 ’
I d
t ! 1 1 1 ‘ . ' 1 ,
- M . l O k
, . . n
b .
» M n < ‘ i < 1
’ l ! g < t -
i . n
^ ’ ' l
^ , . 5 H
g
< '
>
a
U ' M
e . A G u l i i* 1
s u ■ . i
’ . - ' M ' ’ i U U J c Ut 1 > J ! 1 * ' f ‘
1 t
^ ..............................
! r ( 1 d r i j i f t ( 1 , 1 1
” . - . . . l . -
1 V ' - ' u ( ^ '
' ' ' J - r > * , i l t \ V A
! u ^ ’ " ' '
l i e r i g h t O F
i . i i t ’ l j i i
i h ”
d e - i i ' - d a ^ i i u s i i i i e i i l
1 ' M a ' m i V ' l e n s e w u i i T
M ,
: r i l
When sewing laces or soft materials together, it is better to
hold the edges slightly or’-^lapped. This will prevent the lace
from feeding away from guide.
When the attachment is properly adjusted, the most inexperi
enced operator
may
sew yards of lace or material together witli
no difficult^.
Tucking
The numbers 2 to 6 inclusive stamped on the back ed^e of
the sliding guide represent the width of tuck in eighths of an inch.
After folding the material for the first tuck, put the folded edge
into the guide slot which is nearest the needle. When the left
edge of the friction spring "H” coincides with the number 2
on the scale a tuck results.
In like manner, set the guide at 3 for a tuck.
set the guide at 4 for a ft” tuck,
set the guide at 5 for a Ai” tuck,
set the guide at 6 for a %" tuck.
For
tucks
narrower than 14" move
the guide "G”
as far
as
desired to the left.
Fig. 17
Braidlno