Pilotless ignition, Oven vent, Oven burner – Maytag X9112VUV User Manual
Page 5: How to set the oven, Using your oven
Attention! The text in this document has been recognized automatically. To view the original document, you can use the "Original mode".
USING YOUR OVEN
OVEN CHARACTERISTICS OVEN THERMOSTAT
Every oven has its own characteristics.
You may find that the cooking times and
temperatures you were accustomed to
with your previous appliance may need
to be aitered siightiy with your new
appliance. It is normal to notice some
differences in cooking resuits between
this new appliance and your previous
appiiance.
'
PILOTLESS IGNITION
With this type of ignition system, the
oven wiii not operate during a power
faiiure or if the oven is disconnected
from the wail outlet.
No attempt should
be made to operate oven during a
power faiiure or if the oven is
disconnected from the wall outlet.
OVEN VENT
The oven vent is iocated at the base of
the control panel. When the oven is in
use, this area may fpei warm or hot to
the touch. To prevent probiems, do not
block the vent opening or touch the area
near the opening.
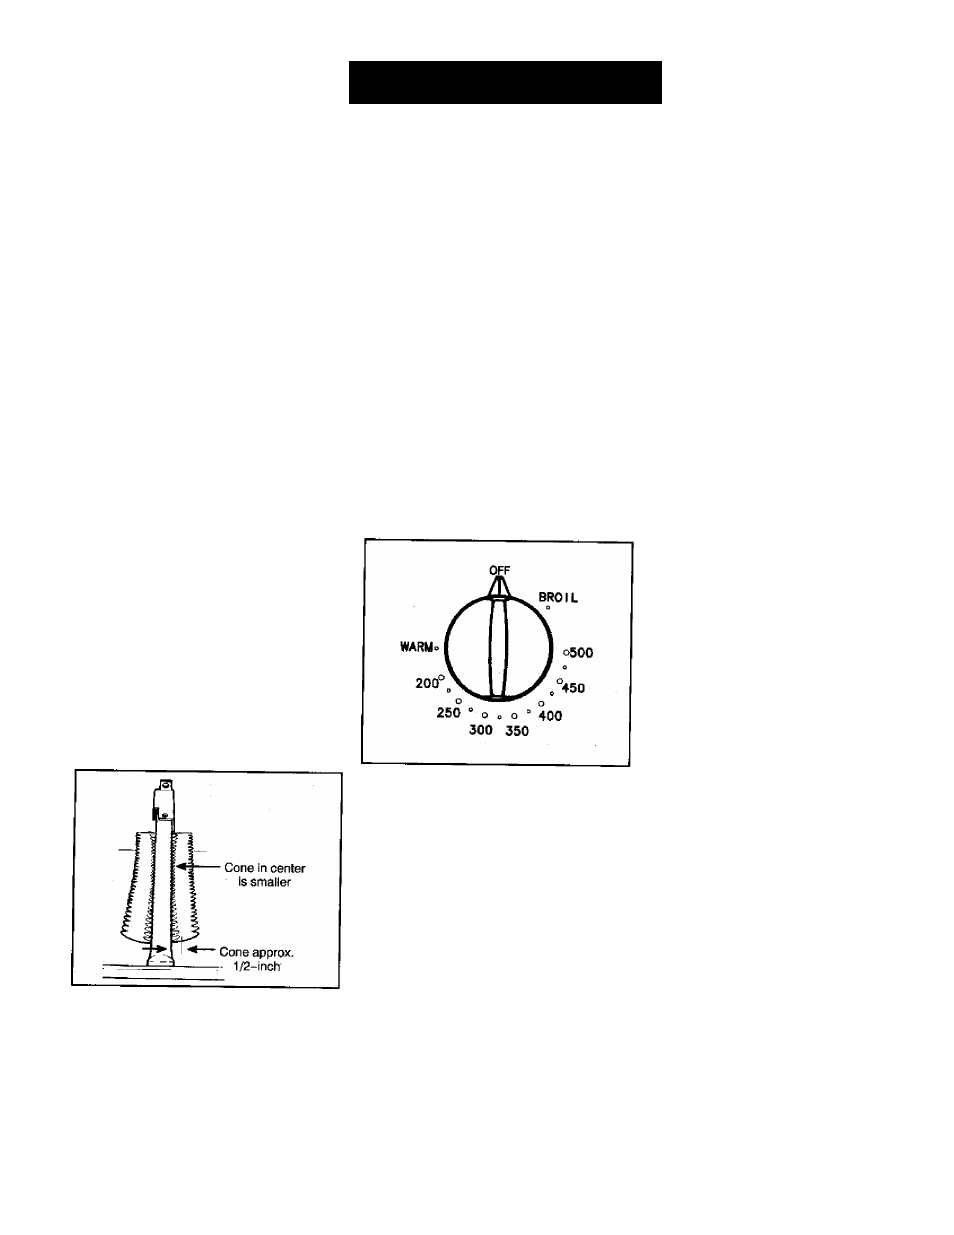
OVEN BURNER
The size and appearance of a properly
adjusted oven burner flame should be
as shown:
Be sure oven thermostat knob is set in
the OFF position prior to supplying gas
to the appliance.
The oven thermostat knob is used to
select
and
maintain
the
oven
temperature. The oven temperature is
maintained by cyciing the burner on and
off. After the oven temperature has been
set, there will be about a 45 second
delay before the burner ignites. This is
normal and no gas escapes during this
delay.
Always push in and turn the thermostat
knob just to the desired temperature -
not to a higher temperature and then
back. This provides more accurate oven
temperatures. Turn this knob to OFF
whenever the oven is not in use.
During some extended oven cooking
operations, you may hear a “popping”
sound when the burner cycles off. This
is a normal operating sound of the
burner.
HOW TO SET THE OVEN
1. When cool, place the racks in the
desired rack positions.
2. Push in and turn the oven thermostat
knob
to
the
desired
oven
temperature. Allow the oven to
preheat for 10 to
15
minutes when
baking.
3. Place the food in the center of the
oven, allowing a minimum of two
inches between the utensil(s) and the
oven walls.
4. Check the food for doneness at the
minimum time given in the recipe.
Cook longer if necessary. Opening
the oven door frequently causes heat
loss which may affect cooking results
and increase cooking time.
5. Turn the oven thermostat knob to
OFF and remove food from the oven.
NOTE; The oven can not be used during
a power failure or if the oven is
disconnected from power supply.
PREHEATING
Preheating is necessary for proper
baking results. Allow the oven to heat
until the desired oven temperature is
reached,
approximately
10
to
15
minutes.
Selecting
a
temperature
higher than the desired temperature will
not preheat the oven any faster. In fact,
this may have a negative effect on
baking results.
It is not necessary to preheat for broiling
unless darker browning is desired or if
cooking thin (3/4-inch) steaks. Allow
the burner to preheat 2 to 3 minutes.
Preheating is not necessary for roasting
operations.