Cleaning chart (continued), How to remove wall oven, Care and cleaning – Maytag X9112VUV User Manual
Page 12: For cleaning or servicing
Attention! The text in this document has been recognized automatically. To view the original document, you can use the "Original mode".
CARE AND CLEANING
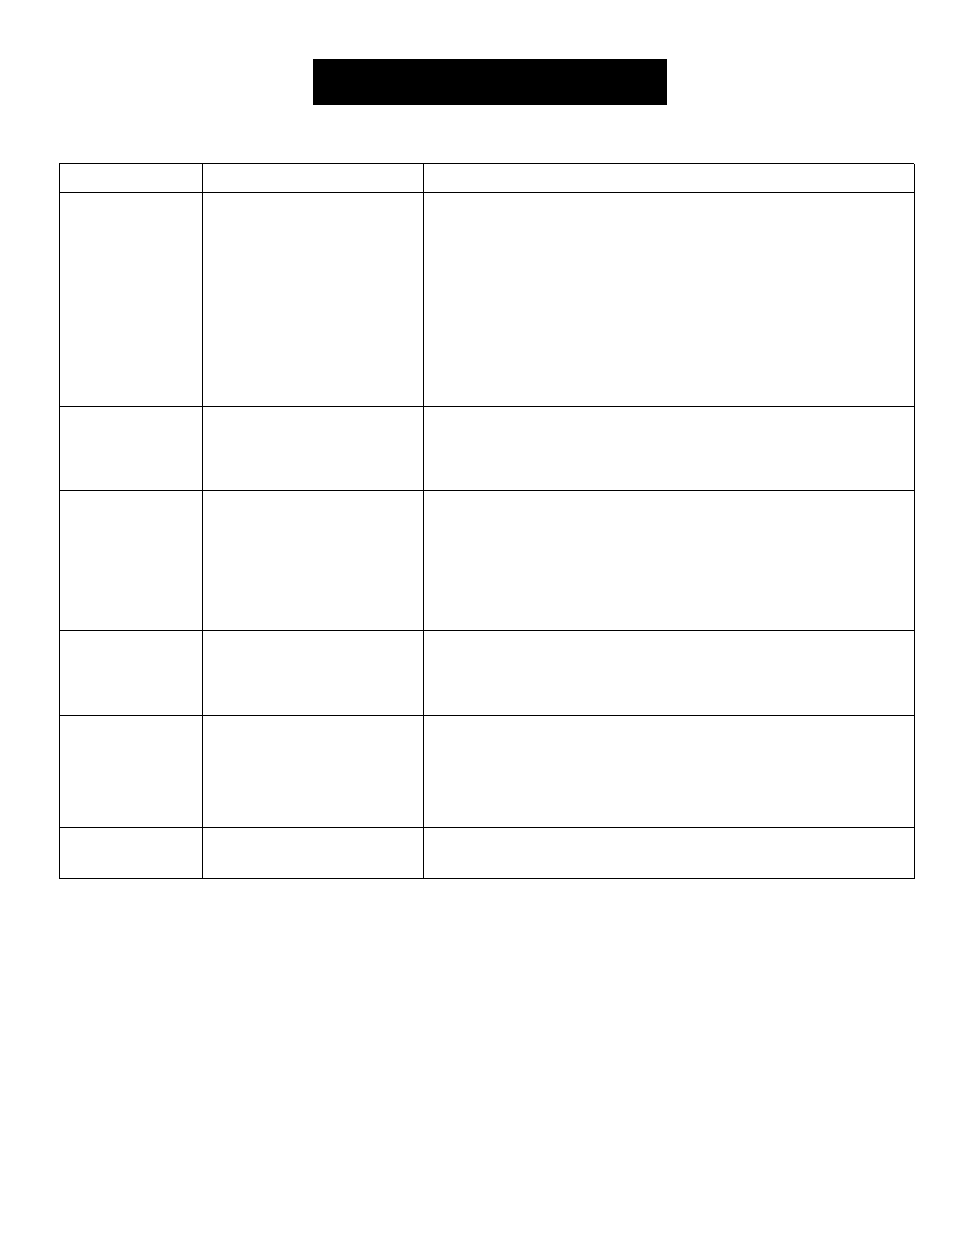
CLEANING CHART (continued)
:; ;;OyEAN(i№AQiafrs:i;:^-
V.-.DIRECTIONS ................................................................... .... ^
Oven bottom
• Porcelain enamel
• Soap and water
• Paste of baking soda and water
• Non-abrasive plastic pad
• Oven cleaner
NOTE: The oven bottom for the Continuous Clean Oven is porcelain. Follow instructions
below.
Porcelain oven bottom: Clean, when cool, with soap and water, non-abrasive plastic
pad or oven cleaner. Rinse with clear water. To make cleaning easier, protect the oven
bottom by (1) using large enough cookware to prevent boilovers; (2) place a piece of
aluminum foil, that is slightly larger than the cookware, on the lower rack. NEVER olace
foil directly on the oven bottom.
Protect oven bottom against acid spills (milk, cheese, tomato, lemon juice, etc.) or
sugary spilis (pie filling) as they may pit or discolor the oven bottom.
For easier cleaning, oven bottom can be removed and cleaned at the sink. Do not soak
or immerse oven bottom In water or place under running water.
Oven cavity
• Continuous Clean
Oven, see page
11.
Cleaning action begins whenever the
oven is on. The oven must be used for
cleaning to take place. Higher oven
tejnperatures and longer baking times
speed the cleaning action.
Brush off heavy soil with a nylon or plastic pad. Do not use paper towels, cloths, or
sponges because the oven walls are porous and particles of these materials will rub off
on the walls. Rinse area with clean water only. Do not use any type of oven cleaner
cleanser or detergent on this surface. '
Oven cavity
• Porcelain oven
• Oven door liner
• Soap and water
• Mild abrasive cleaners
• Plastic pad
• Oven cleaner
Clean oven interior with soap and water; rinse. Use cleansing powders or a plastic
scouring pad to remove stubborn soil. Wipe acid or sugar stains as soon as the oven is
cool as these stains may discolor or etch the porcelain. Do not use metallic scouring
pads as they will scratch the porcelain. To make cleaning easier, place 1/2 cup
household ammonia in a shallow glass and leave in a cold oven overnight. The am monia
fumes will help loosen the burned on grease and food. Oven cleaners can be used on the
porcelain oven but follow manufacturer’s directions. If oven cleaner was used,
thoroughly rinse oven cavity and capillary tube which is located at the top of the oven.'
Oven cleaners can not be used on the continuous cleaning oven finish.
Oven racks
• Soap and water
• Cleansing powders
• Plastic pad
• Soap filled scouring pad
Clean with soapy water. Remove stubborn soil with cleansing powder or soap filled
scouring pad. Rinse and dry.
NOTE; If racks become difficult to slide, a thin coat of vegetable oil on the underside of
the rack will make sliding easier.
Piastic finishes
• Door handles
• Trim
• Overlays
• Knob
• Soap and water
• Non-abrasive plastic pad or sponge
When surface Is cool, clean with soap and water; rinse, and dry. Use a window cleaner
and a soft cloth.
NOTE: Never use oven cleaners, abrasive or caustic liquid or powdered cleaning
agents on plastic finishes. These cleaning agents will scratch or marr finish.
NOTE; To prevent staining or discoloration, wipe up fat, grease or acid (tomato, lemon,
vinegar, milk, fruit juice, marinade) immediately with a dry paper towel or cloth ’
Siiicone rubber
• Door gasket
»Soap and water
Wash with soap and water, rinse and dry. Do not remove door gasket.
HOW TO REMOVE WALL OVEN
Follow these procedures to remove
appliance for cleaning or servicing;
1. Shut-off gas supply to appliance.
2. Disconnect electrical supply to
appliance.
3. Disconnect gas supply tubing to
appliance.
FOR CLEANING OR SERVICING
4. Remove the screws that secure the
wall oven to the cabinet. Remove
oven from cabinet.
5. Reverse procedure to reinstall. If gas
line has been disconnected, check
for gas leaks after reconnection. See
Installation Instructions for gas leak
test method.
NOTE; A qualified servicer should
disconnect and reconnect the gas
supply.
WARNING: Possible risks may result
from
abnormal
usage,
including
excessive loading of the oven door and
of the risk of tip over, should the
appliance not be reinstalled according
to the installation instructions.