Setting the stitch length – SINGER W1315 User Manual
Page 11
Attention! The text in this document has been recognized automatically. To view the original document, you can use the "Original mode".
4) into check spring C
5) then tug on thread to pull it into hook D (see insert,
Fig, 10)
6) up into take-up lever E from back to front
7) down into thread guide F on face plate
8) through the needle bar thread guide G
9) and into needle from left to right. Pull three or four
inches of thread through needle.
Hold the end of upper thread loosely and turn hand
wheel toward you until the needle goes all the way down
and comes back up. A loop (Fig. 11) will be formed over
the upper thread which then can be pulled out straight.
Place both thread ends under the slot of the presser foot
and draw toward the back of the machine, leaving both
threads three or four inches long,
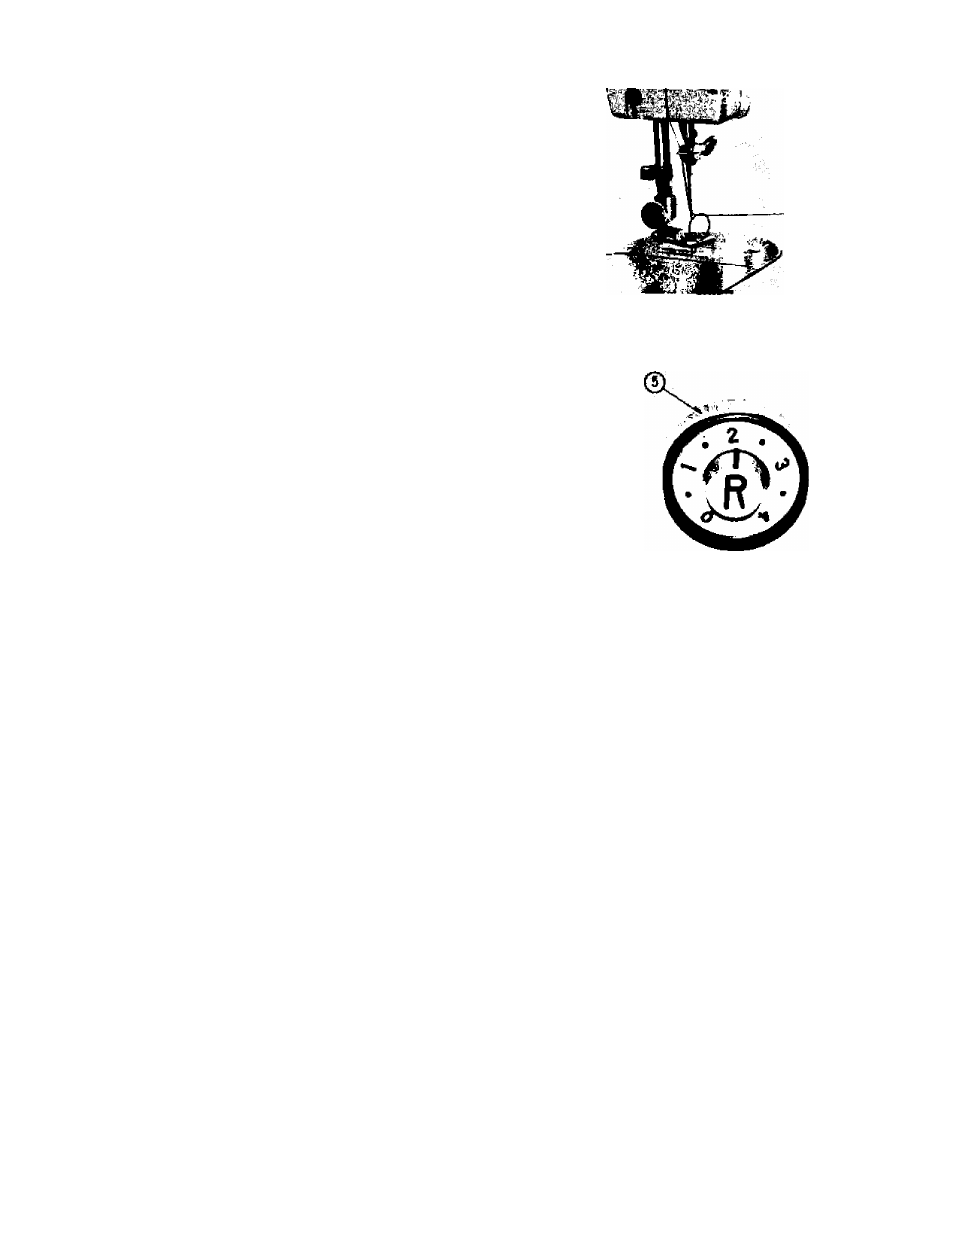
SETTING THE STITCH LENGTH
The length of the stitch is regulated by the dial, 5,
shown in Fig. 12. Near 0 is the shortest stitch and 4 is
the longest, but the dial may be set at any spot between
markings for a variety of lengths. Turn the dial to the
left to lengthen and to the right to shorten the stitch.
The number stitch length you choose appears above the
center line on the reverse button R.
Fig. 11
Fig. 12