Adjusting stitch width free motion embroidery, Adjusting stitch length, Balancing a pattern – SINGER 6423 User Manual
Page 16: Darning
Attention! The text in this document has been recognized automatically. To view the original document, you can use the "Original mode".
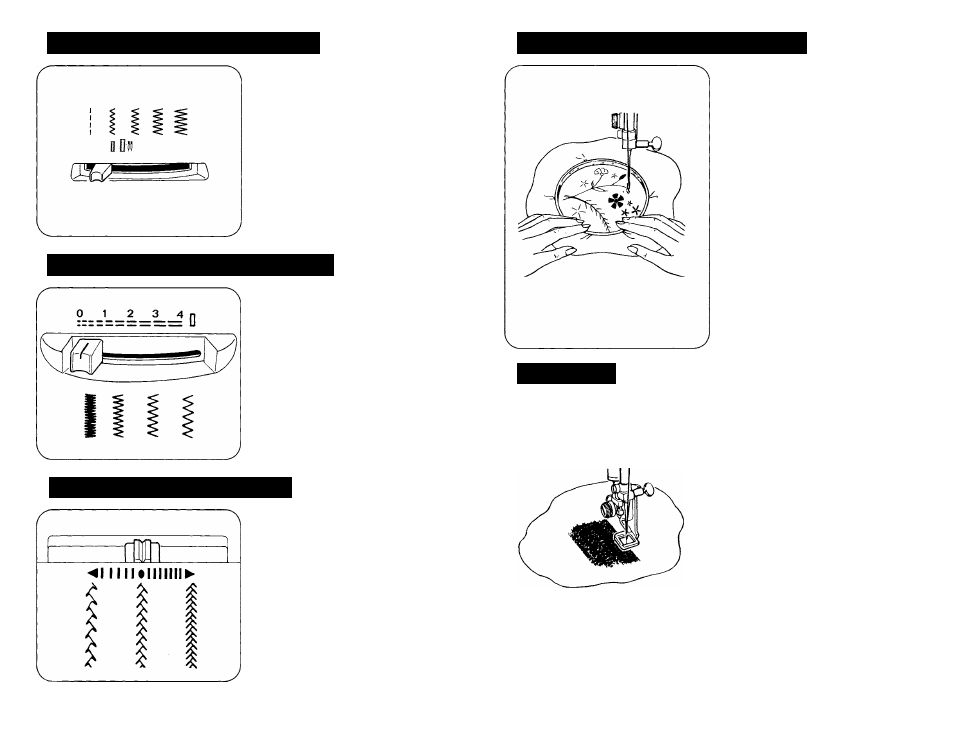
ADJUSTING STITCH WIDTH
FREE MOTION EMBROIDERY
•
Move lever to widen or narrow
stitch.
• When using twin-needle do not set
width wider than twin-needle
graphic.
ADJUSTING STITCH LENGTH
•
For shorter stitch move lever to
left.
• For longer stitch move lever to
right.
BALANCING A PATTERN
•
Machine has been balanced at
factory to optimum balance.
• Only selected patterns may be
balanced (see following pages).
• Before attempting to balance a
pattern make sure stitch length is
set at 4.
• Push lever left to open pattern or
right to close pattern.
DARNING
RECOMMENDED SETTINGS
stitch Selection: Straight Stitch or Zig-Zag
Stitch Width; : t H i- =;
UUH
stitch
Length: Feed cover
Foot;
Remove foot with shank
• Attach feed cover, (refer to page 11)
• Control fabric with embroidery
hoop.(hoop not included).
• Lower presser foot lifter.
• Lengthen or shorten stitches by
moving hoop faster or slower.
RECOMMENDED SETTINGS
Stitch Selection: Straight Stitch
Stitch Width:
im
Stitch Length: Feed cover
Presser Foot: Daring and embroidery
foot
• Trim ragged edges and baste
backing fabric.
• Attach feed cover.
• Place area to be darned, right side
up, under presser foot; lower foot.
• Stitch, guiding fabric back and
forth, until entire area is filled in.
—
13