Fig. 6 – SINGER W164 User Manual
Page 8
Attention! The text in this document has been recognized automatically. To view the original document, you can use the "Original mode".
k
;
Fig. 5
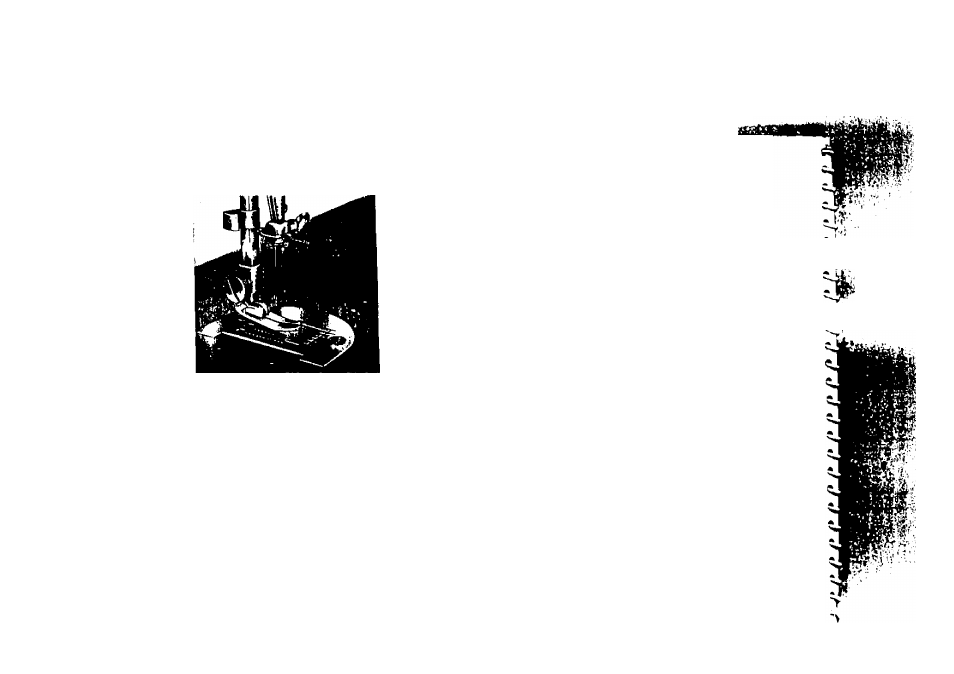
SETTING THE NEEDLE
See Fig. 5. Raise the needle bar A to its highest
point, turning wheel toward you by hand.
Then loosen the needle clamp screw B and the
needle can be inserted into clamp C. Place needle
(flat side to right) in the needle clamp and push it
upward as iar as it will go into the needle clarnp
hole,
tightening
the
needle
clamp
screw
securely
with a screw driver.
Alter
changing
the
needle
make
one
com-
píete
revolution
ol
the
balance
wheel
by
hand
to
be
sure
the
needle
is
in
the
correct
position.
THREADING THE BOBBIN CASE
Flat BUtlace
oi needle
shank
Fig. 6
Step 1 (.llustr.led in Fig, 7). Hold bobbio case between thumb and lo.ellnger ot lelt hand,
eo that the slot in the edge ol the bobbin case ia on lop. Take the bobbin between thumb and
forefinger of right hand so that the thread on lop leads from loft to tighf.
Step 2 Insert bobbin into bobbin case, pull the thread into the slot ol the bobbin case as
shown in Fig, 8 and draw it under tension spring and into the fork-shaped opening ol the spring
as shown in Fig. 9.
fc. .