View 1, View 5 views – SINGER W164 User Manual
Page 35
Attention! The text in this document has been recognized automatically. To view the original document, you can use the "Original mode".
PLAIN BOUND BUTTONHOLE
Cut straight or bias strips of fabric 2"
wide and 1" longer than the desired but
tonholes.
Place
right
sides
together
over
positions for buttonholes. Mark exact length
of each buttonhole in center of each strip;
place a pin through center of the marking.
Begin to stitch at the pin; marking an oblong
box Va ' above and below the line; across
each end. Run a few stitches beyond start
ing point to reinforce. View 1.
Slash through the center line of the box
to
within
of
each
end,
then
diagonally
into each corner,
View 2.
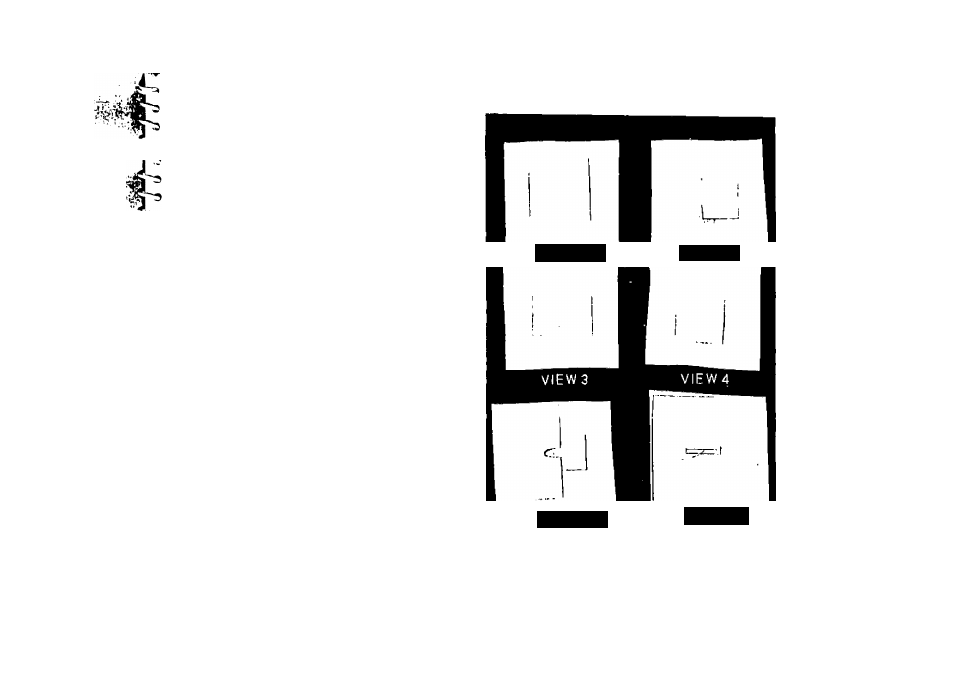
Turn
the strip
through the opening, press seams flat across
the ends so the facing will not be visible
from the right side. Fold the strip to meet
in the center of the opening. Baste the folds
together across the opening. View 3.
Turn garment back at each end and stitch
across the strip, securing the triangular slash
ed section to the pleated strip and press. View
4. Bring facing of garment to position and
baste
around
each
buttonhole.
Insert
the
point pf a pin through each comer and slash
through the center and into each comer pin
Turn under the raw edges and slip stitch
the facing to the underside of the buttonhole.
View 5. Press the finished buttonhole. View
6
.
33
VIEW 1
V 1 E W 2
VIEW 5
VIEWS
Pt