Embroidery – SINGER W1010 User Manual
Page 41
Attention! The text in this document has been recognized automatically. To view the original document, you can use the "Original mode".
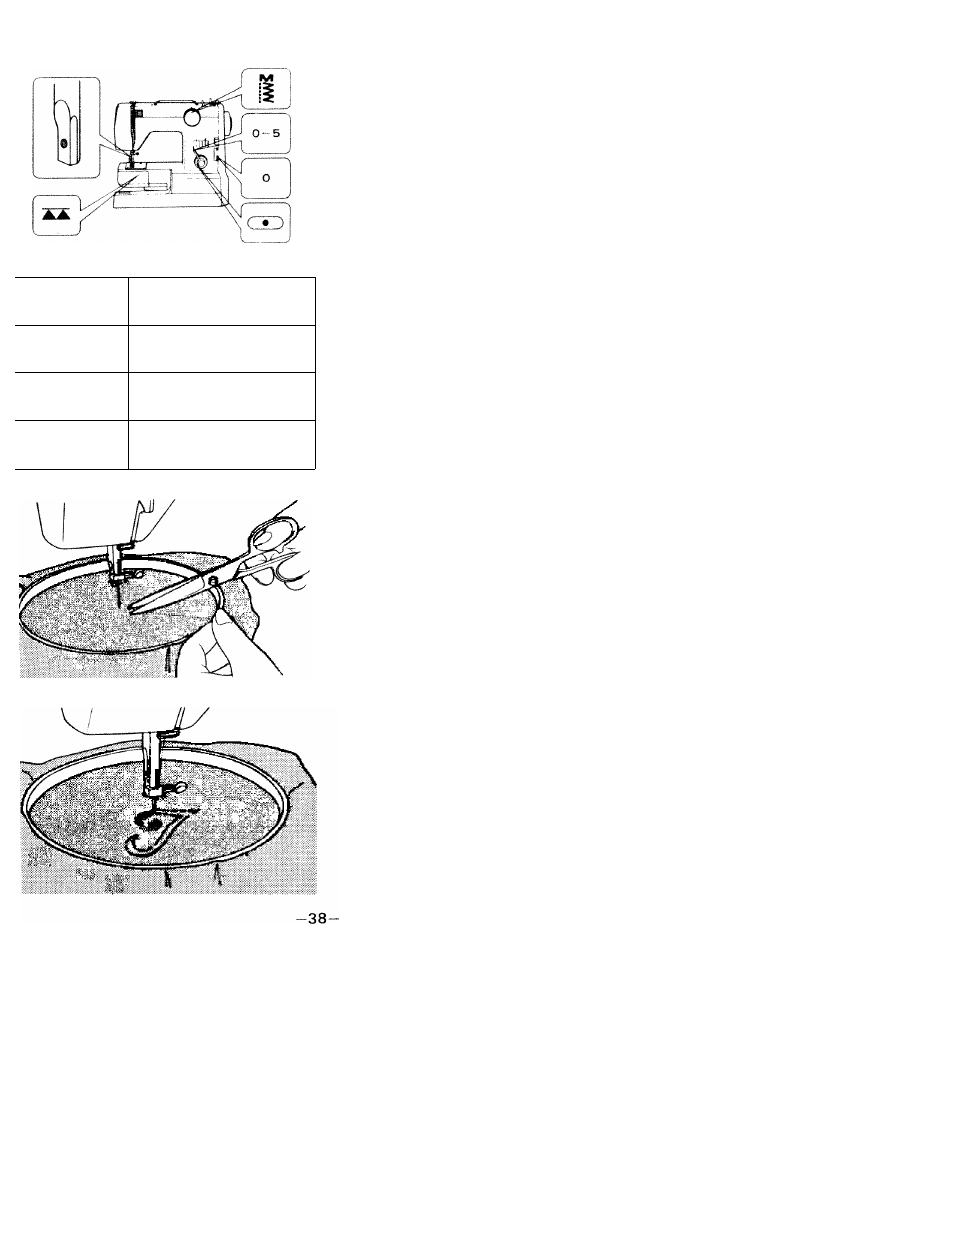
19. EMBROIDERY
Set machine as shown.
Remove foot, and holder screw.
To
avoid
lower
thread
being
pulled up, reduce upper thread
tension.
Needle
Thread
No. 9
1 2 0 - 1 0 0
N o . 1 1
1 0 0 8 0
N o . 1 4
6 0 5 0
For
good
embroidery,
it
is
important to use correct needles
and thread.
Use
thin
embroidery
silk
for
upper thread and a thinner silk
of
same
kind
and
color
for
lower thread.
Trace
your
design
on
material
and center it in embroidery hoop.
Make sure material is taut.
Pull out lower thread by turning
hand
wheel
towards
you
while
holding upper thread lightly.
Lower presser foot lifter.
Hold
both
threads
and
start
sewing
along
outline
of
design
with satin stitch.
Continue
sewing
guiding
hoop
by hand.
To
finish
filling,
sew
several
stitches with zigzag width at 0.
Lay typewriting paper underneath
when embroidering sheer fabric.