Coil cooktop, Cooking procedures, Home canning – Sears 629.42869 User Manual
Page 9: Cleaning, Heating elements
Attention! The text in this document has been recognized automatically. To view the original document, you can use the "Original mode".
Coil Cooktop
Cooking Procedures
•
For
best results,
always
use
recommended
cookware.
•
Different cookpots and different amounts of food
being prepared will influence the control settings
needed for best results. For fastest cooking, start
with the surface control onHi for one minute; then
turn the control to the lower desired setting.
Covering pans, whenever possible, speeds cooking
and is more energy efficient.
• Do not allow pans to boil dry as this could damage
both the cooktop and the pan.
•
Do not drop heavy cookware on the cooktop
surface.
Home Canning
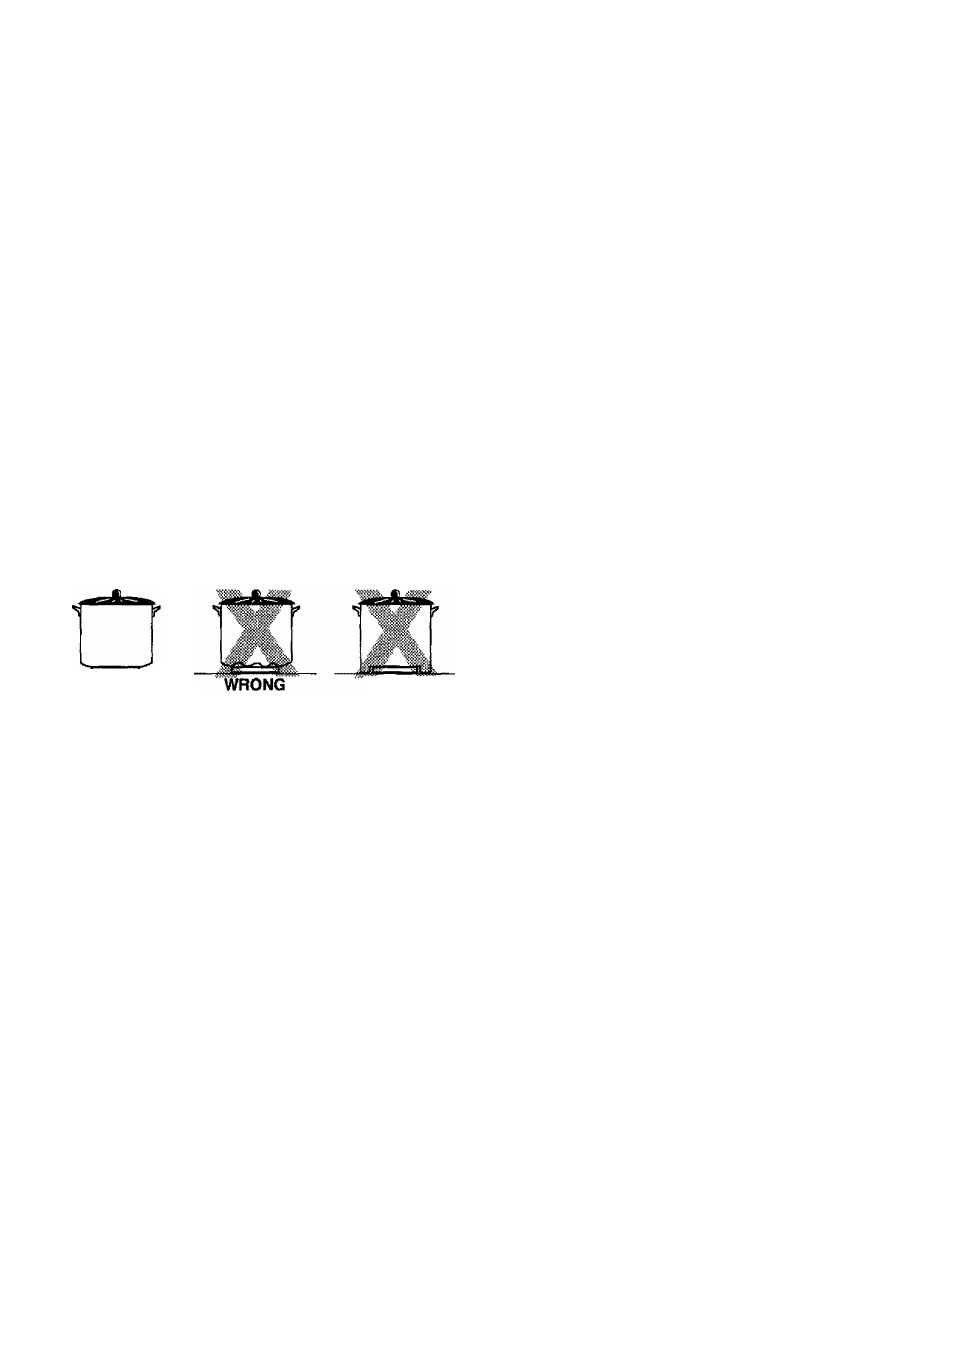
RIGHT
WRONG
Follow These Procedures When Canning
• Bring water to boil at Hi setting; after boiling has
begun, reduce heat to lowest setting that will
maintain boiling.
•
Make certain canner fits over center of surface
unit.
• Flat-bottomed canners give the best canning results.
• Use canning recipes from a reputable source such
as
the
manufacturer
of
your
canner
and
manufacturers of canning jars.
•
Remember that canning is a process that creates
large amounts of steam. Be careful and follow
equipment instmctions to avoid bums from steam
or hot canners.
•
Remember that if your area has low voltage at
times, canning may take longer than indicated by
the directions.
Cleaning
The cooktop cartridge does not need to be removed for
normal cleaning.
Never
immerse cartridge in water to clean. This can
damage wiring. A drain hole within the cartridge
permits drainage of normal spills into the porcelain
basin pan where it will drain into the grease container.
Bottom of cartridgemay be wiped clean with detergent
solution if necessary.
Be sure all control knobs are in the OFF position
before cleaning or removing heating elements.
Heating Elements
Under normal conditions, most soil will bum off ele
ments. The heating elements unplug for your conve
nience in cleaning the drip pans. Lift slightly and pull
away from receptacle. DO NOT IMMERSE IN
WATER. To replace elements, push completely into
the receptacle. Make sure the elements fit flat.
Drip Pans
To keep the like-new appearance,cfea«
frequently and
never allow anything to burn on twice. Removesoiled
pans (first remove heating element). Clean lightly
soiled pans with soap and water or clean in dishwasher.
Difficult to remove spots can be cleaned by mbbing
lightly with soapy S.O.S. pads or nonabrasive cleaners
such as Bon Ami. To help release burned on soil, soak
in a solution of 1/2 cup ammonia and 1 gallon warm
water or boil in 2 quarts of water for 20 minutes. (All
drip pans cannot be boiled at once because element
being used must have a drip pan in place.) Do not use
abrasive cleansers, steel wool or cleansers not recom
mended for use on chrome. A bluing of the drip pans
indicates improper cookware selection and/or using
excessively high heat and cannot be removed.