Cooktopcartridges, To install cartrid ges, To remove cartridges – Sears 629.42869 User Manual
Page 8: Cooktop cartridges
Attention! The text in this document has been recognized automatically. To view the original document, you can use the "Original mode".
CooktopCartridges
Installation
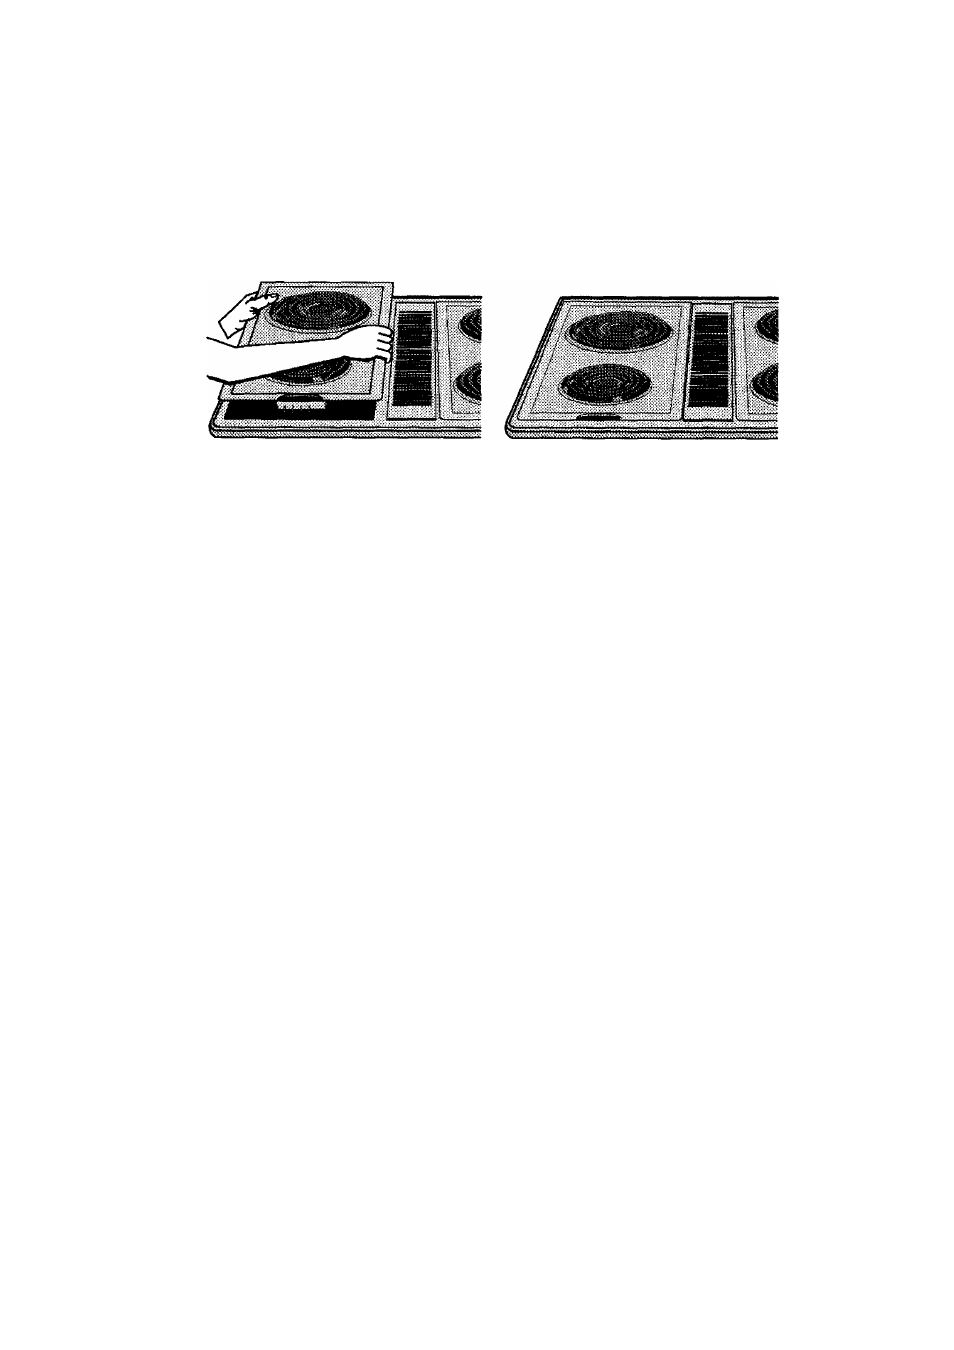
Cooktop cartridges, either conventional coil or radiant elements, can be installed on either side of the cooktop. (See
page 3 for all available cartridges and model numbers.)
To Install Cartrid ges
1.
If the grill grates, element, and/or grill-rocks are in
place, remove before installing acooktop cartridge.
(See page 10 for removing grill.) Clean porcelain
basin pan of any grease accumulation. (See page
13 for cleaning recommendations.)
2.
To install any of the optional cooktop cartridges,
be sure controls are turned OFF. Position the
cartridge terminal plug towards the terminal
receptacle. This receptacle is located at the front
of the left side and at the back of the right side of
the cooktop.
3.
Slide the cartridge towards the receptacle until the
cartridge terminal plug is completely engaged.
4.
Lower the opposite end of the cartridge into the
cooktop until it is flush with the surface. Your
cooktop is now ready to use.
To Remove Cartridges
1. Controls must be OFF and the cartridge should be
cool.
2.
Lift up on the "tab" located on the cartridge until
top of cartridge clears the opening on the cooktop
by about 2 inches. Lifting the cartridge too high
while still engaged in the receptacle could damage
the terminal plug.
3.
To disengage terminal, hold cartridge by the sides
and slide away from the terminal receptacle. Lift
out when fully unplugged.
4.
Do not stack cartridges where they may fall or be
damaged. Never store other materials on top of the
glass-ceramic cartridges since this could damage
or scratch the surface.
Home Canning
For best results, canning should be done on the conven
tional coil cartridge/cooktop.
For additional information, refer to use and care
manual packaged with your cartridge.