Phoenix Audio Octopus User Manual
Page 11
Phoenix Audio Technologies
www.phnxaudio.com
11
Setup Wizard
The Setup Wizard is used to configure the type of unit, the
input settings (type, level, and phantom selection) and setup
the output level. Additional settings are available through the
Audio Setup utility. Those include 3-way settings, color
(frequency response) settings, and more, and will be
detailed in the next chapter.
Setting the units is performed one unit at a time. Plug your
laptop to the USB port of the unit being set and run the
Setup Wizard software. We recommend that you start with
the lower ranked units (to which the Matrix microphones are
connected) and go up the ladder. Please note that in order
for the Beamforming algorithm to perform properly all the
microphones participating in the Matrix must have the same
sensitivity. Therefore when you setup any microphone, all
the microphones connected to the same unit will
automatically be set to the same sensitivity level.
Furthermore – in a multi-unit setting, when you setup the
next Slave unit the software remembers the last microphone
setup and will recommend that you use the same
parameters (and will copy / paste them for you). If you
change the settings of a microphone along the way the
software will recommend that you go back to previously set
Slave units and reset them with the new level.
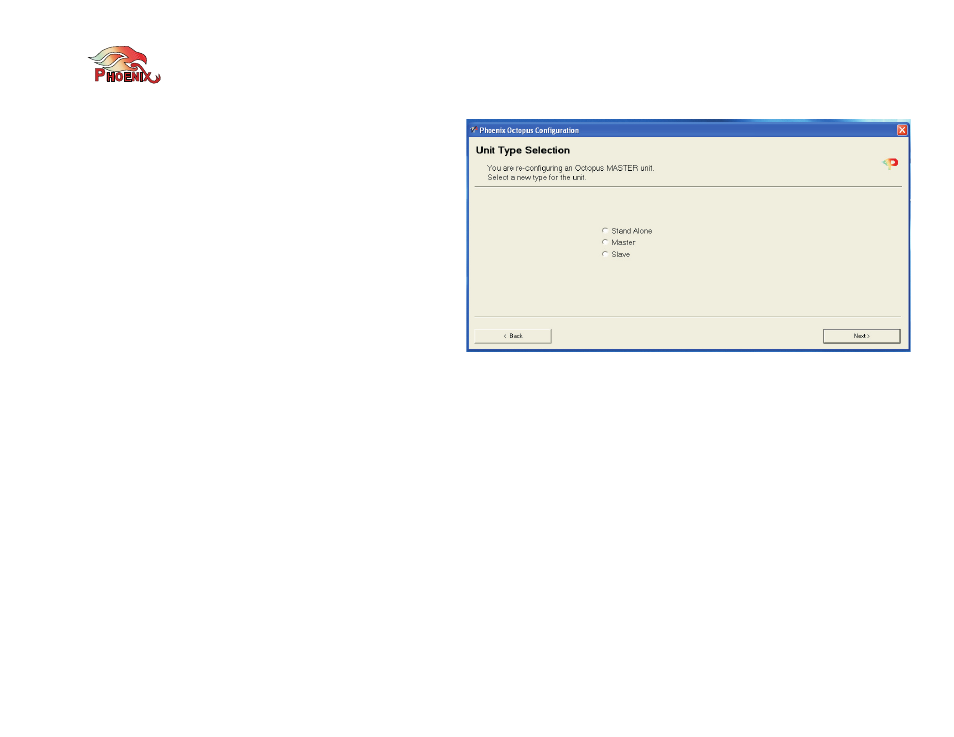
The opening screen of the Wizard program sets up the unit
type. You can select one of three types: Stand Alone, Master
or Slave. If your unit has previously been programmed the
Wizard program tells you which type the unit is set to, and
allows you to either keep it or change it.
If the unit is a mid rank unit (such as a mid-level Master)
then it should be setup as a Slave.
The following paragraphs detail the setup steps for each of
the Octopus’s types. Since some of the setting screens of
various types are similar, the Stand Alone setup is the most
detailed and we recommend that you read through it even if
you are not setting your system as such.
Setting a Stand Alone unit
SA units include all the connections (inputs, outputs and far-
end) therefore you will be guided though the setting of the
loudspeakers’ volume, the microphones and the output.
In the first step you are setting the room’s loudspeakers’
volume. You can play either a music file or speech and setup
the speakers’ volume to the wanted level.