Sure Heat VFMP Vent-Free User Manual
Page 7
A. This appliance is equipped with an ignition device (piezo) which lights the pilot automatically. If the Piezo fails to light the pilot,
turn to "Match Lighting" Instructions on Page 8.
B. BEFORE LIGHTING the unit, smell around the appliance area for gas. Be sure to smell next to the floor because
some gas is heavier than air and will settle on the floor.
WHAT TO DO IF YOU SMELL GAS:
• Do NOT try to light any appliance.
• Do NOT touch any electrical switch.
• Do NOT use any telephone in your building.
• Immediately call your gas supplier from a neighbor's telephone.
• Follow the gas supplier's instructions.
• If you cannot reach your gas supplier, call the fire department.
• Installation and service must be performed by a qualified installer, service agency or the gas supplier.
C. Use only your hand to push in or turn the pilot control knob. Never use tools. If the knob will not push in or turn by hand, do
not try to repair. call a qualified service technician.
WARNING: THE USE OF FORCE OR ATTEMPTED REPAIR MAY RESULT IN A FIRE OR EXPLOSION.
D. Do not use this appliance if any part has been under water. Immediately call a qualified service technician to inspect the
appliance and replace any part of the control system and any gas control which has been under water.
1
. Before setting the logs in place, turn the gas on and check each joint in the gas line with a soap and water solution for leaks.
Bubbles indicate leaks. Repair any leaks and recheck before proceeding.
DANGER: DO NOT USE OPEN FLAME TO TEST FOR LEAKS!
2. It is most convenient to light the pilot and check the operation of the burner without the logs in place. After the final check of the
gas supply is complete and the corrections are made, go to the "Lighting Operation" section of this manual.
3. After the pilot flame is established, turn the control knob to the "ON" position. The burner should ignite within four (4) seconds. If
the burner does not ignite within four (4) seconds, turn valve to "OFF" position.
4. With the pilot and burner in operation, check each connection with soap and water solution again for leaks. If any leaks are found,
turn gas supply off and correct them immediately.
5. After the gas connections are secure, turn control knob to "OFF" position. Allow system to cool down.
6. Set the front log, the longest log, in position centred side to side on the front part of the grate with the thin flat surface of the log
on the grate.
7. Set the middle log, the second longest log, in position centred side to side on the middle supporting brackets with the thin flat
surface of the log on the grate.
8. Set the back log, the third longest log, in position centred side to side on the back supporting brackets with the thin flat surface of
the log on the grate. The top log should be positioned according to the notches left available by the bottom logs. See Figure 2
and 3 on page 5 for top log placement.
WARNING: If you do not follow these instructions exactly, a fire or explosion may result causing
property damage, personal injury or loss of life.
FINAL CHECKPOINTS BEFORE OPERATION
FOR YOUR SAFETY READ BEFORE LIGHTING
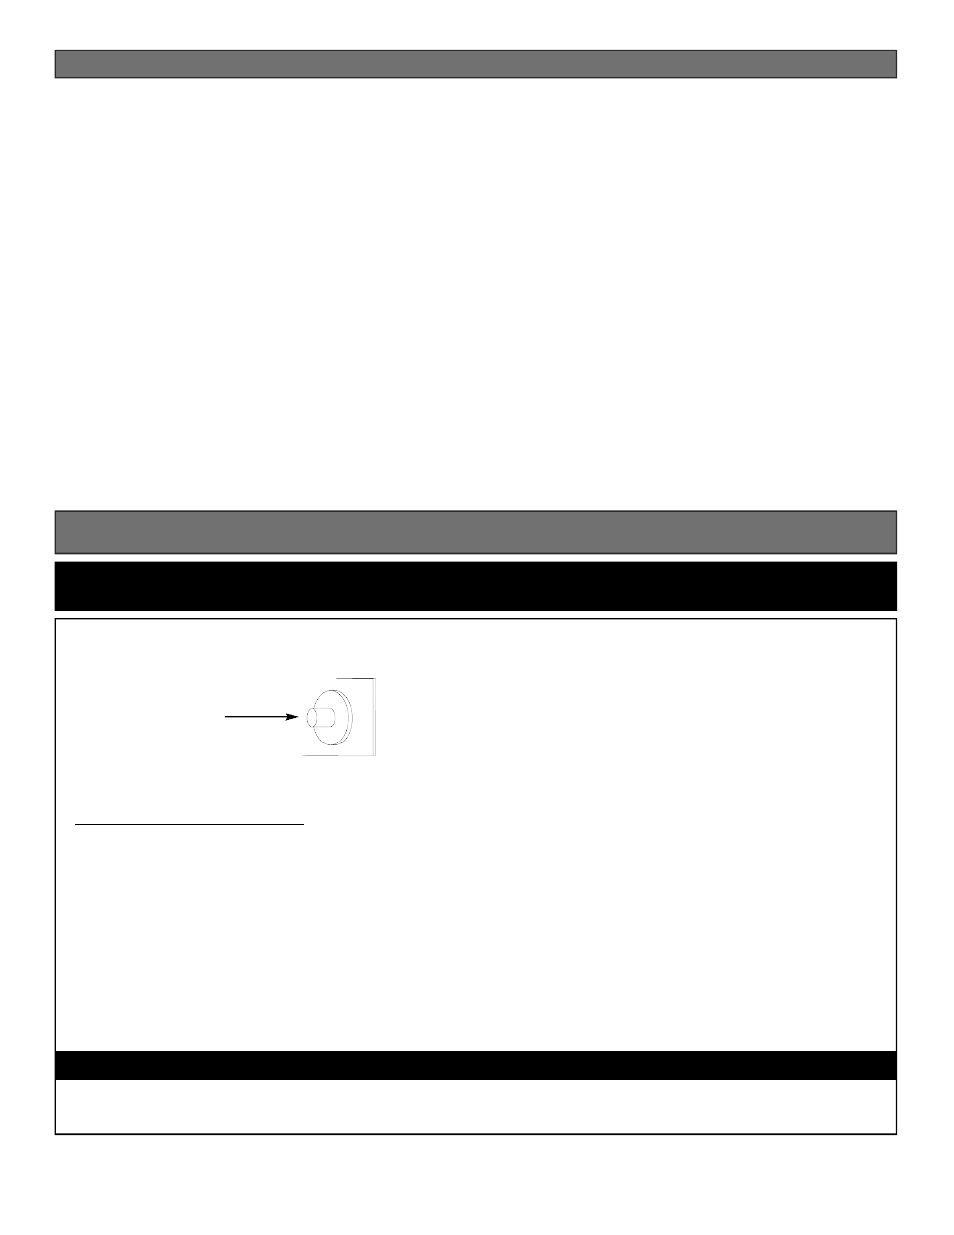
PIEZO
Page 7