Using the rotisserie burner – Sure Heat 2008 Four Seasons FS38 User Manual
Page 20
Using the Rotisserie Burner
The grill rotisserie system is designed to cook items from the back using infrared heat. The rotisserie
burner is an infrared type which provides intense searing radiant heat. Preferred by chefs over other
cooking methods, this intense heat sears in the natural juices and nutrients found in quality cuts of
meats.
NOTE: The rotisserie spit rod is centered between the grill hood and the burners. It may be
necessary to remove the grates and flavor grids when cooking larger portions of meat on
the rotisserie. This is by design, since this configuration gives you the most possible room
above and below the rod for larger pieces of meat.
Once lit, the rotisserie burner will reach cooking temperature in 1 minute. The orange/red glow will
even out in about 5 minutes. The rotisserie motor is equipped with metal gears and is capable of
turning up to 12 lbs. of food. The motor is mounted on a bracket on the left side of the grill by sliding
the motor over the bracket with the cord facing the back of the grill. Make sure the rotisserie motor is
completely seated on the bracket prior to operating. Make sure the rotisserie cord is away from any
hot surfaces.
Remove the warming rack from the grill when using the rotisserie to prevent
warping from the intense heat of the infrared unit.
▲
!
WARNING Electrical Grounding Instructions
This appliance (rotisserie motor) is equipped with a three-prong (grounding)
plug for your protection against shock hazard and should be plugged directly
into a properly grounded three-prong receptacle. Do not cut or remove the
grounding prong from this plug.
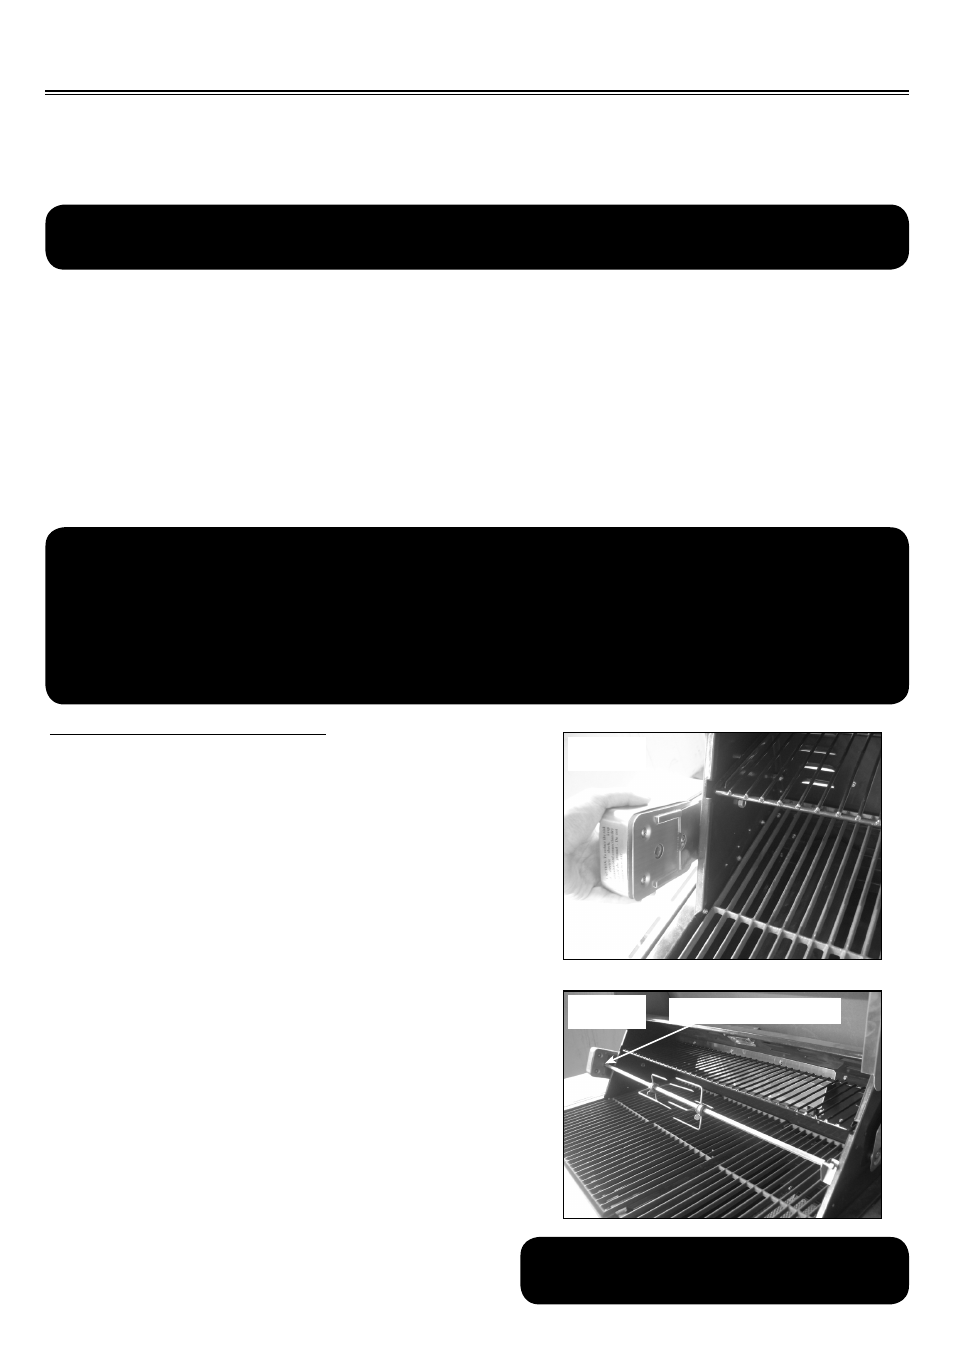
ATTACHING THE ROTISSERIE
The motor is mounted on a bracket on the left side of
the grill by sliding the motor over the bracket with the
cord facing the back of the grill. (See Fig. 26)
With the rotisserie motor in place and plugged into an
electrical outlet, it is now ready to operate. Slide one of
the meat forks onto the rod (prongs facing away from
the rounded end). Push the rod through the center of
the food, then slide the second meat fork onto the rod
(prongs toward the food). Center the food to be cooked
on the rod, then push the meat forks firmly together.
Tighten the thumb screws. It may also be necessary
to wrap food with butcher’s string, (never use nylon or
plastic string) to secure loose portions. (See Fig. 27)
Once the food is secure, insert the pointed end of the
rotisserie rod into the motor assembly and rest the
other end on the support on the right-hand side of the
grill. (If needed, remove the cooking grates for more
room). Turn the power switch to the “ON” position to
start the rotisserie motor.
NOTE: Remove the rotisserie when not in use.
Store the unit indoors when not in use. Remove
warming shelf when using rotisserie.
▲
!
WARNING
Do not use the rotisserie in the rain.
20
Pointed end of the rod
Fig. 26
Fig. 27