Installation, Hardware installation, Software installation – StarTech.com VS440HDMI User Manual
Page 6
Instruction Manual
3
Installation
Hardware Installation
1. Make sure that all devices are powered off before beginning installation.
2. Connect the HDMI display device(s) to the HDMI Output connectors on the rear of
the matrix switch.
3. Connect the HDMI video source device(s) to the HDMI Input connectors on the rear
of the matrix switch.
4. OPTIONAL: If planning to use RS232 control for the matrix switch, connect a DB9
RS232 cable from the rear of the matrix switch, to the RS232 port on the host
computer system.
5. OPTIONAL: If using the IR Extender module, connect it into the rear of the matrix switch.
6. Connect the power adapter to the matrix switch, followed by powering on the
display devices, then the HDMI source devices.
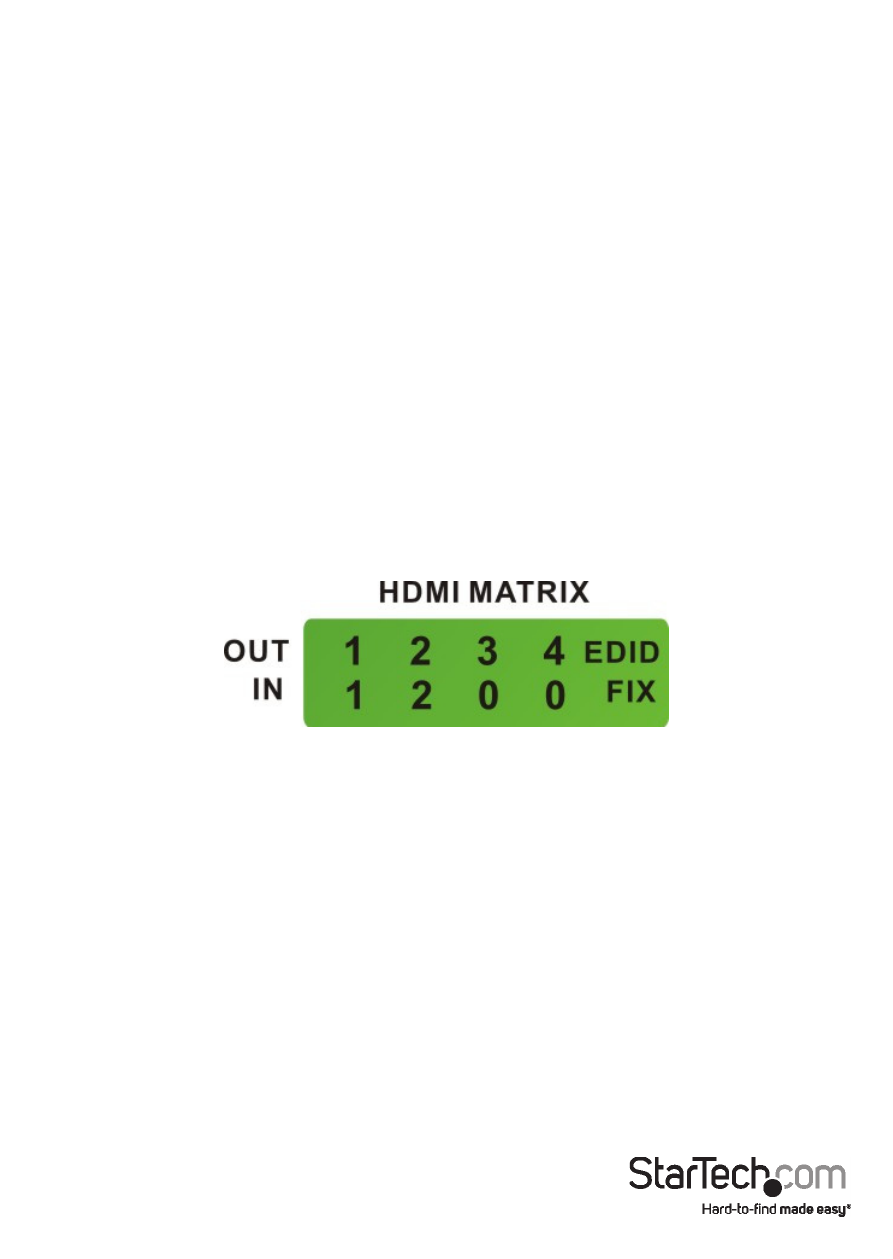
7. The LCD screen on the front of the matrix switch should activate and display the
current status and Input-to-Output display relationships. The top row of the LCD
lists each output port, while the bottom row indicates which input port is being
displayed on it, with “0” representing no input selected (no video).
Software Installation
1. Insert the software installation CD into the computer’s CD/DVD drive.
2. On the CD, in the “AVM” folder, double click the AV Matrix file to start the installation.
3. Proceed through the installation prompts.
4. Once installation is complete, close the installation wizard. The software should
now be ready for use.