Installation, Hardware installation – StarTech.com VS410RVGAA User Manual
Page 6
Instruction Manual
3
Installation
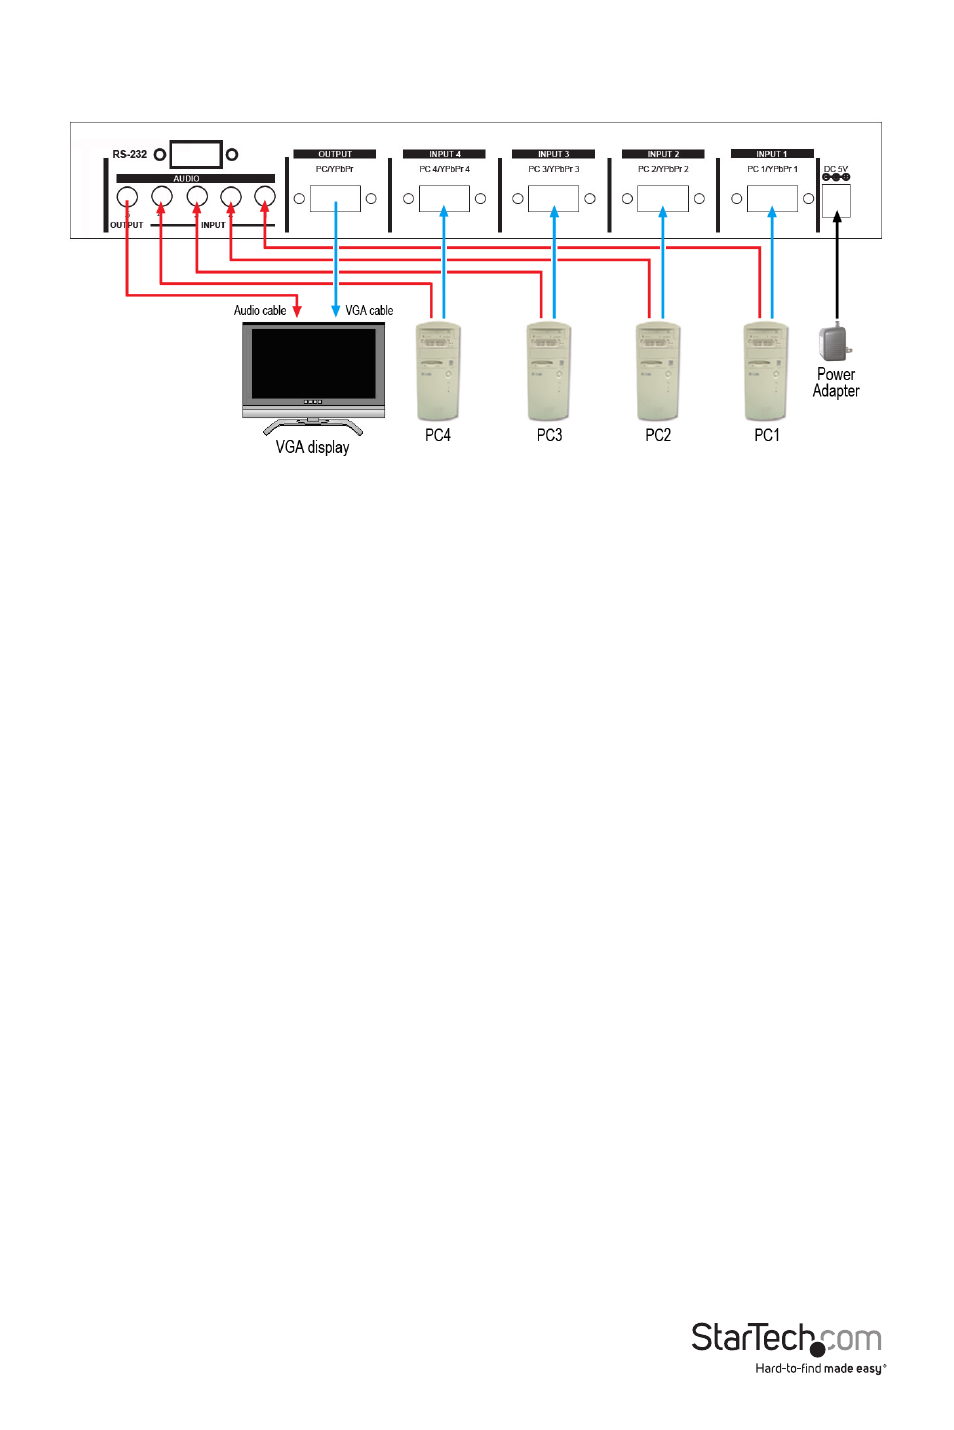
Hardware Installation
1.
Make sure all devices are powered off before beginning the installation.
2.
Connect a male/male VGA cable from the “Output” connector on the switch to the VGA
connector on the display device (e.g. monitor).
3.
Connect a male/male VGA cable from one of the VGA video sources (e.g. computer) to
input 1 on the video switch. Repeat for Port 2 ~ 4.
4.
Connect the power adapter from an AC electrical outlet to the video switch. Press the
power button on the front panel. The Power LED and Port 1 Selection LED should light
up to indicate the currently active input.
5.
Power on the display device first, followed by the video source on port 1.
6.
Once video output is confirmed, switch to the next port by pressing the front panel
button or remote control and power up the next video source. Repeat this process for
each video source.
7.
To switch between the inputs on the switch, the front panel buttons or the IR remote
control can be used.
OPTIONAL: If using RS232 serial control, connect a DB9 (9-pin) serial cable from the DB9
connector on the video switch, to the RS232 serial port on the host system (i.e. computer).