National Cart CCS-2766-0597B METAL COVERED CART CORRAL User Manual
Page 12
12
METAL ROOF ASSEMBLY
7. Lay out edge of first maxi rib panel (E) at top of header (C) flush at location H1 but overhanging at location
H5, with rib centered over peak. Take note that one side of the maxi rib panel (E) has a longer flange than
the other side. The “shorter” side is the side that you want to end up as the exposed side of the maxi rib
panel on the side of the unit. This will be the end that will go into the “J” channel in step 12. Secure with
one #12 x 1.0” tek screw, self drilling at locations H1 and H5 in center of header (Diagrams A & B).
8. Over-lap second maxi rib panel (E) on side opposite of first panel and secure on both sides of overlap joint
with #12 x 1.0” tek screws (Diagram A). Take note that one side of the maxi rib panel (E) has a longer
flange than the other side. The “shorter” side is the side that you want to end up as the exposed side of the
maxi rib panel on the side of the unit. This will be the end that will go into the “J” channel in step 12.
9. Repeat step 7 for third and fourth (lower) maxi rib panels (E), but be sure that upper panels overlap lower
panels so water will run off to the outside. Again, make sure that the “shorter” side of the maxi rib panel is
toward the ground.
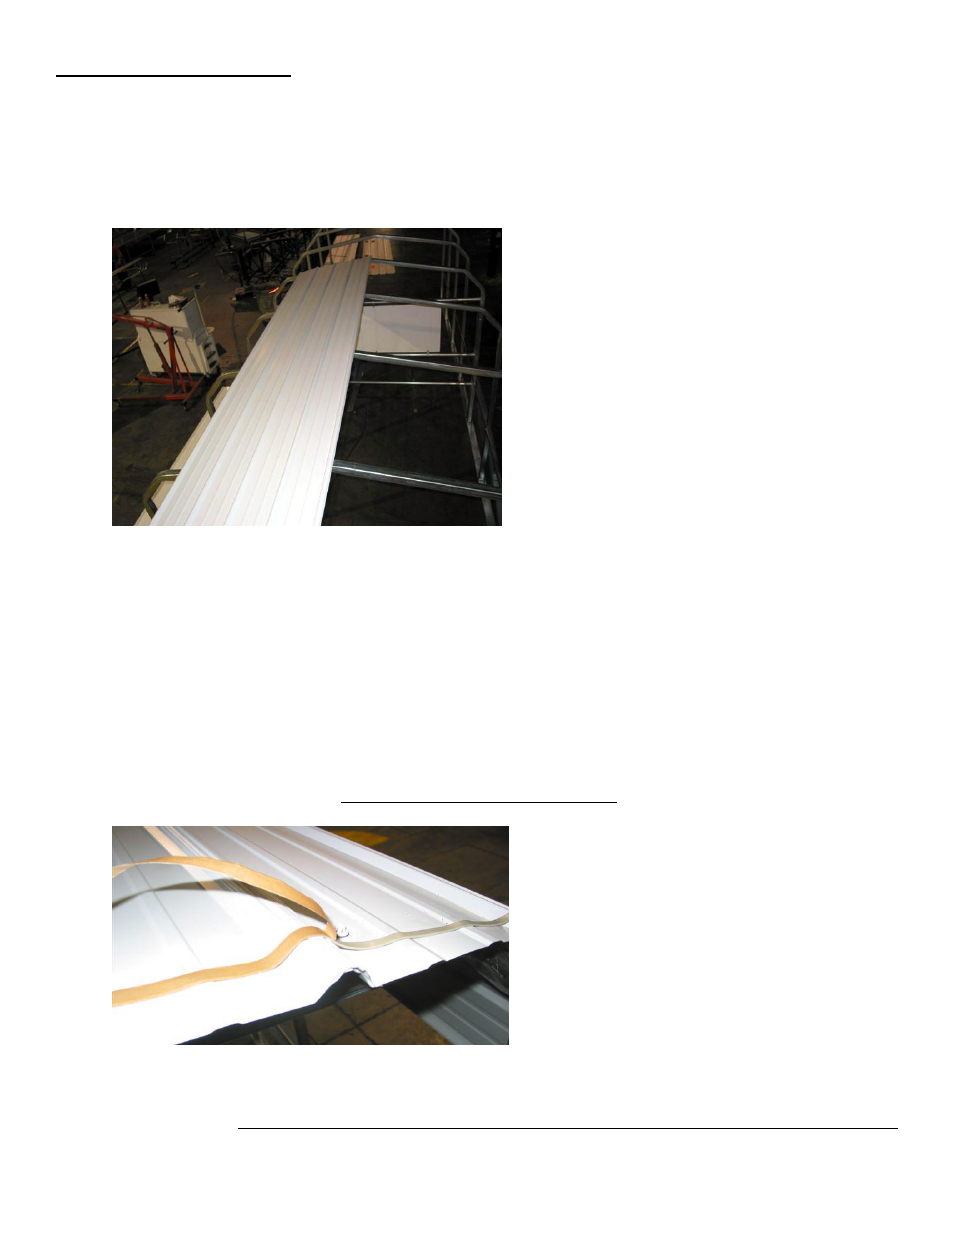
10. Lay down gasket tape across width of all panels at location H5 (center of unit) 1” from panel end to tape
edge line and following panel profile. Repeat steps 7 and 8 for other end, with panels flush with header at
location H9 (opposite entry end). NOTE: Be sure to remove tape liner.
11. Check to see that all maxi rib panels (E) are flush with headers (C) at locations H1 and H9. If flush, secure
as directed (Diagram B). If not flush, adjust (square up) complete frame assembly to get panels flush, then
secure as directed. Note: Leave the third and fourth bottom panels free to allow installation of “J” channel.